> For the complete documentation index, see [llms.txt](https://docs.sfbx.io/llms.txt). Markdown versions of documentation pages are available by appending `.md` to page URLs; this page is available as [Markdown](https://docs.sfbx.io/configuration/step-2-create-a-notice/2.1.-create-a-source/add-extra-vendor.md).
# Add extra vendor
***
## Add extra vendor
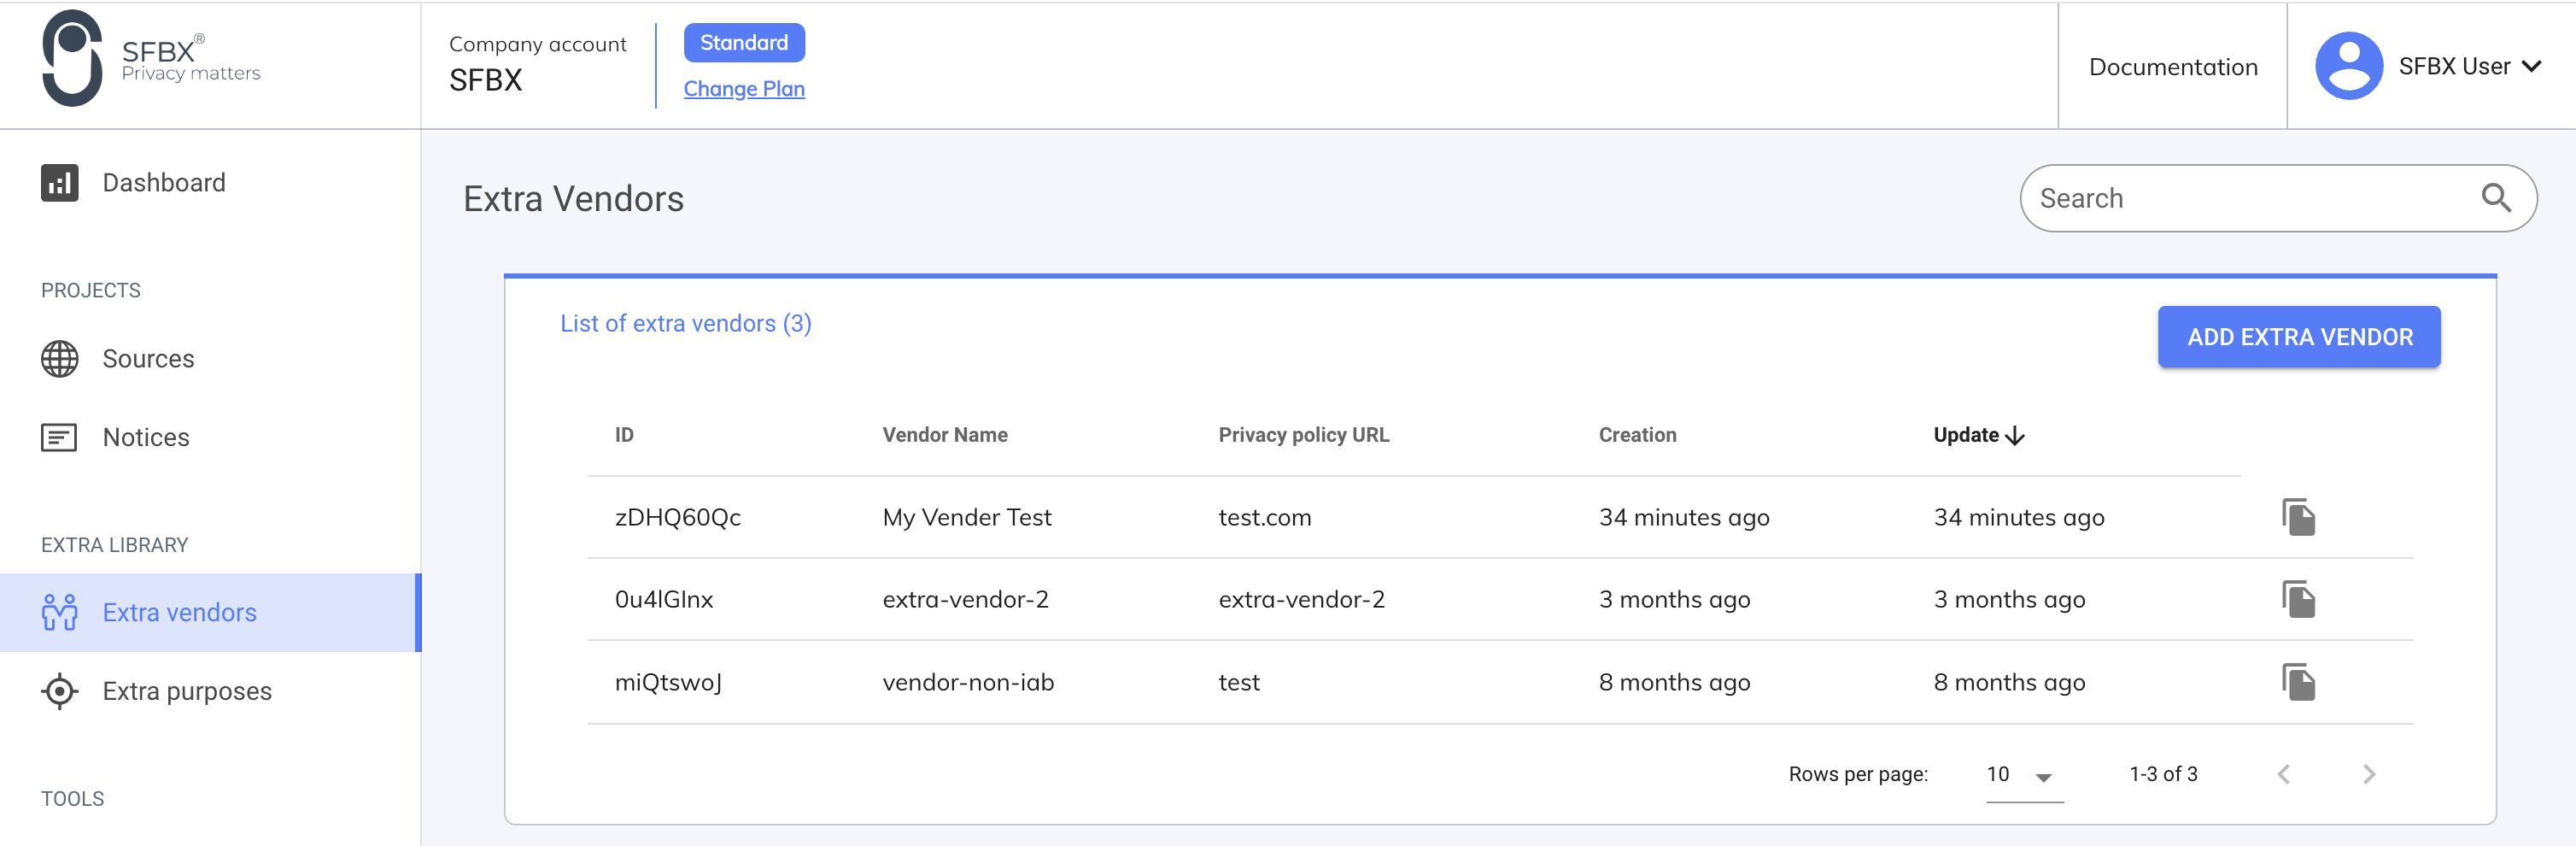
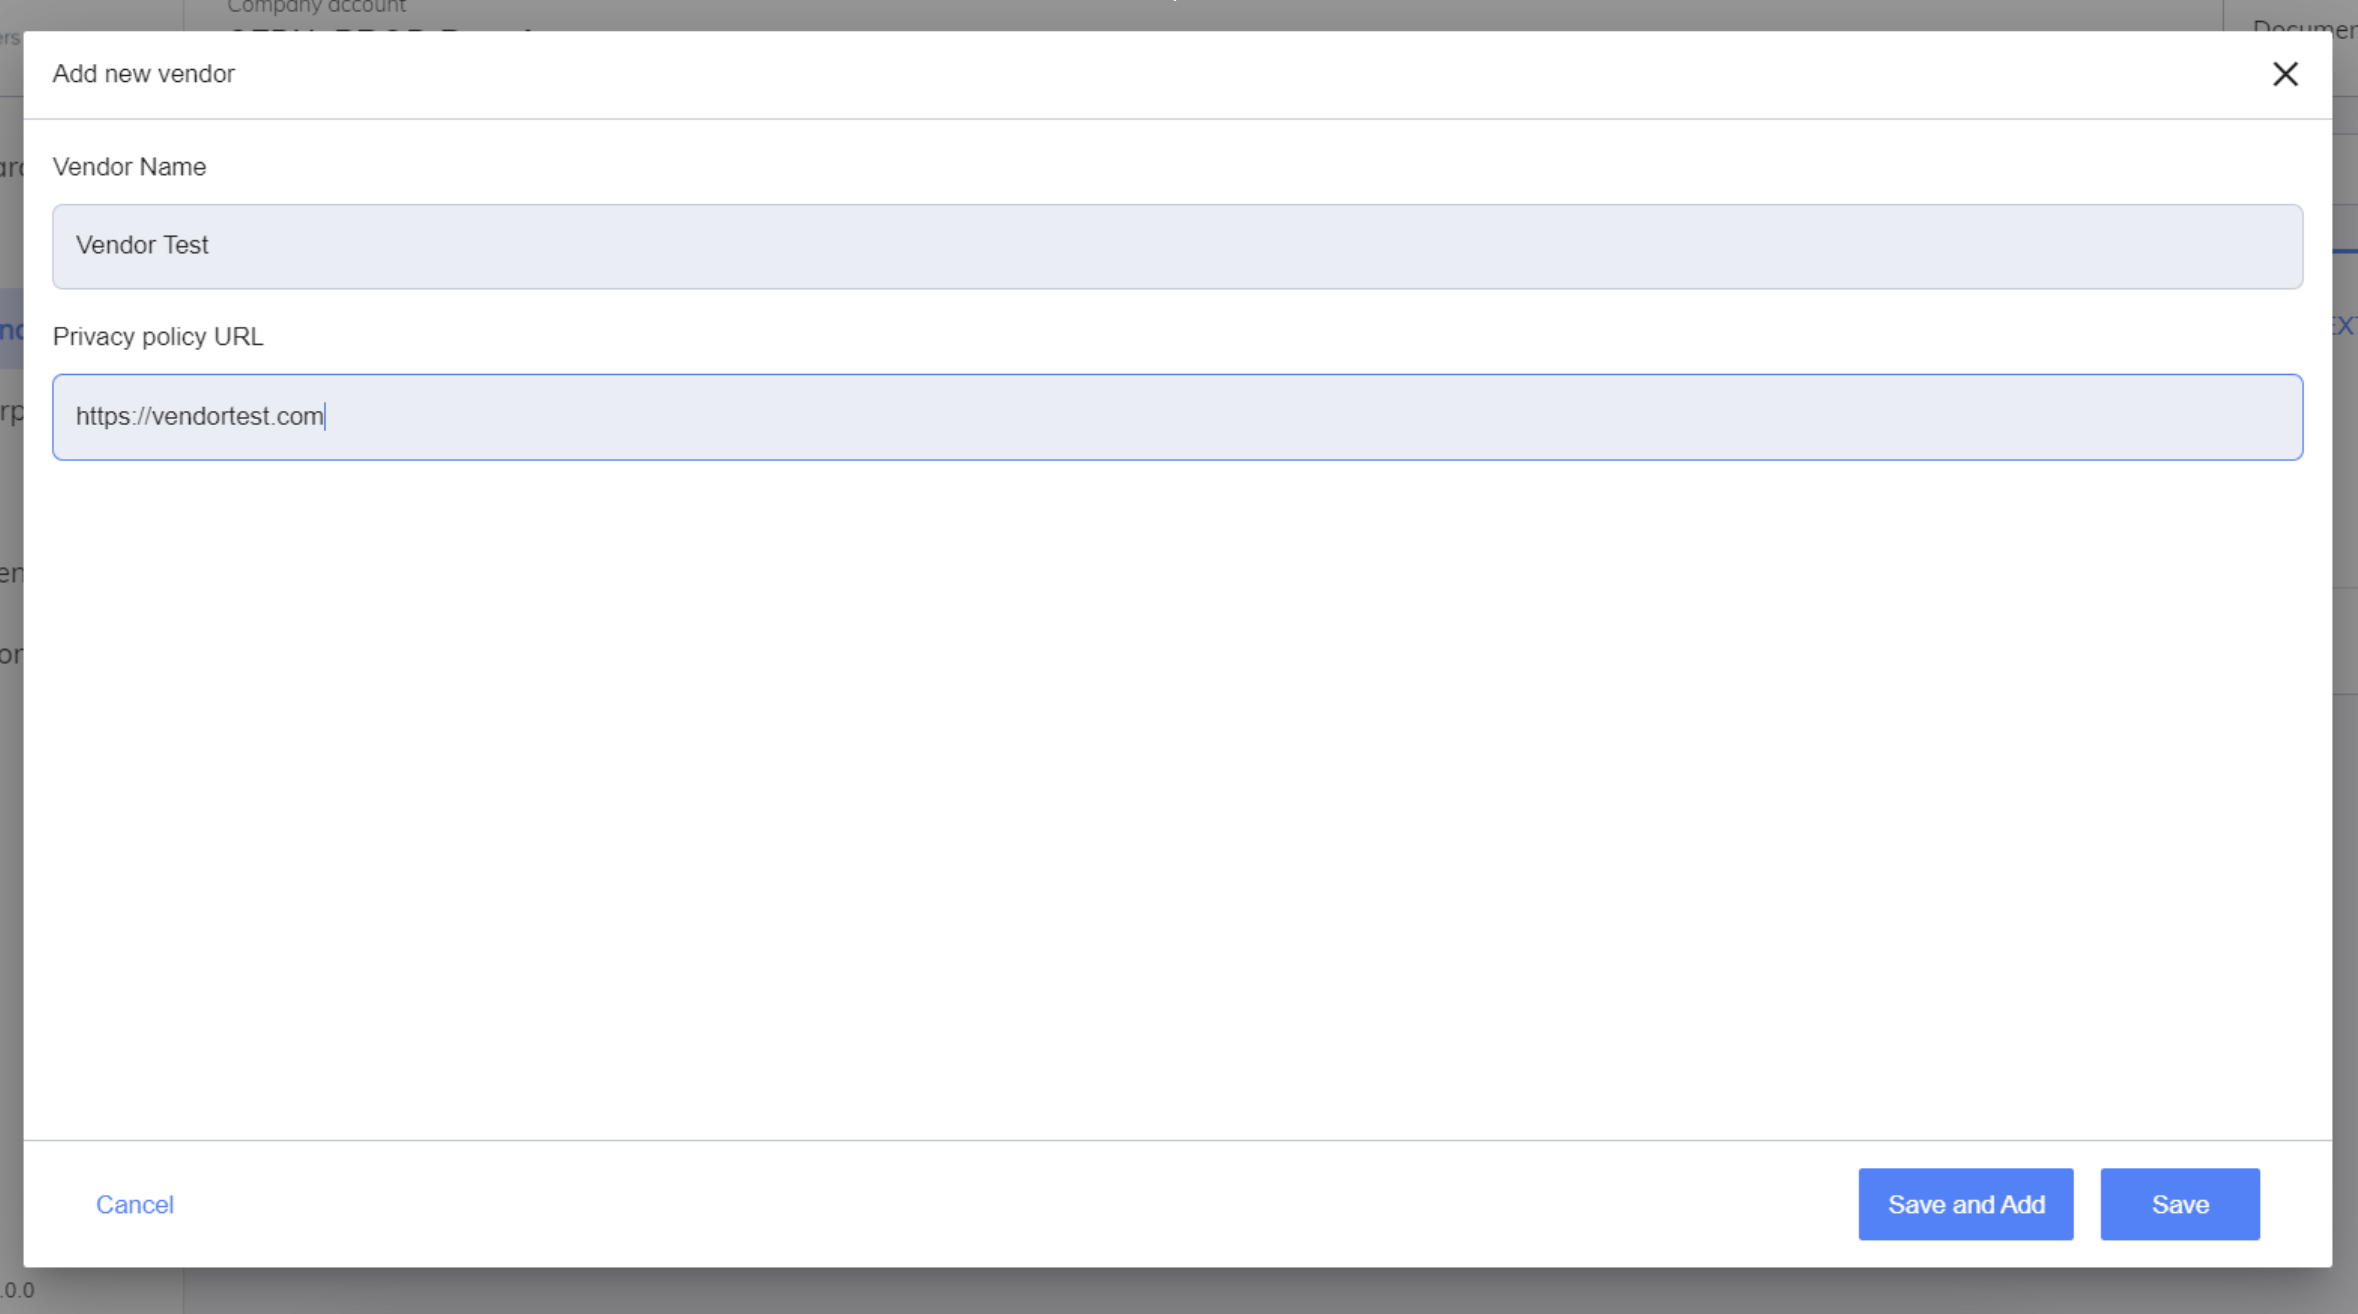
First, click on [**Extra Vendors**](/help/glossary.md#extra-vendor)**.** Then, **Add extra vendor**
You should have this:
Now that you have added your extra vendors, you can [add them to your source](/configuration/step-2-create-a-notice/2.1.-create-a-source.md#vendors).
## Extra vendors in your notice
The extra vendors will be displayed in a list, and the consent button will be displayed for each of them.
**For a web notice**: (Clear template)
**For a mobile App (iOS or Android)**: (Clear template)
The extra vendors will be also displayed below the purpose you assign them.