Compare multiple notices (A/B tests)
You can run A/B tests in order to compare consent rates between various notices. This section will help you to set up your A/B test.
Introduction
Using AppConsent, you can modify and update your notice settings. But you may want to compare the consent rate of differently defined notices to implement the notice generating the most consent-in.
AppConsent allows you to lunch A/B tests campaigns in order to test and compare performance of different notice configurations (with or without banner, order of buttons...).
You can create an A/B test with 2 or more records running on the same time, on the same source. This various notices are called "Variations". Each variation will be exposed alternatively to users, according to your parameters.
An A/B test can be implemented at anytime on a source.
While an A/B test is running, you can consult the consent rate of each variation through the dashboard. But you can't modify the settings of the notice variations.
You can stop the A/B test whenever you want. At this moment, you will have to choose one of the notice variations. The one you choose will be implemented definitively on the source, and your A/B test stops. After that, you could modify the parameters of this notice if needed, or start an other A/B test.
You have subscribed to AppConsent Standard, you can run 2 A/B test campaigns simultaneously.
You have subscribed to AppConsent Premium, you can run as many A/B test campaigns as you want, simultaneously.
Prerequisites before creating an A/B test
Before creating an A/B test, you need to have a notice declared in AppConsent.
- This can be a notice running since a while on your website. In that case you don't have to create a new notice and you can read the paragraph Create an A/B test below. The A/B test will run instead of your current notice.
- Or it can be a new notice that you will implement when you will start your A/B test (for example if you are a new client and want to start by an A/B test). In that case, you need to create a notice first. Read this page to learn how to create a notice.
Set up an A/B test
1. Create an A/B test
To create an A/B test, click on A/B test in the left menu.
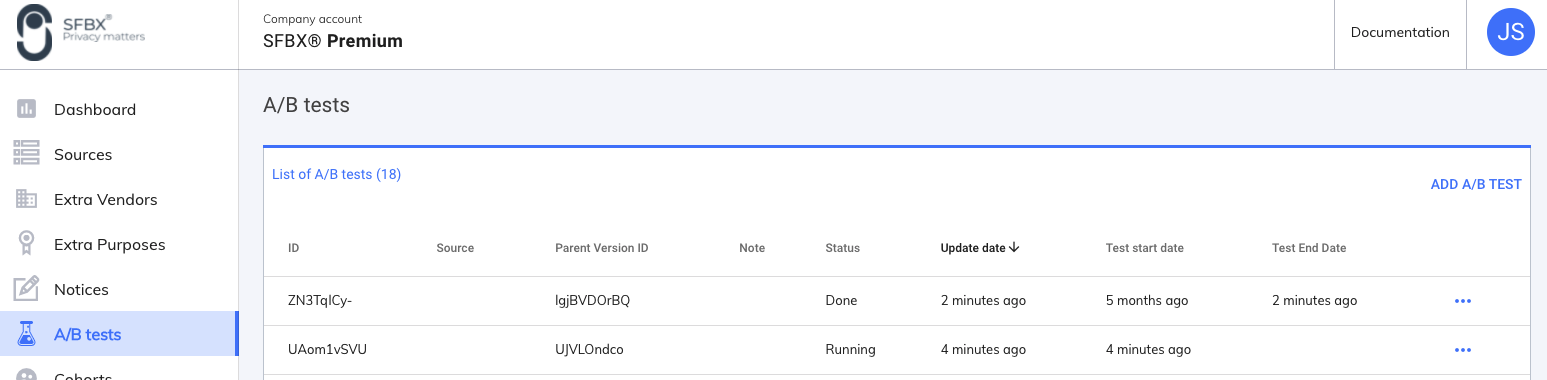
Then click on Add A/B test on the left top.
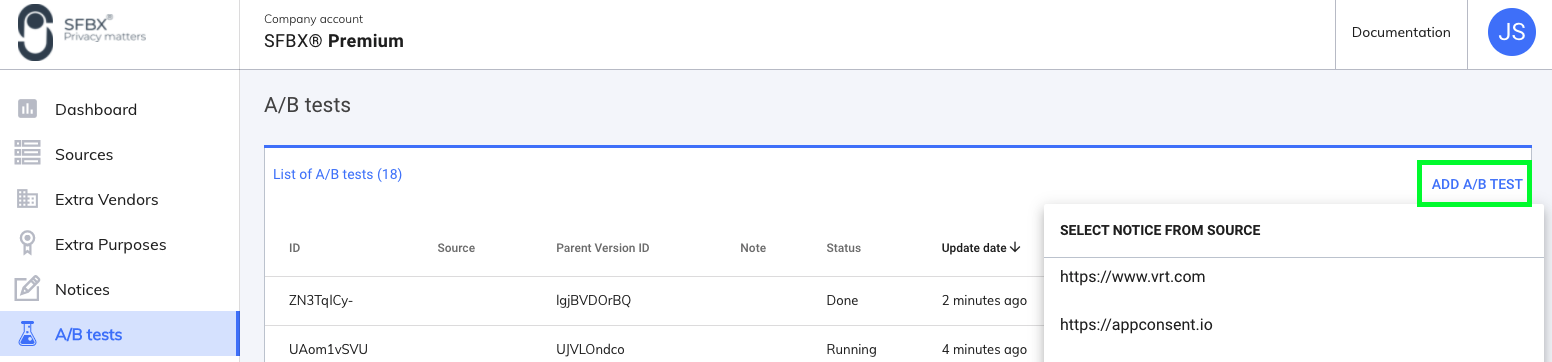
In the list of sources that appears, select the one on which you want to apply the A/B test. It can be whether a web source or a mobile app source.
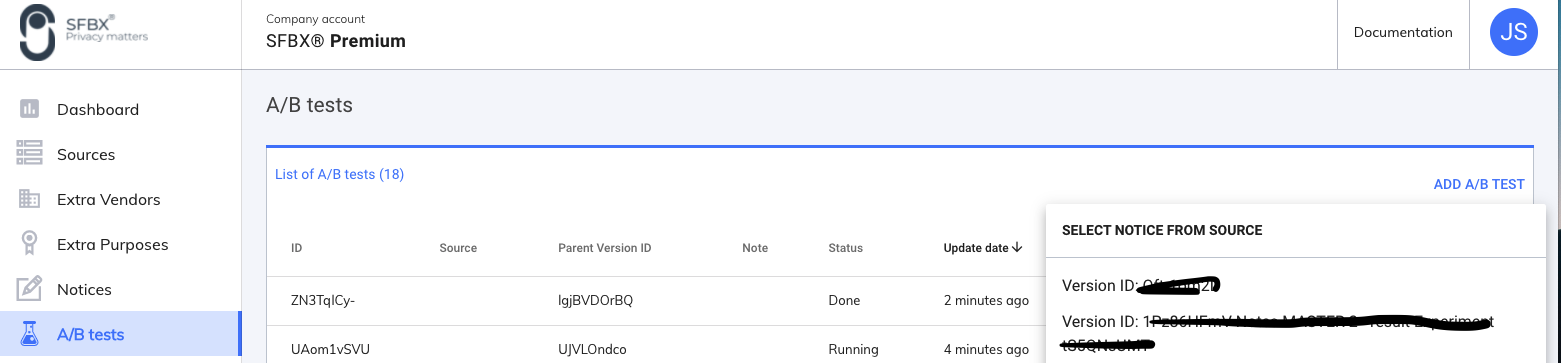
Then select the Notice Version ID you want to use for the A/B test. We call this notice, the parent version. Then click on Create A/B test. A copy of this notice will be created in the A/B test.
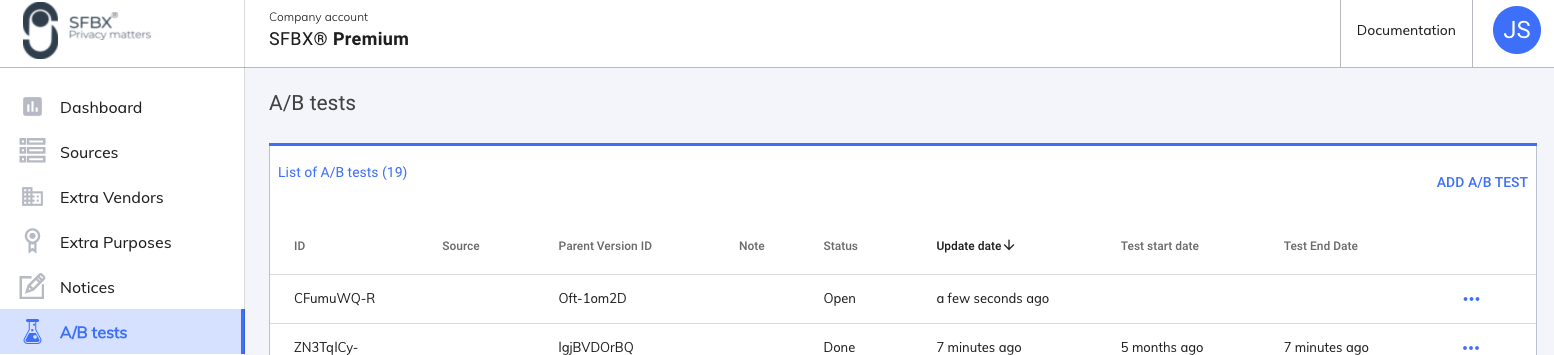
Your A/B test has now an "Open" status. Meaning that it is created, but not yet activated on your website or app.
- ID: A/B test ID
- Source: Source where the A/B test will be implemented
Parent version ID: ID of the notice from the one the A/B test has been created (the parent notice).
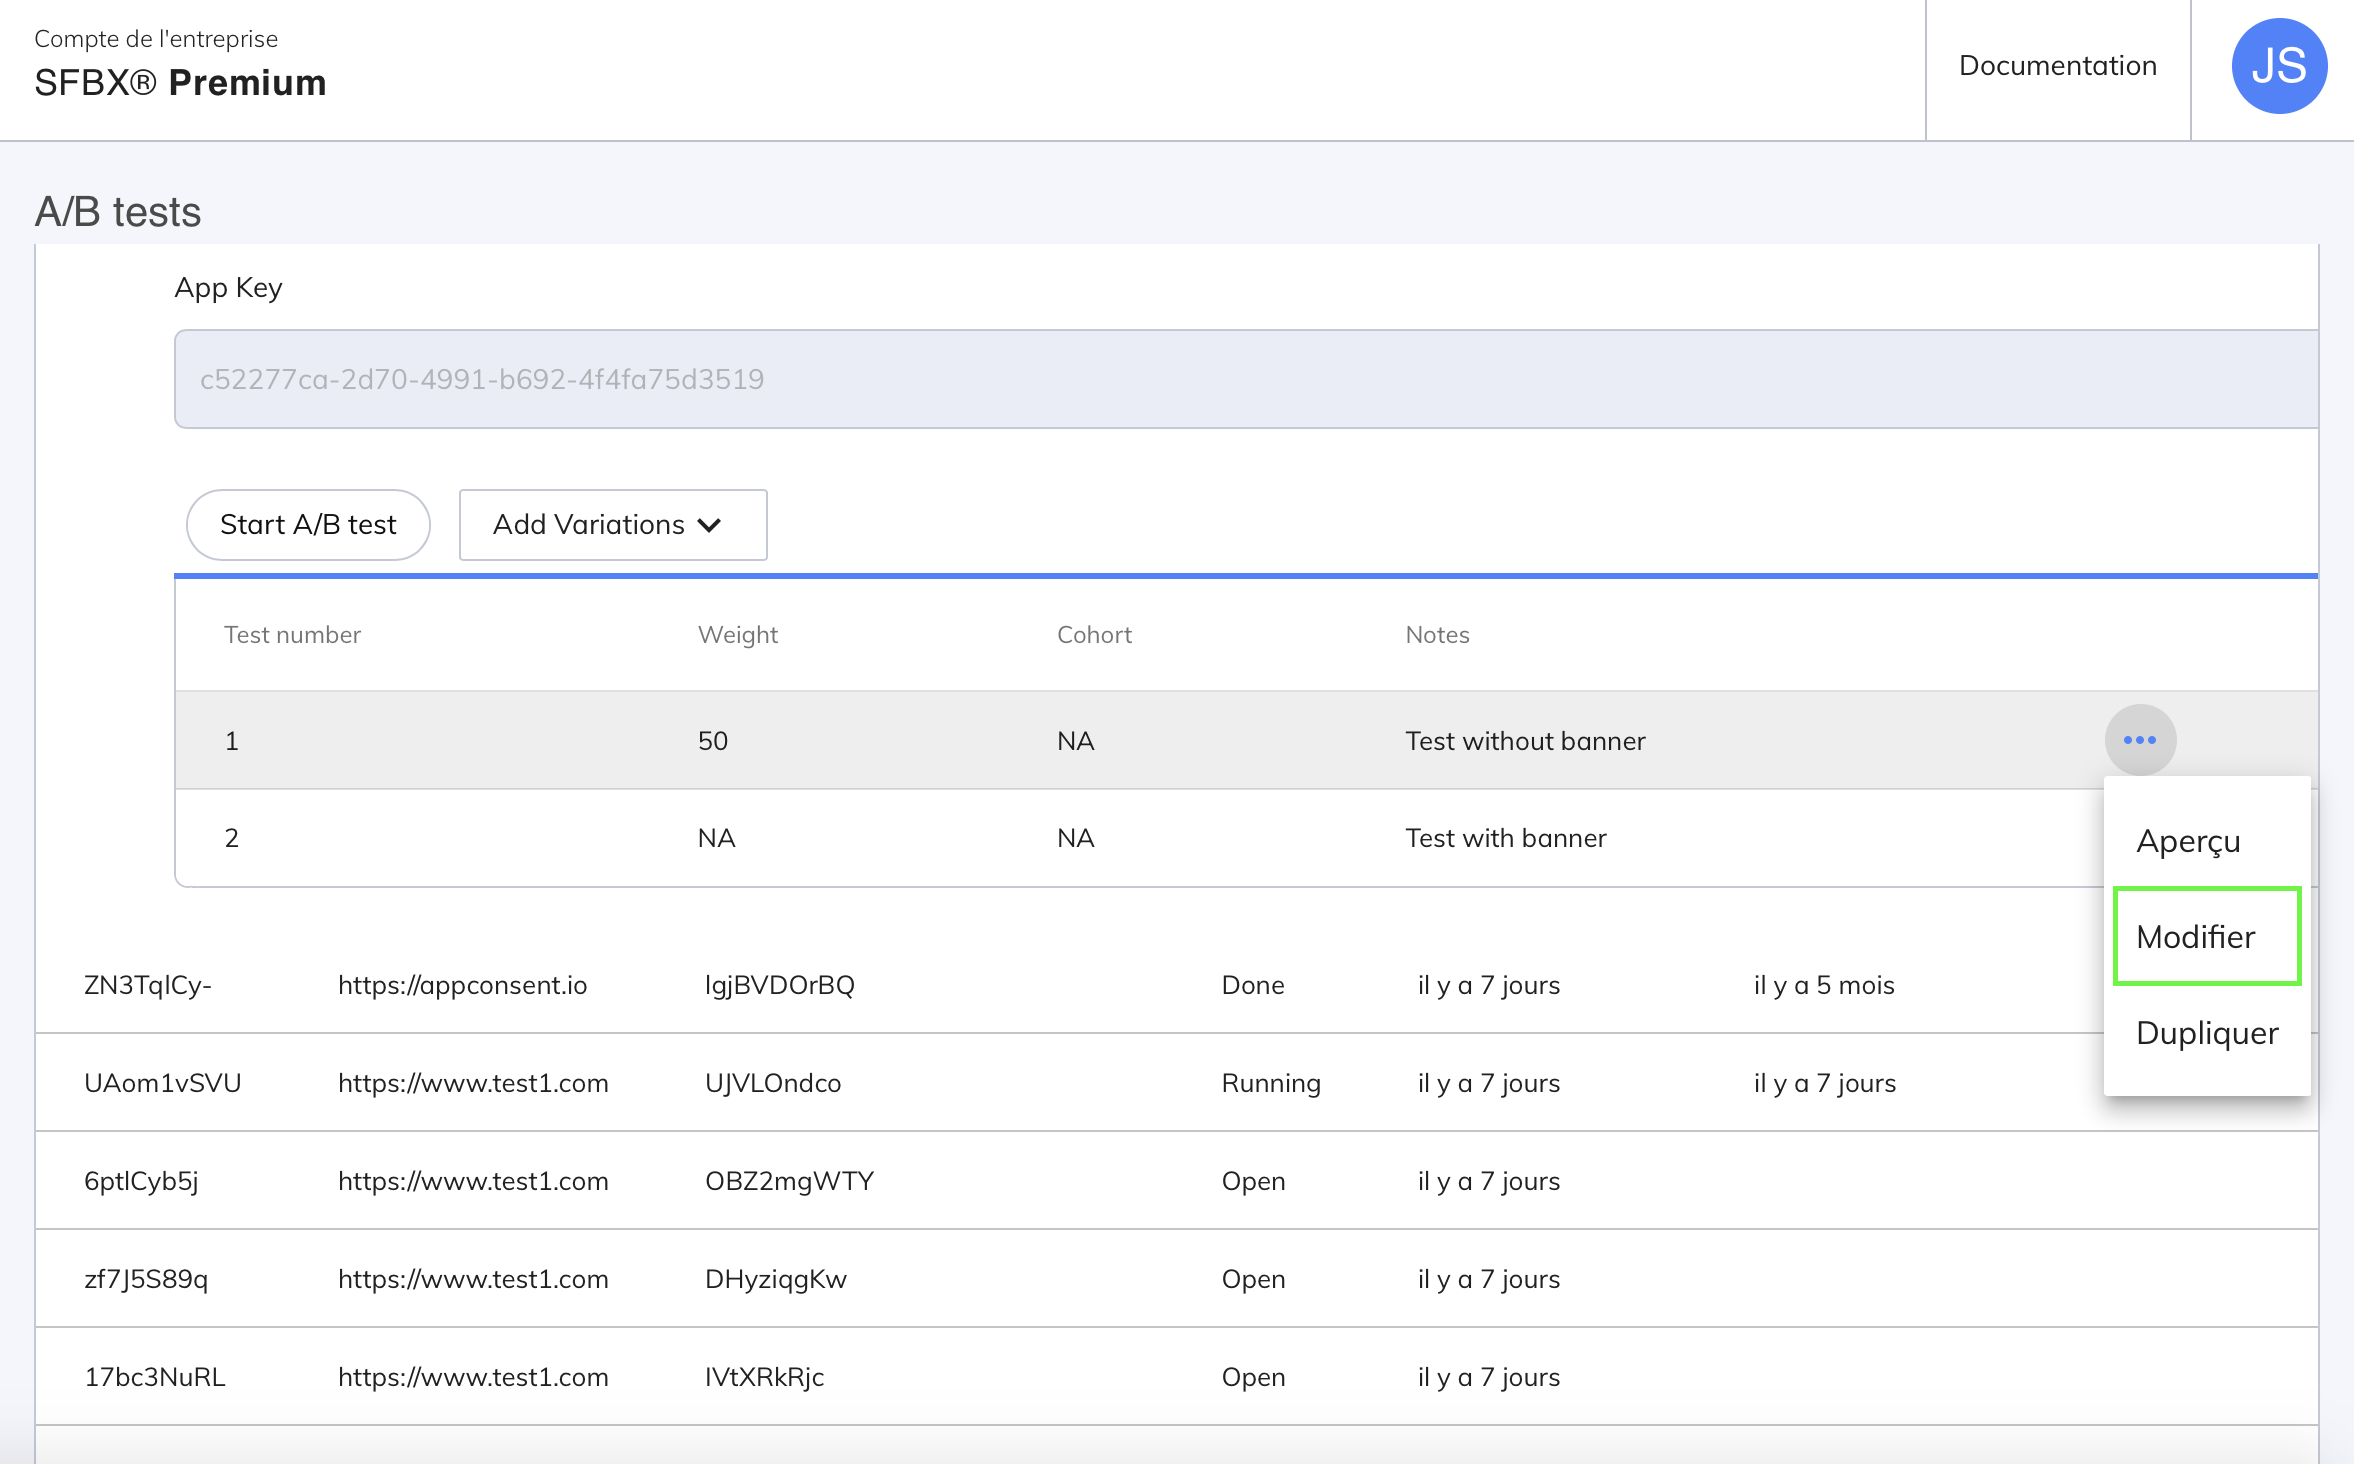
Note: you can add note by clicking one the 3 dots at the right. This note will not appear in the A/B test on the website, it's just for you own usage (for example to distinguish 2 variations you could add this notes: Notice with banner / notice without banner).
Status:
- Open: the A/B test is created, but not yet activated on your website or app
- Running: the A/B test is live on your website or app
- Done: the A/B test has been stopped
Update date: date of the last update
Test start date: date when you start the A/B test
Test end date: date when you stop the A/B test
3 dots at the right: if you click on this dots, you can edit the note field or delete the A/B test.
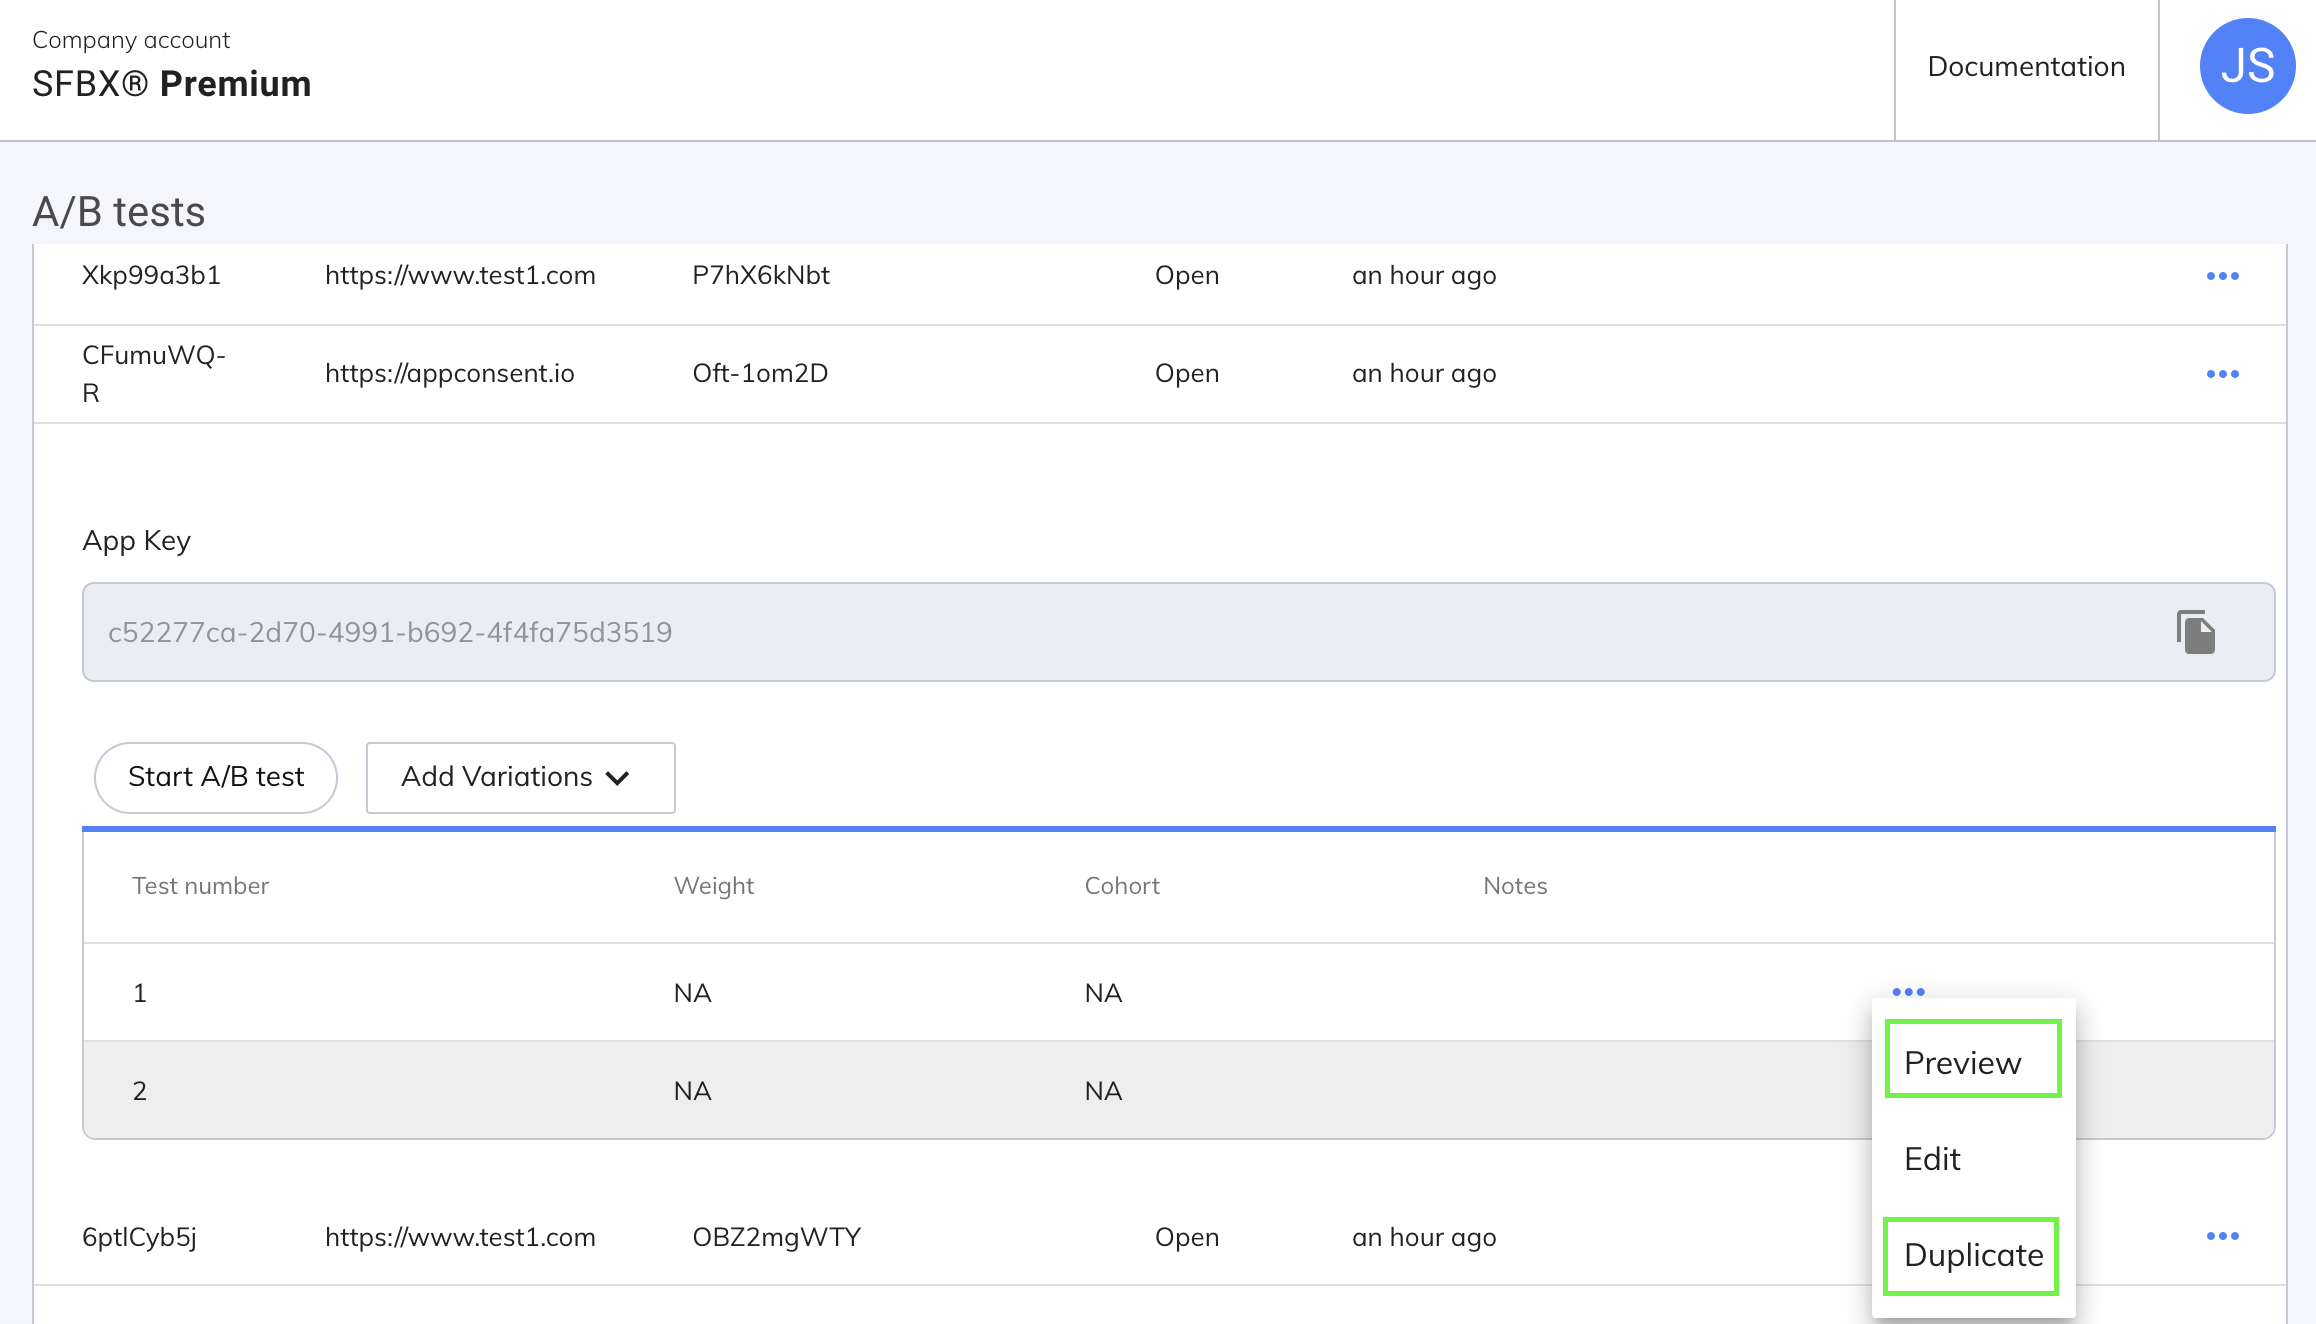
To see the details of the A/B test, click on the line of the A/B test.
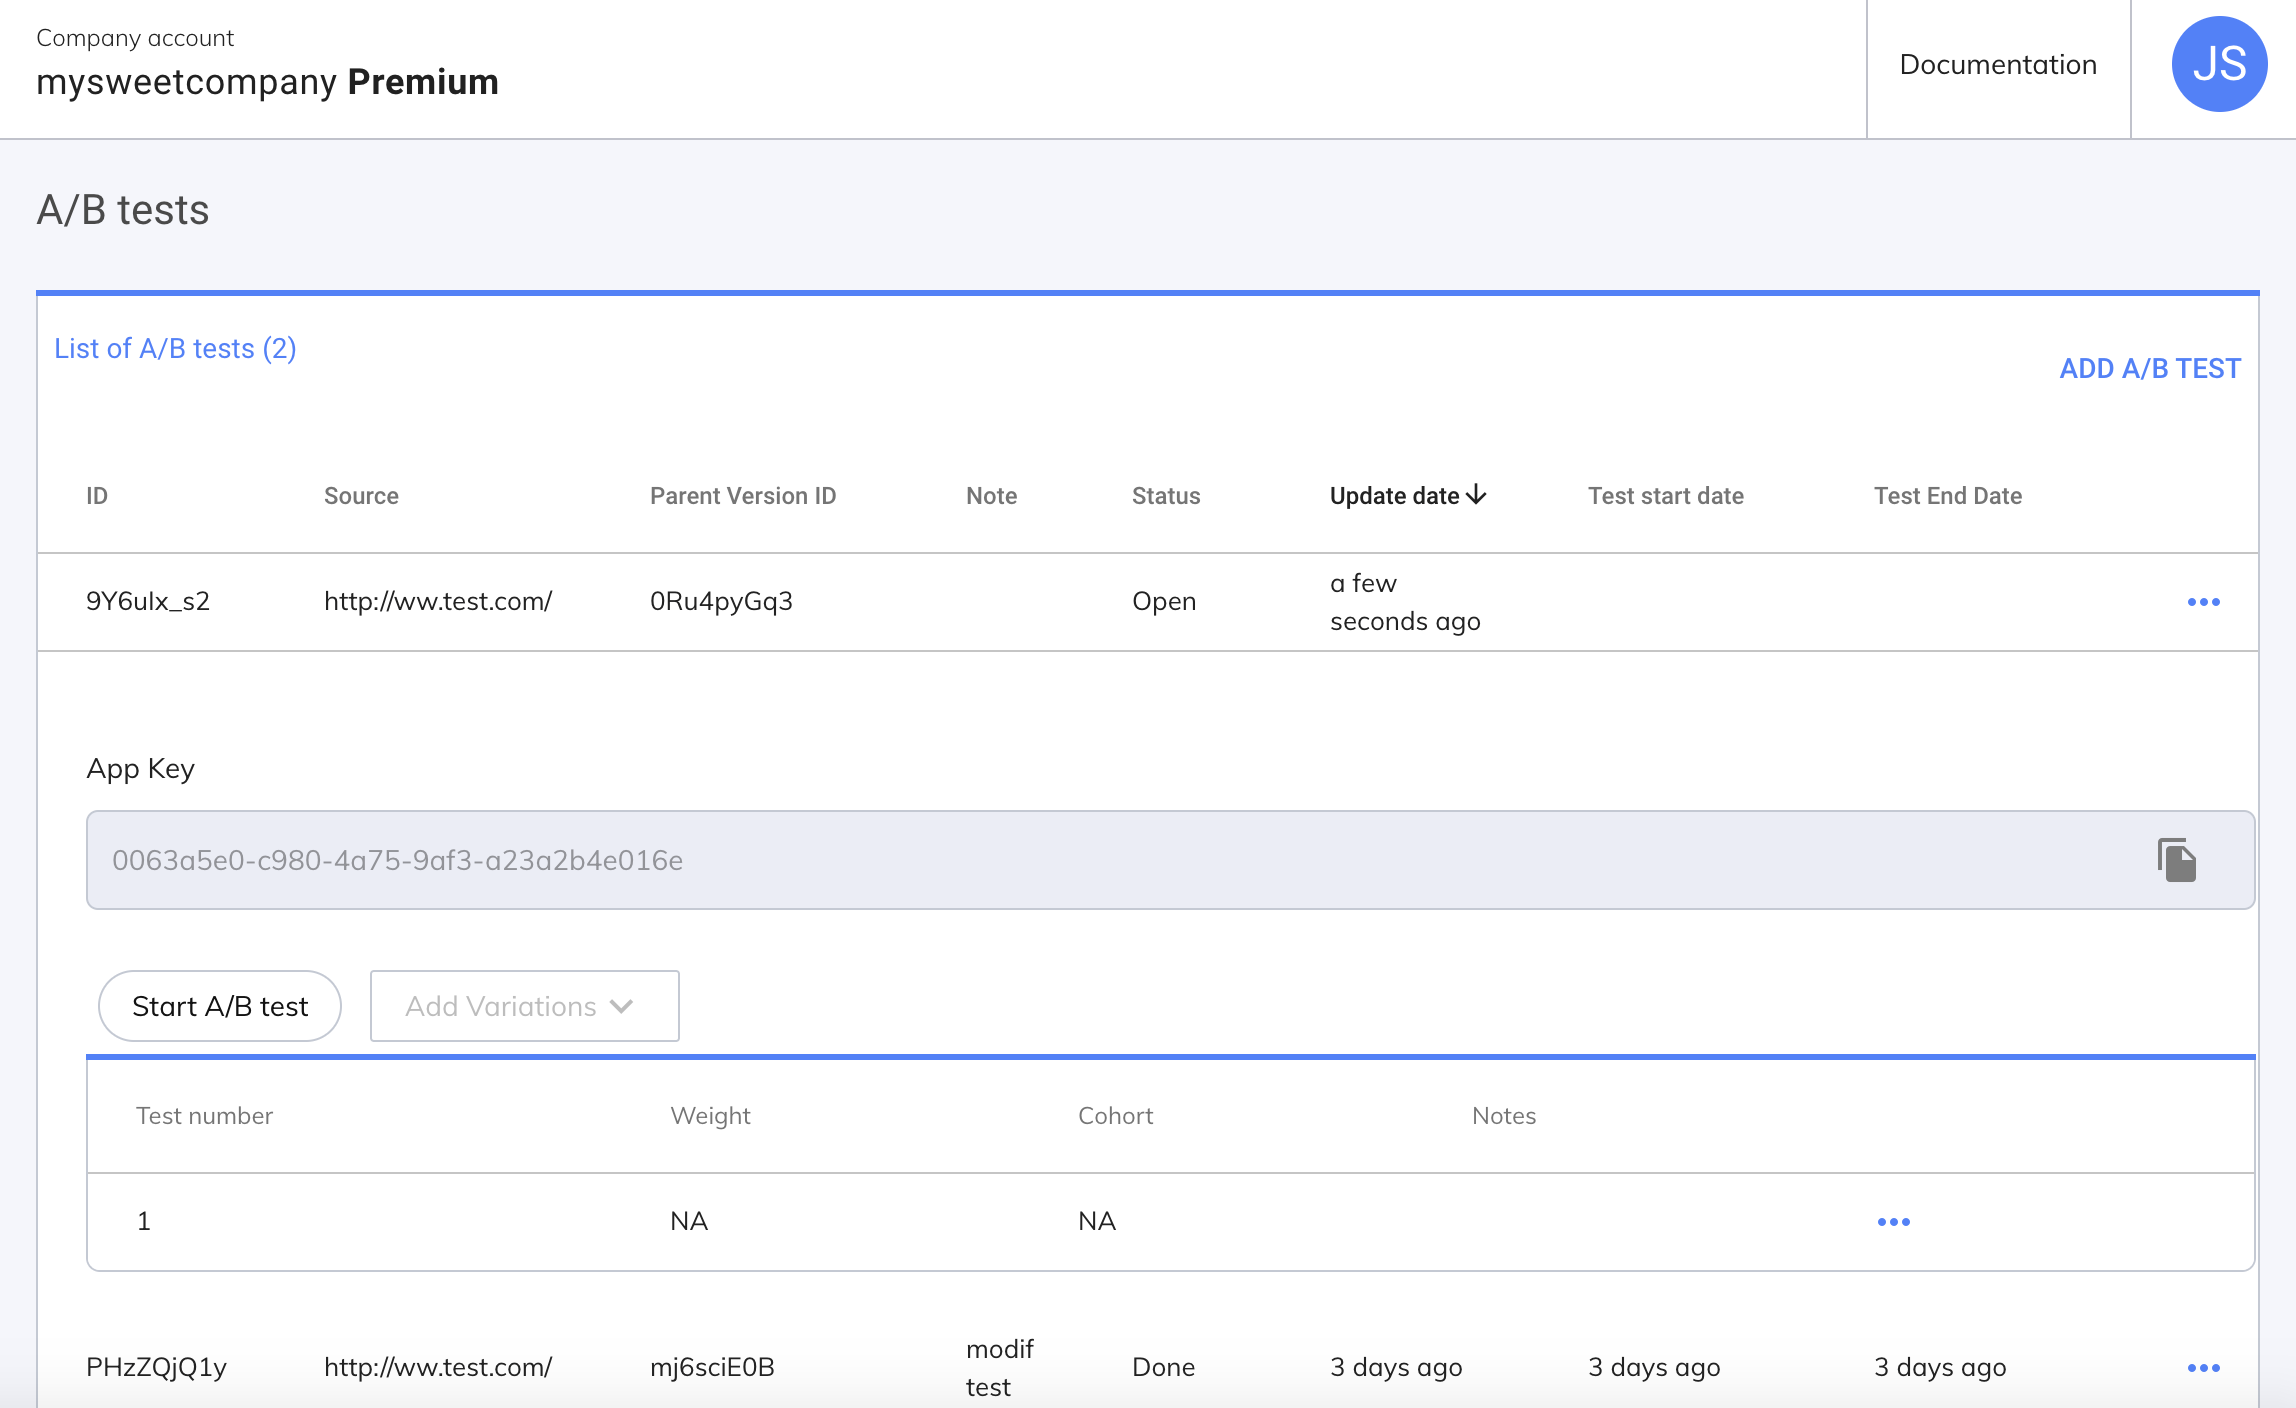
The details of the A/B test are displayed:
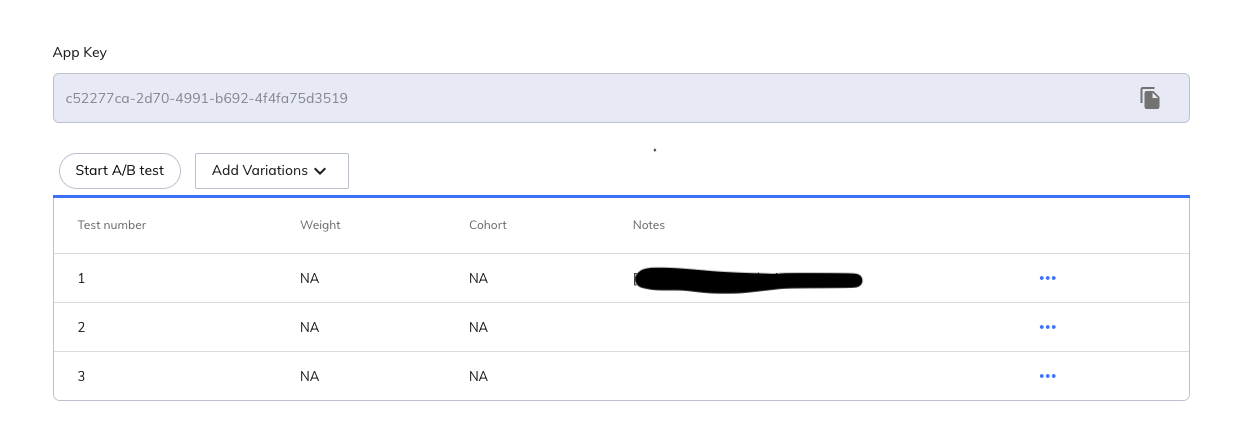
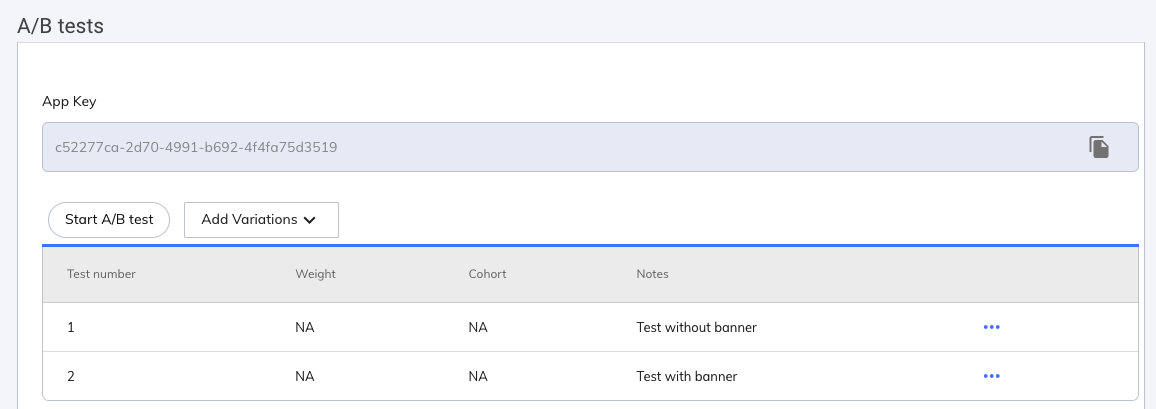
- App Key : Notice App Key
- Start A/B test: click on this button when your A/B test is ready.
- Add variation: click on this button to add a variation.
- Line with a test number 1: this is the first variation of this A/B test, automaticaly created from the parent notice.
2. Add notice variations for the A/B test
info
To be run, an A/B test needs at least 2 variations. We call Variation a notice with some settings. Each variation can have differents settings. For example: - Variation 1: notice with banner, UI in a single step, CTA accept/Configure in the banner, CTAs enabled in notice. - Variation 2: notice without banner, UI in several steps, no CTA in the notice.
There are 2 ways to create a new variation:
- Click on Add variation
- Or create a duplicate from the first variation.
2.1. Add a variation through the "Add variation" button
Click on Add variation The list of existing notice from the same parent notice appears.
You can select any notices as long as it is not part of an experiment and is from the same source as the basic notice of your experiment.
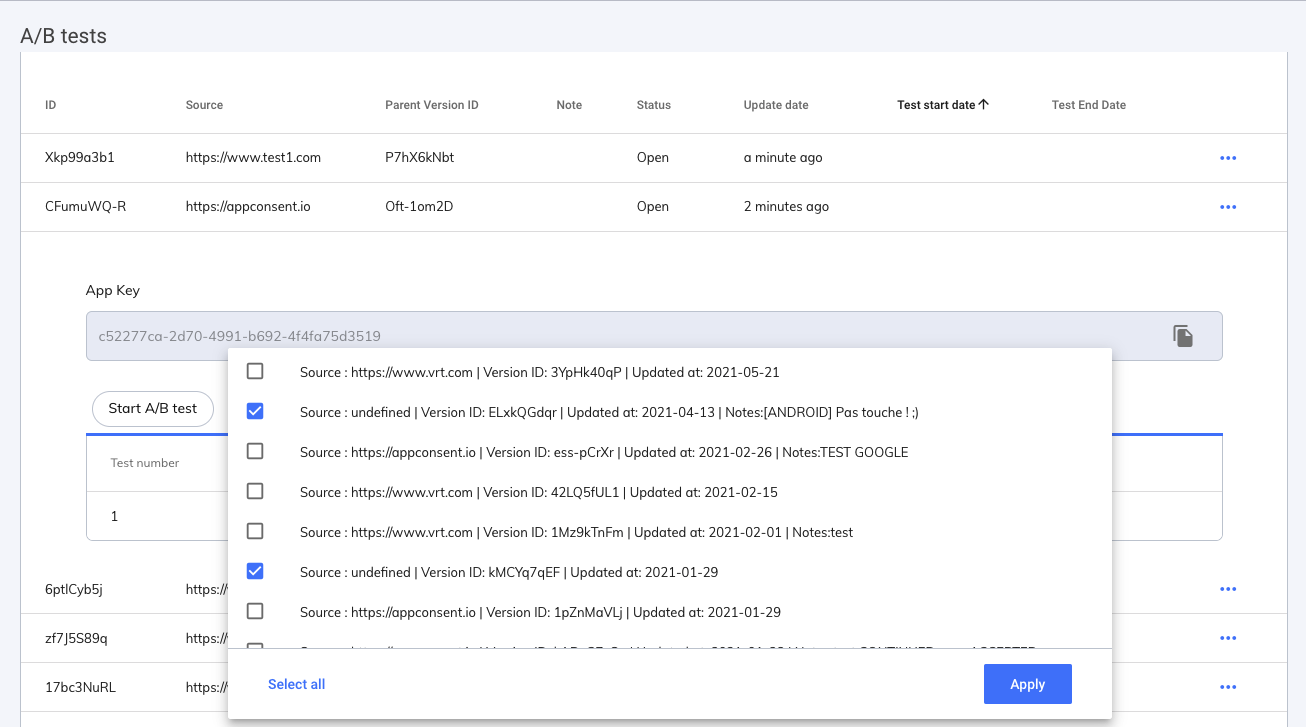
Select one or several notice(s) and click on Apply.
A new variation is created.
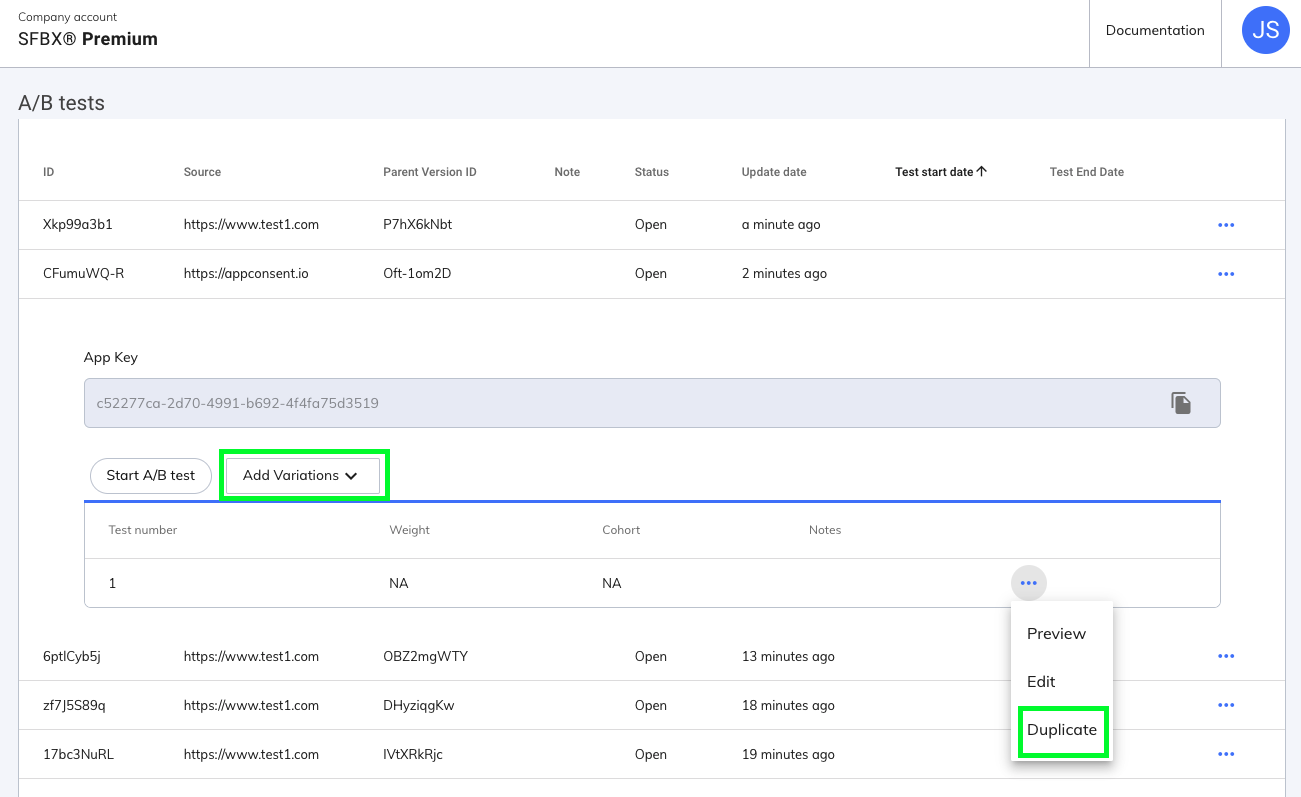
2.2. Add a variation through the "Duplicate" button
Click on the 3 dots at the end of the line of the variation you want to copy, and click on Duplicate.
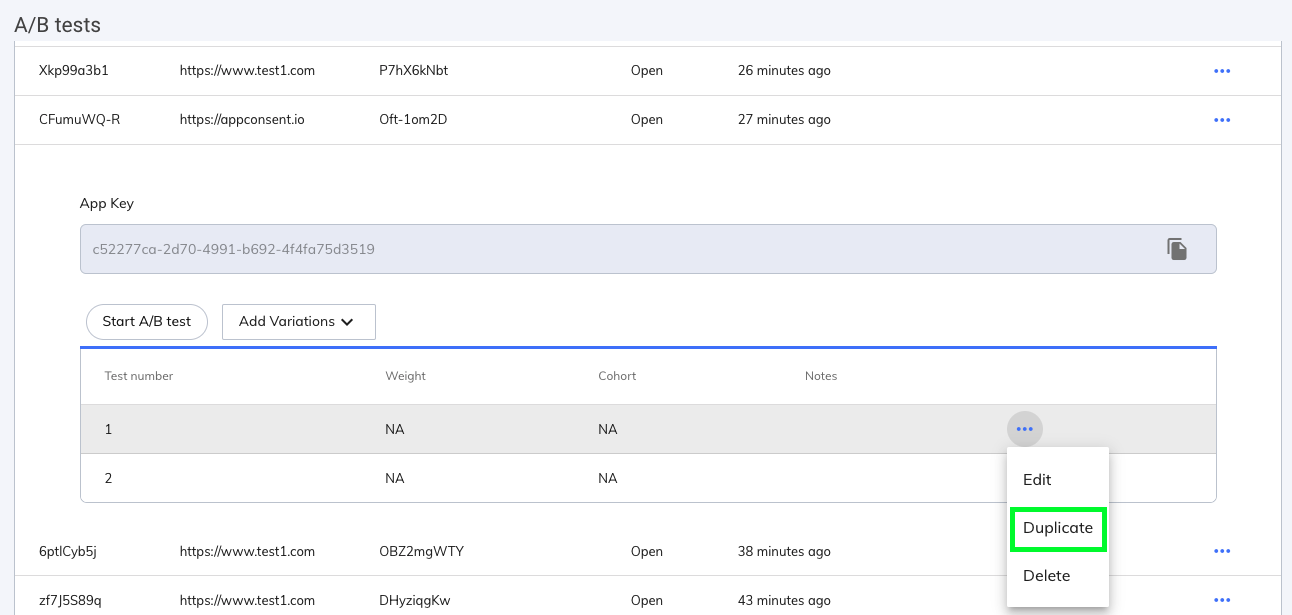
A new variation is created.
info
You can create as many variations as you want, but we recommend not to create too many. The larger the number of variations, the lower their weight, and the less frequently appear on your site.
3. Edit and configure a variation
Each variation can be edited and configured with its own settings.
Click on the 3 dots at the end of the line of the first variation and click on Edit.
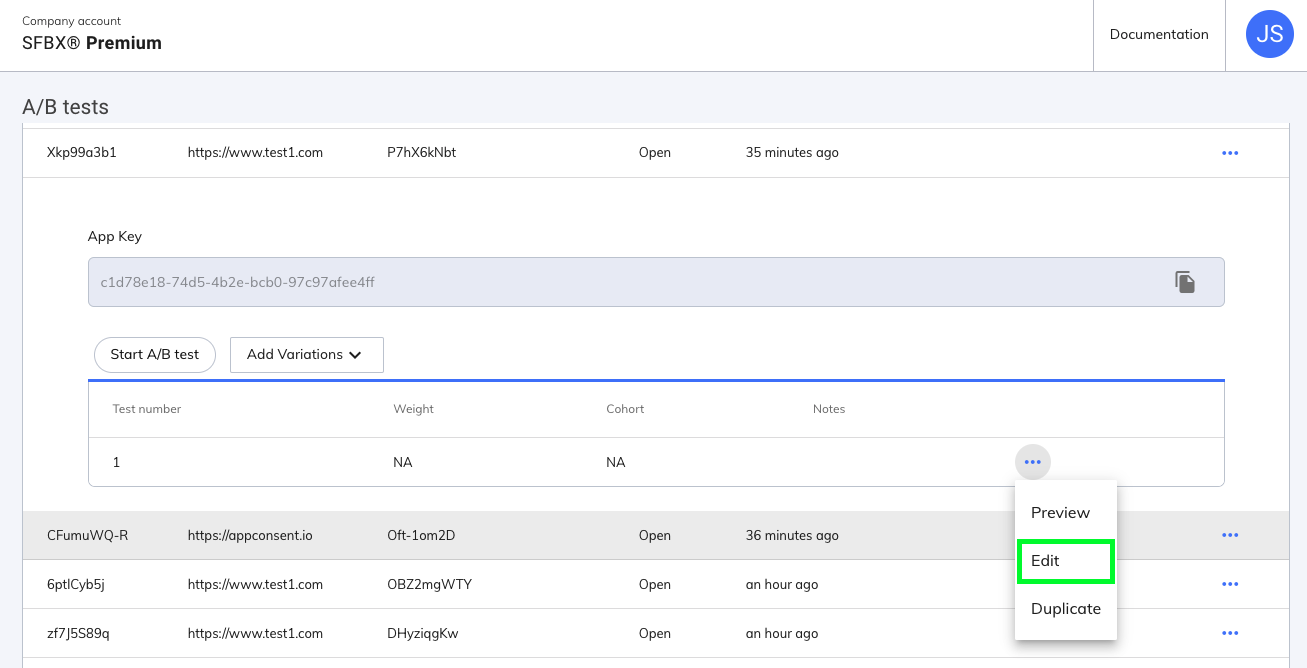
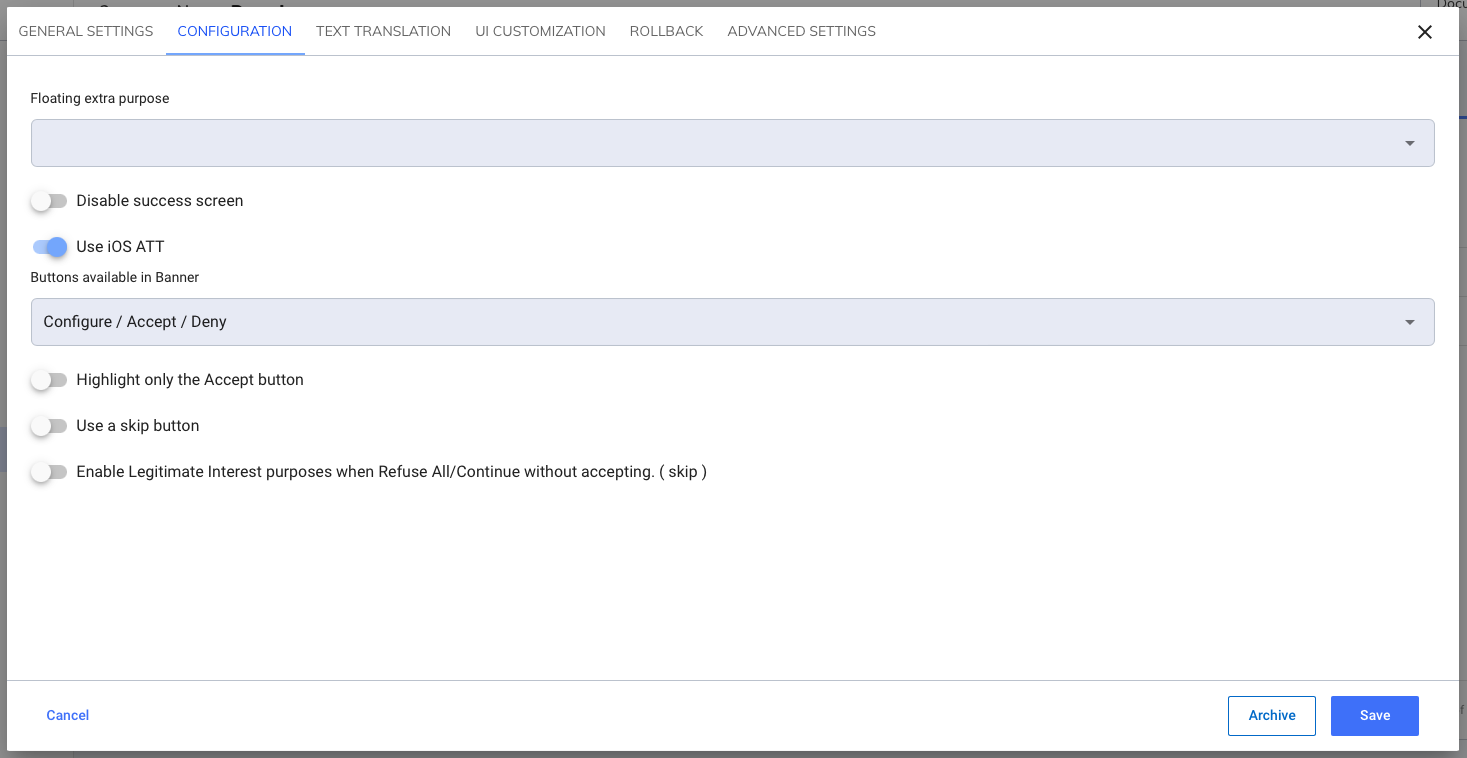
The notice form appears, with the same configuration fields than a notice. You can modify all settings.
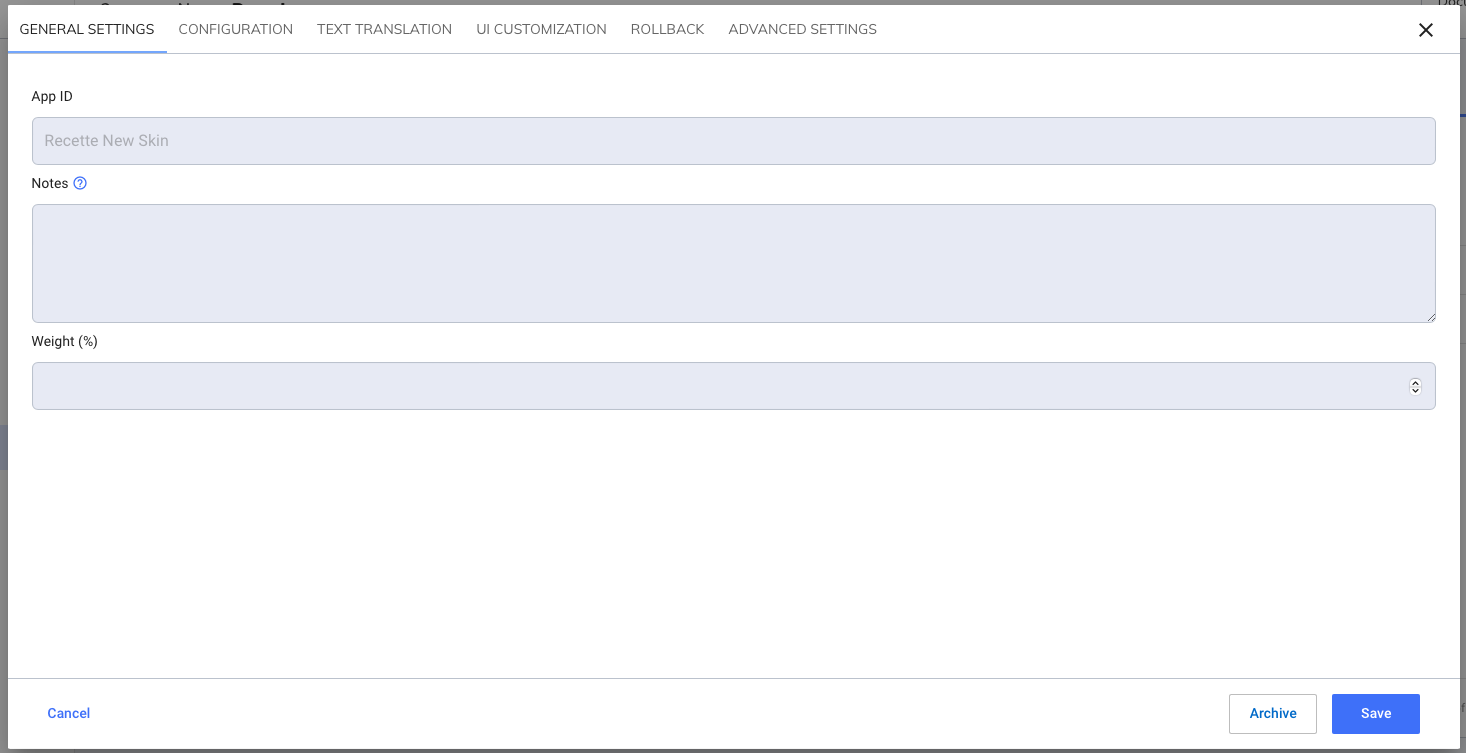
The field "Weight" is specific to the variation form. You need to fill in this field with a number corresponding to a percentage. This percentage will define the display frequency of the variation, compared to other variations of the A/B test.
For example you can have a weight of 50/50 or 30/70 or 30/20/50, or 25/25/25/25, etc.
3.1. Preview or delete a variation
2 other actions are enabled for each variation:
- You can preview your settings by clicking on Preview.
- You can delete a variation by clicking on Delete.
3.2. Organize your variations
If you want to easily identify the variations in the variations table, you can modify the Note field in the editing form. This text will not appear in the notice on your website or app.
Start an A/B test
caution
When all your variations are ready to test, you can start the A/B test.
Make sure all your settings are well defined before clicking on Start A/B test, as you could no more modify them when the A/B test will be running.
Click on Start A/B test
caution
If you haven't fill the field Weight for each variation, or if the total weight is not 100%, the A/B test cannot start.
caution
There can't be 2 A/B tests running at the same time on the same source. If another A/B test is already running on the source, you need to stop it before starting a new one.
Few seconds after clicking on Start A/B test, the A/B test will run, and its status is Running, with a Test start date:
At this stage, the A/B test can no more be modified. You can only view details (throught the variation form), but settings cannot be updated. You can still see a preview of each variation, by clicking on Preview.
While an A/B test is running, the parent notice cannot be modified or deleted.
info
While the A/B test is running, you can check the statistics for each variation. To do so, read the dedicated section.
Stop the A/B test
You can run an A/B test as long as you want and stop it whenever you want. When you consider your test is done, click on Stop A/B test.
The Stop* A/B test button changes to Confirm stop. You need to pick one of the variations before confirming. The variation you choose is the one that will be permanently implemented on your website or Mobile application.
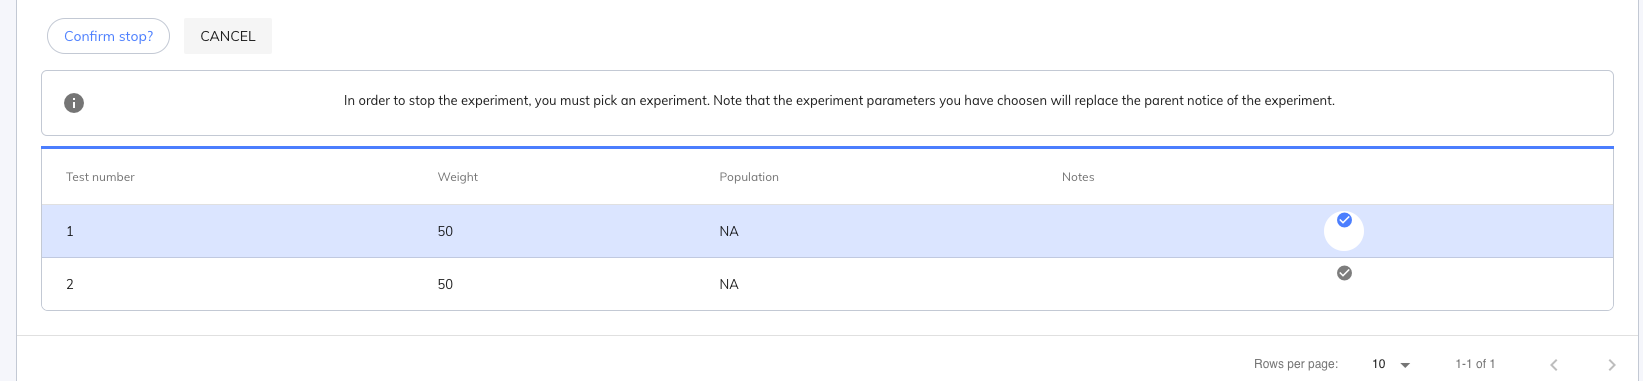
Once you have picked one of the variations, click on Confirm stop. The A/B test stops immediately (its status is Done and a Test end date is filled in) and the notice you have picked is now running on your website or application.