AppConsent Quick start for a web notice
Find out how to create a consent notice and how to implement it on your website.
note
In this step-by-step guide, we explain how to create a basic notice using the IAB Transparency & Consent Framework (TCF) and then how to implement it on your website.
3 main steps:
- Create a source
- Create a notice
- Insert your notice on your site
To discover other more advanced settings, for example, how to add your own partners (called extra vendors), we invite you to browse the summary of our documentation.
1. Create a source
From the side menu, click on Sources, then CREATE SOURCE.

Choose Website in the type field.
Enter the domain name of your website in the website URL field
Choose your IAB vendors in the dedicated field
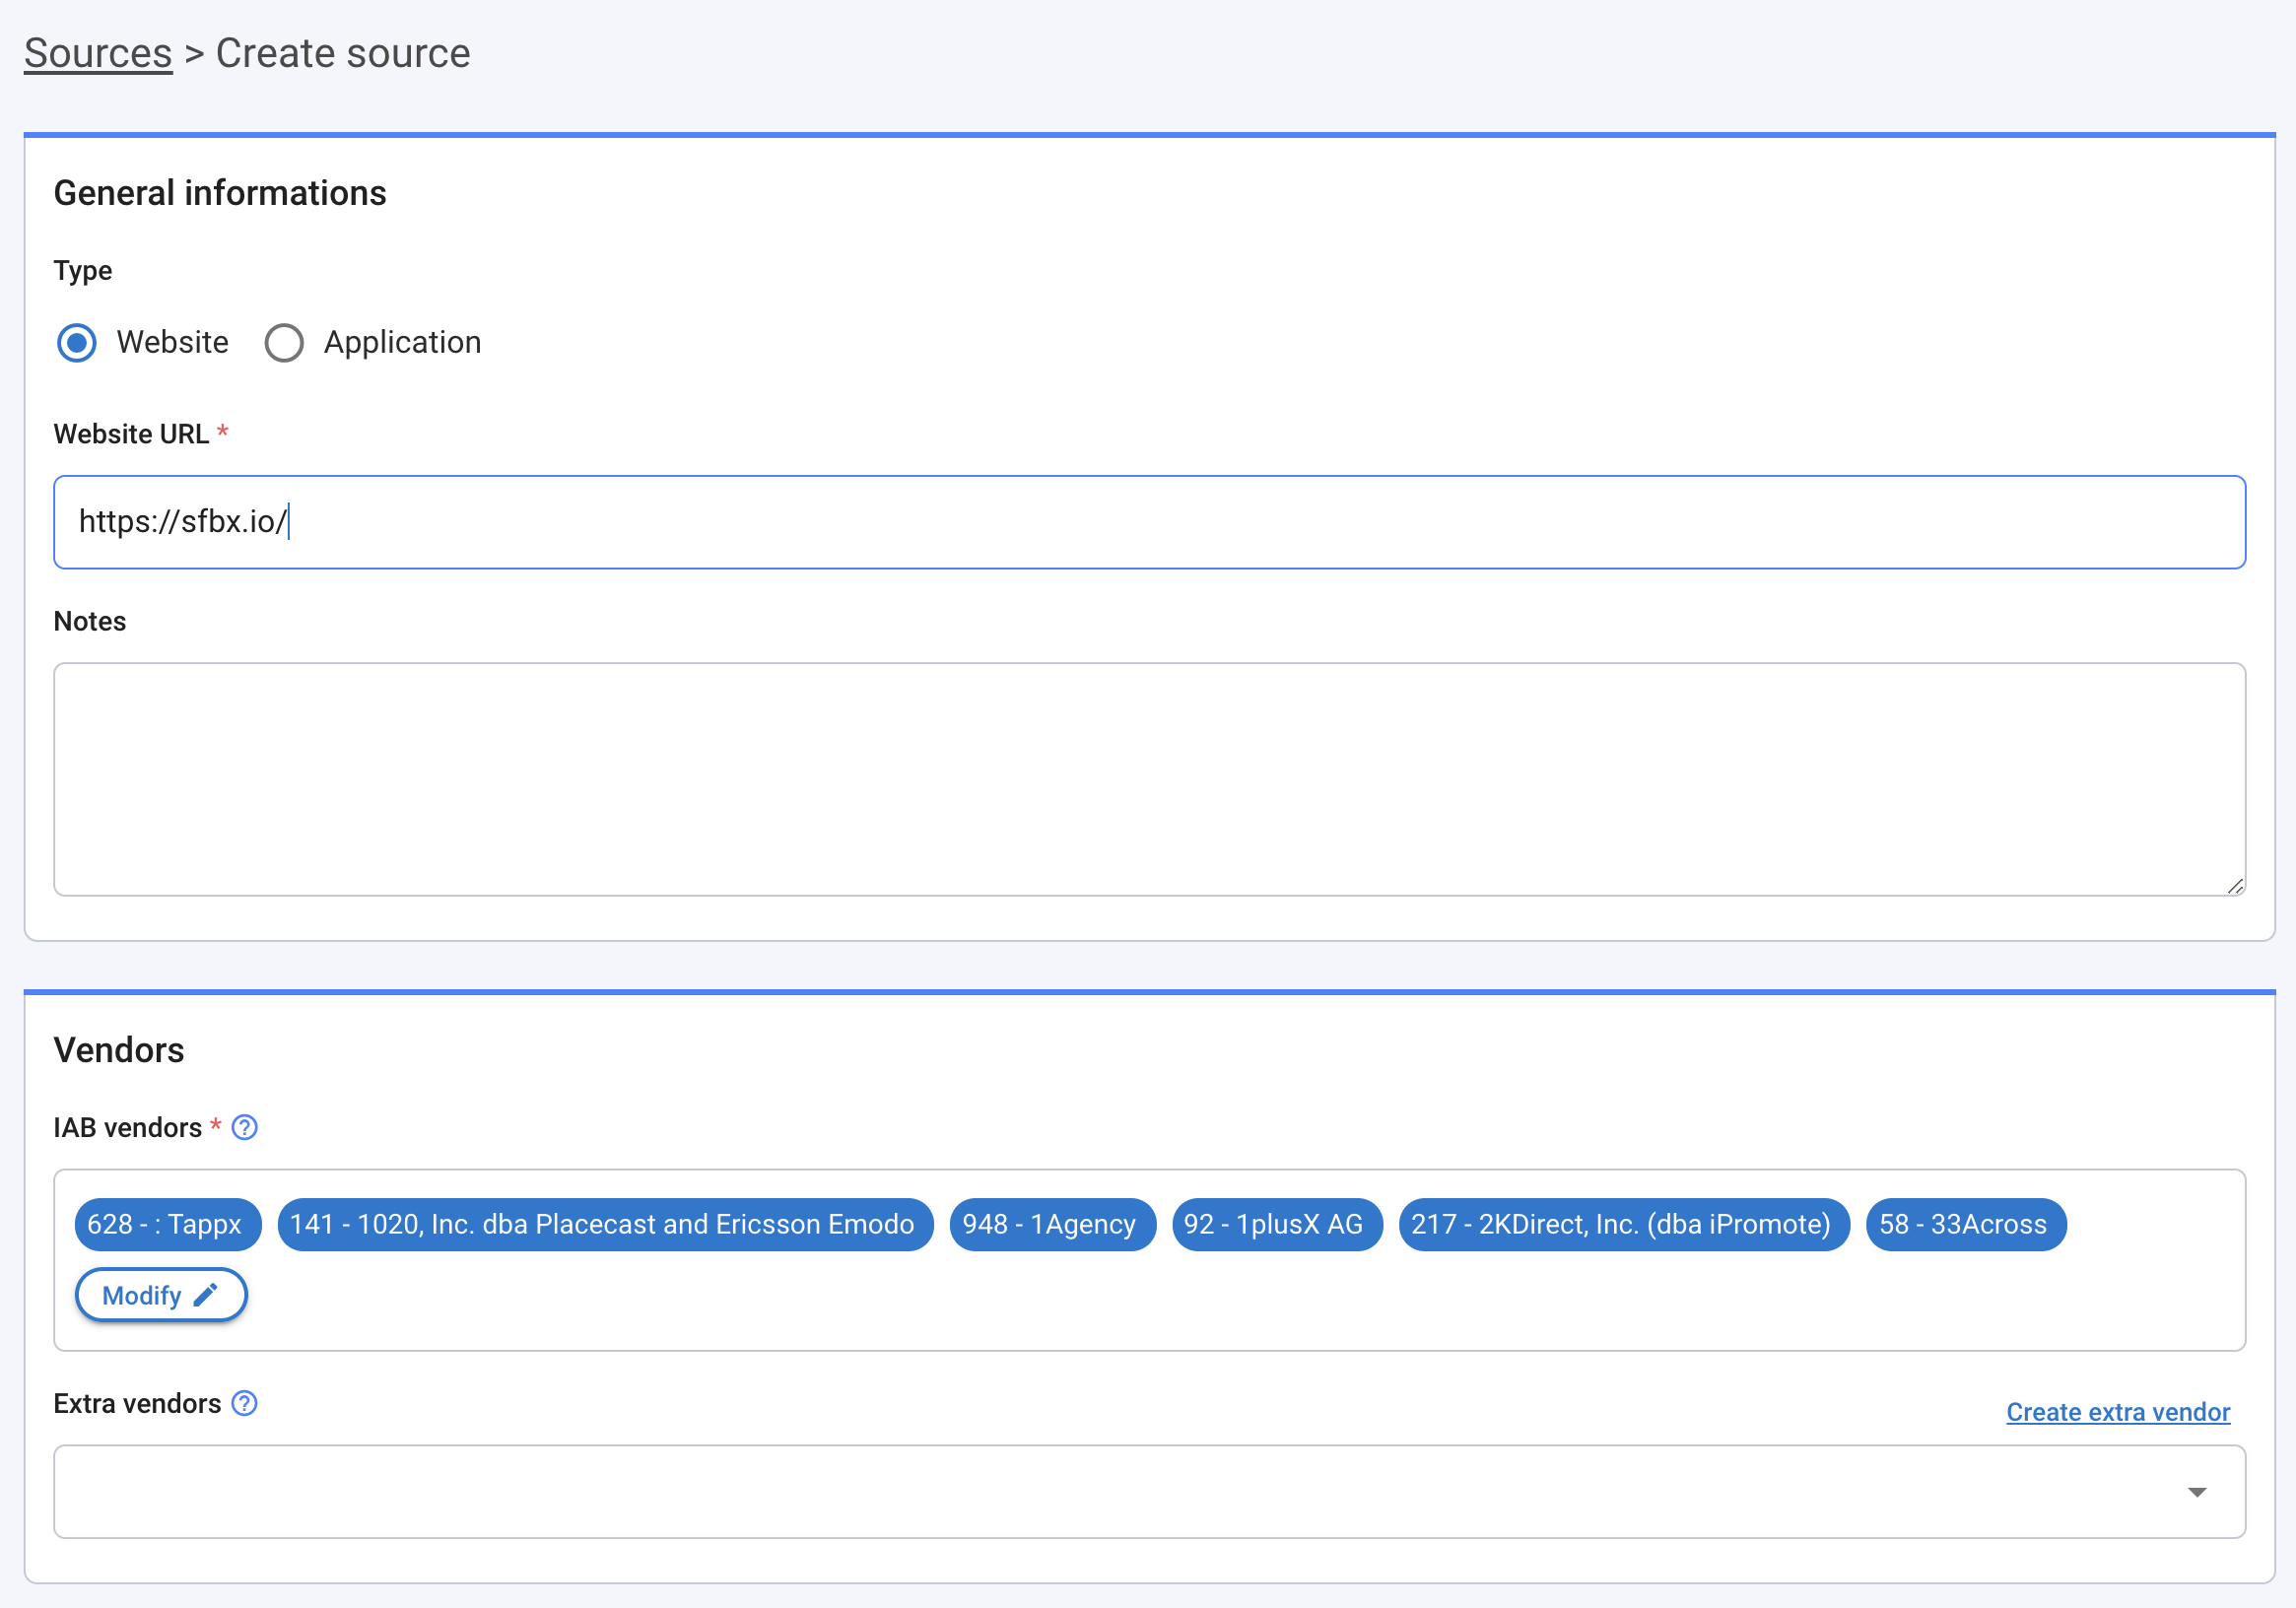
tip
Thanks to your vendors selection, we make their IAB purposes appear in the dedicated field below. You still can edit this purposes & features list at your convenience.
- In Purposes and Features field, you can modify the automatic selection according to your needs.
If you can delete some purposes, note that by doing so you will automatically delete the associated vendors, as long as the vendors were only present for that goal. You cannot add a purpose if you did not select the associated vendors above.
You can also transform some purposes into a group, named Stack, if you need. If you know which stacks can match your data collection, we recommend you to select one or several stacks, your consent notice will be shorter.

Save the source
tip
Leave the other fields, for now, you can come back to them later.
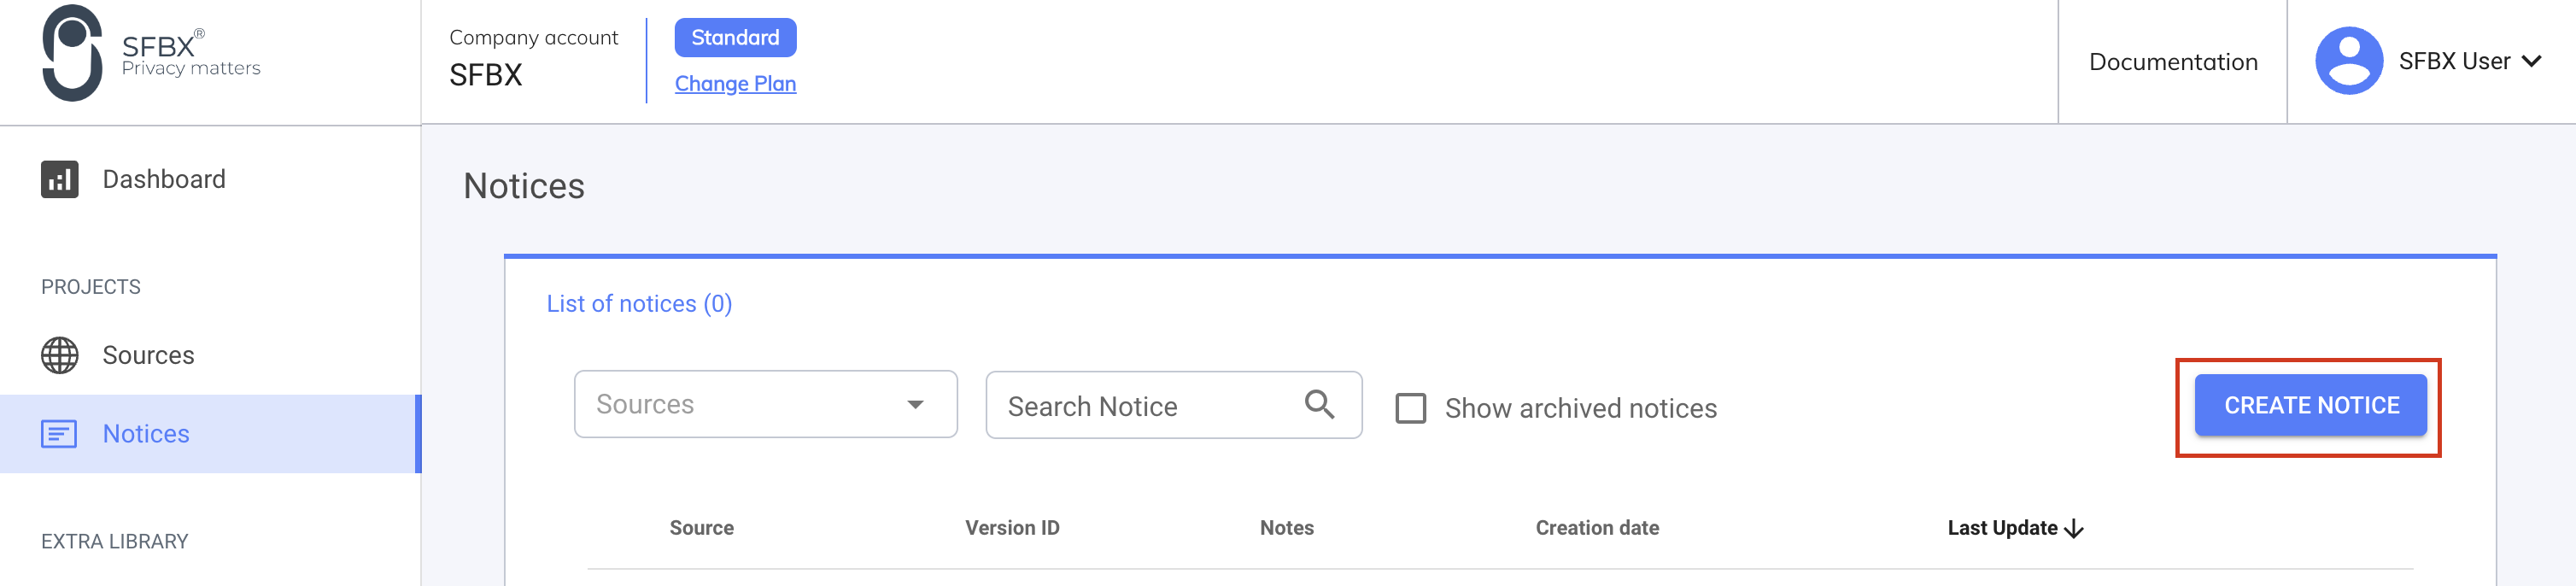
2. Create a notice
From the side menu, click on Notices, then Create notice.
2.1. General Settings
Select in the Source field, the source previously created

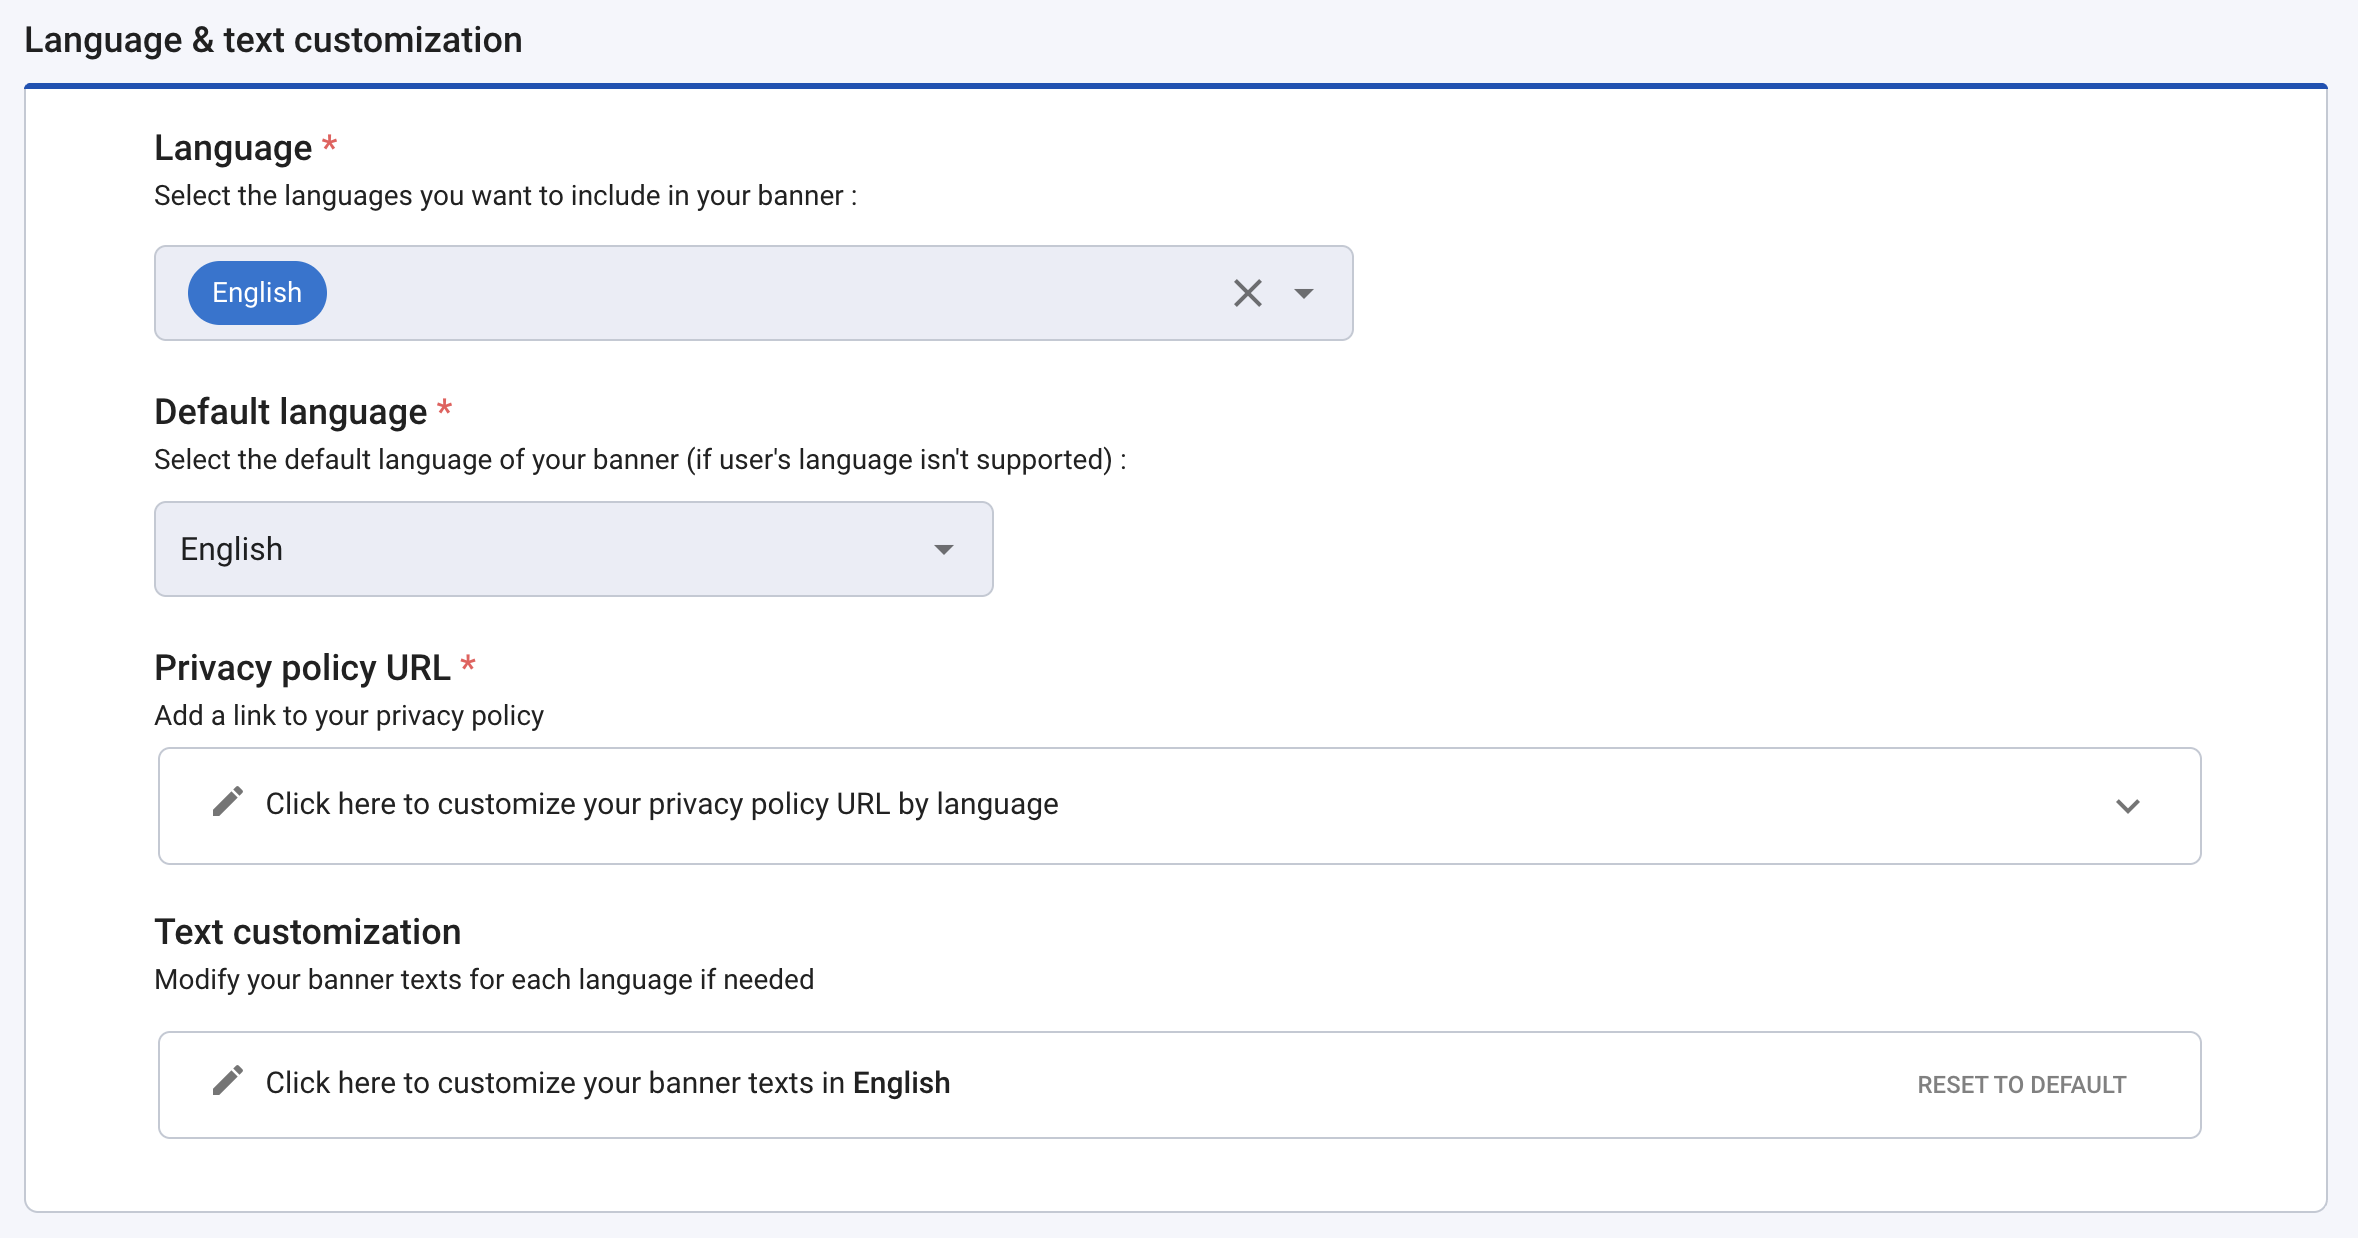
2.2. Language & text customization
Select the language(s) you want in the Language field.
In the Default language field, set a default language in case it is not possible to determine the language of a user.
Add the link to your privacy policy for each of the languages selected above. This link will be automatically added to the "See more paragraph" banner field in the text customization section once the notice has been created.
tip
By clicking in the last field, you have the possibility to see the texts of the notice. For the moment, we advise you to leave the default texts, and to come back to them later when you will have visualized your notice. In the next version of AppConsent, we will improve the way to modify the texts.
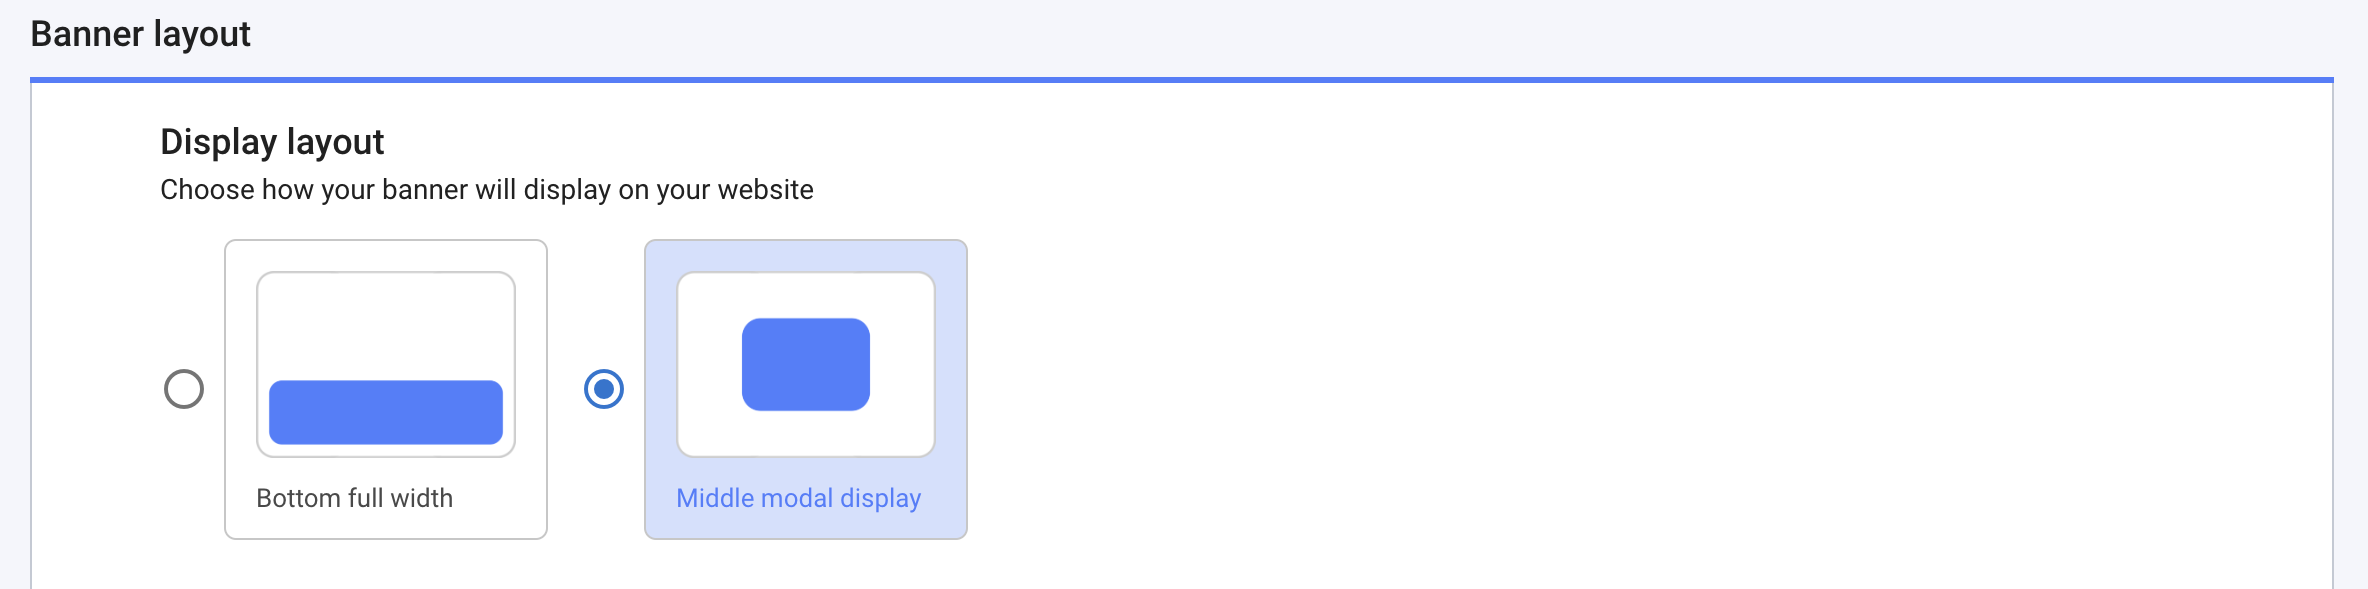
2.3. Configuration
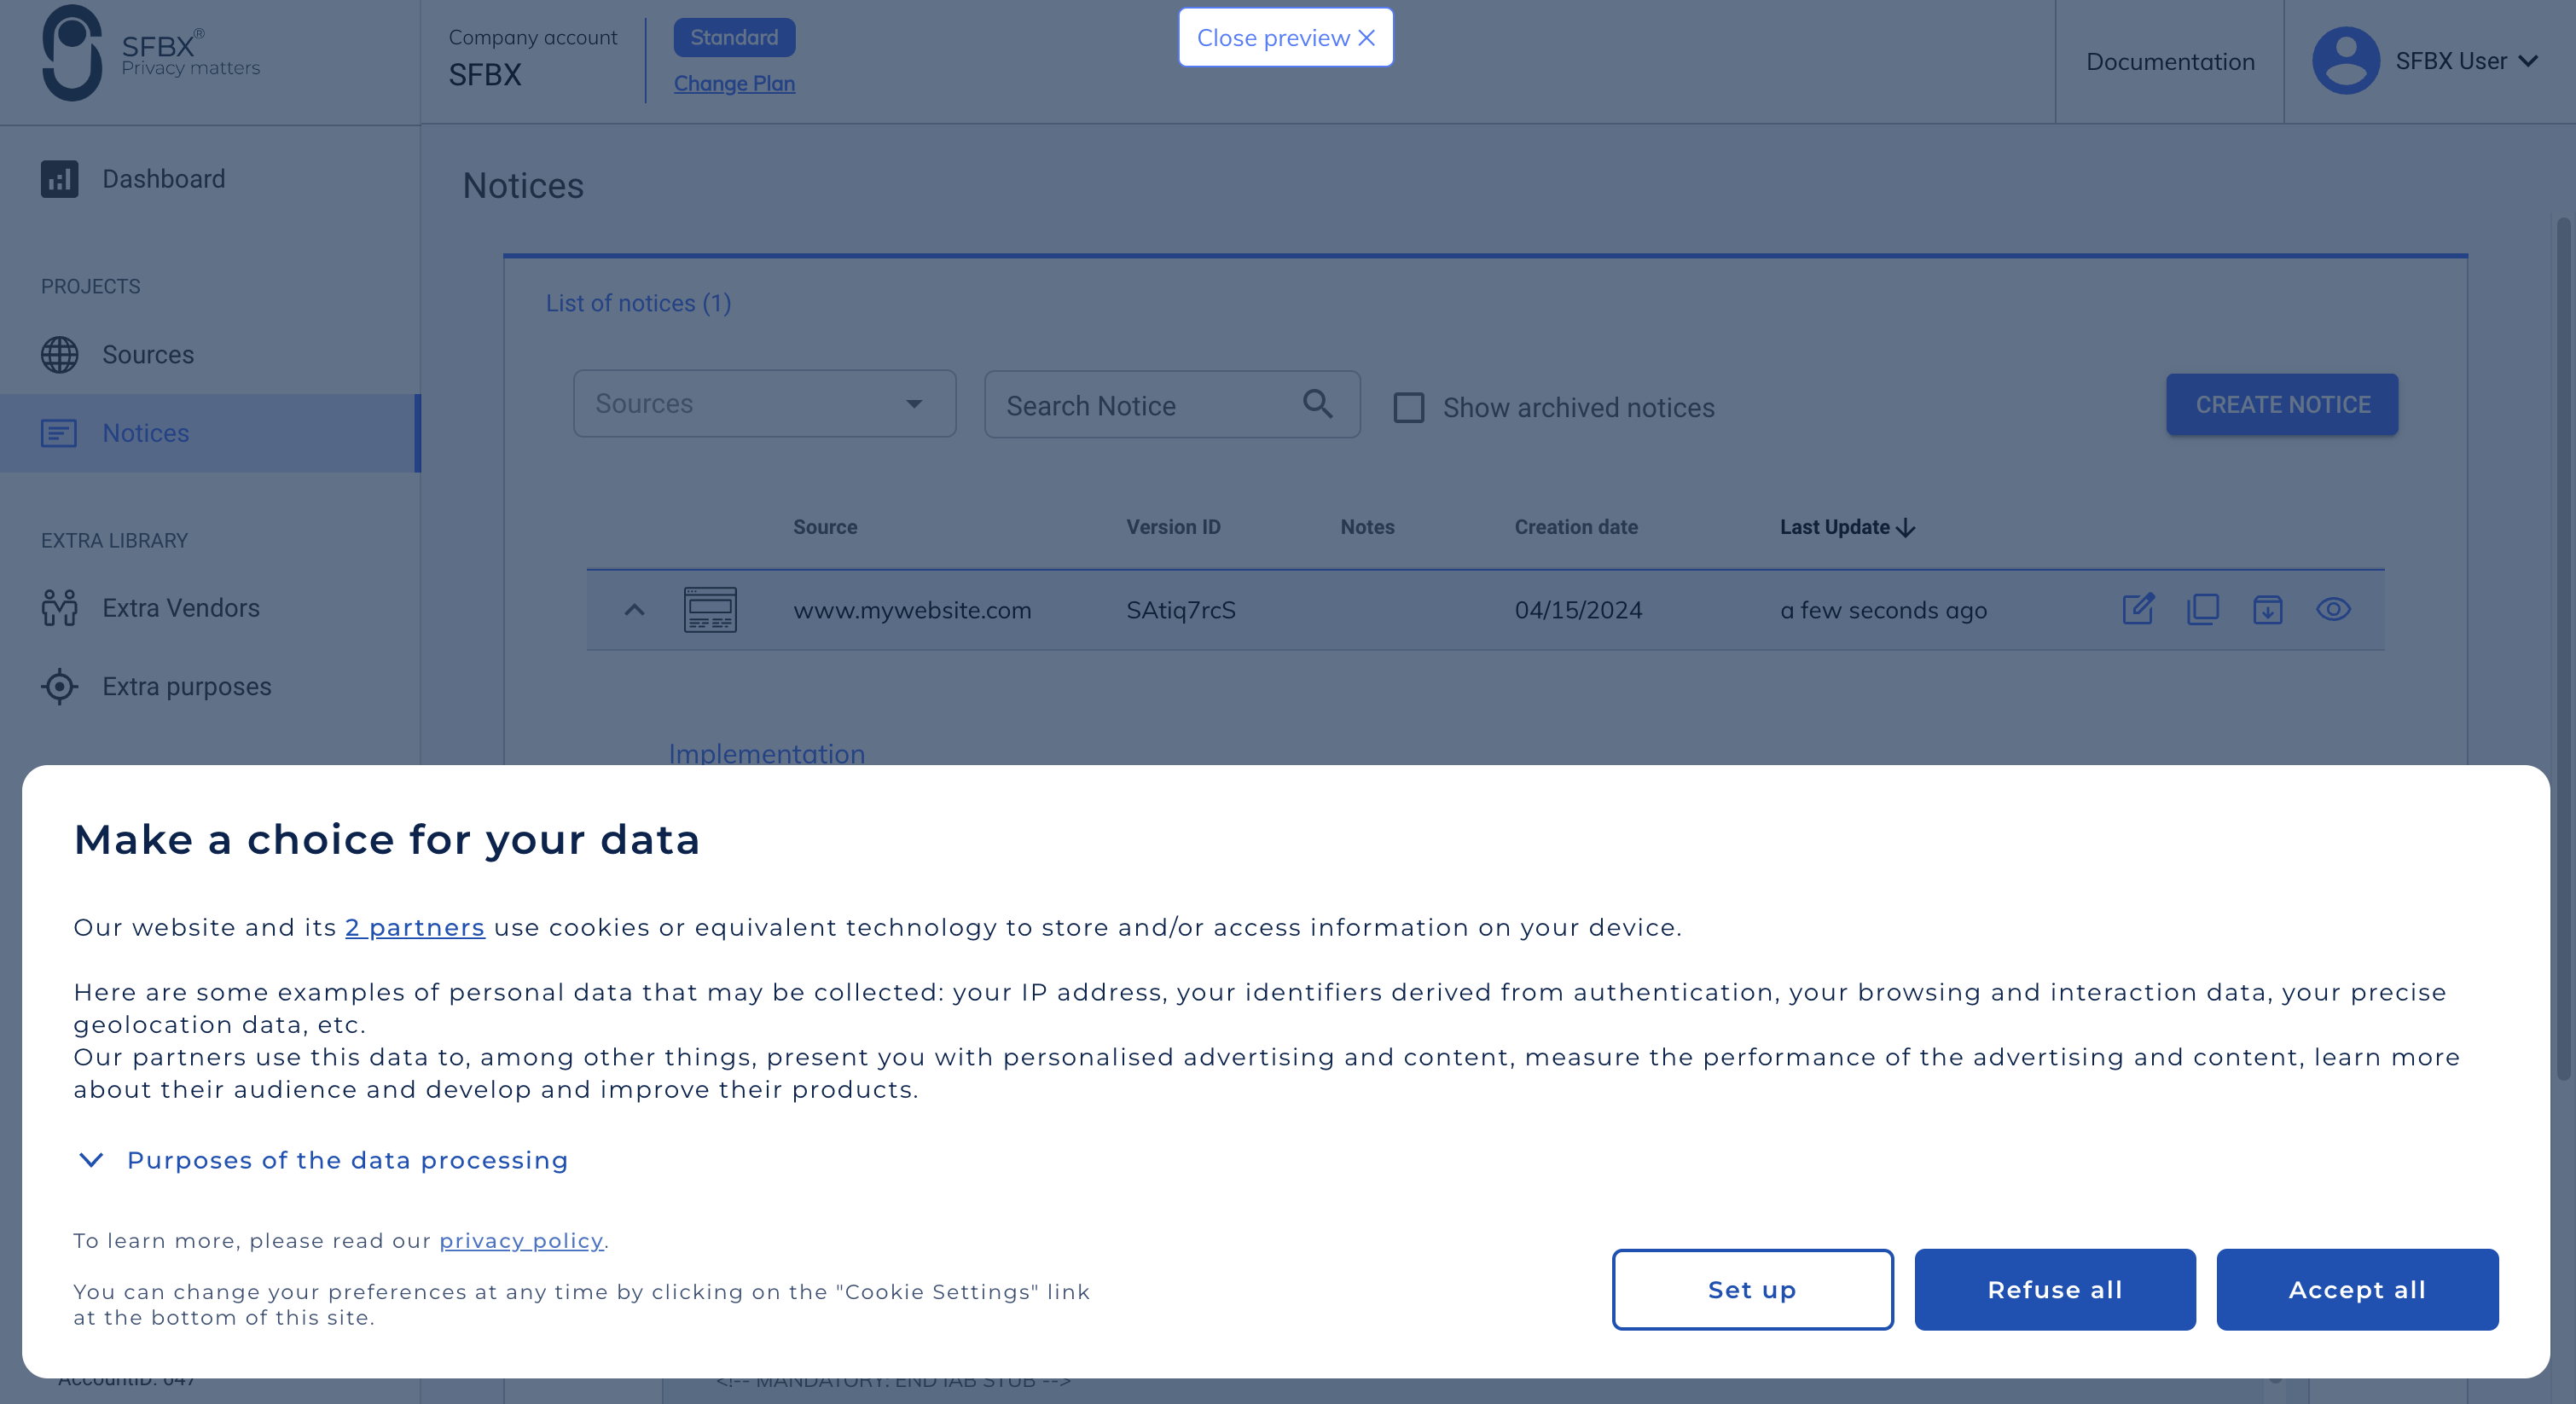
In the Display layout field, you have the choice between 2 layouts for your introduction page. By default, it is a central window. If you prefer a banner at the bottom of your site, select Bottom full width.
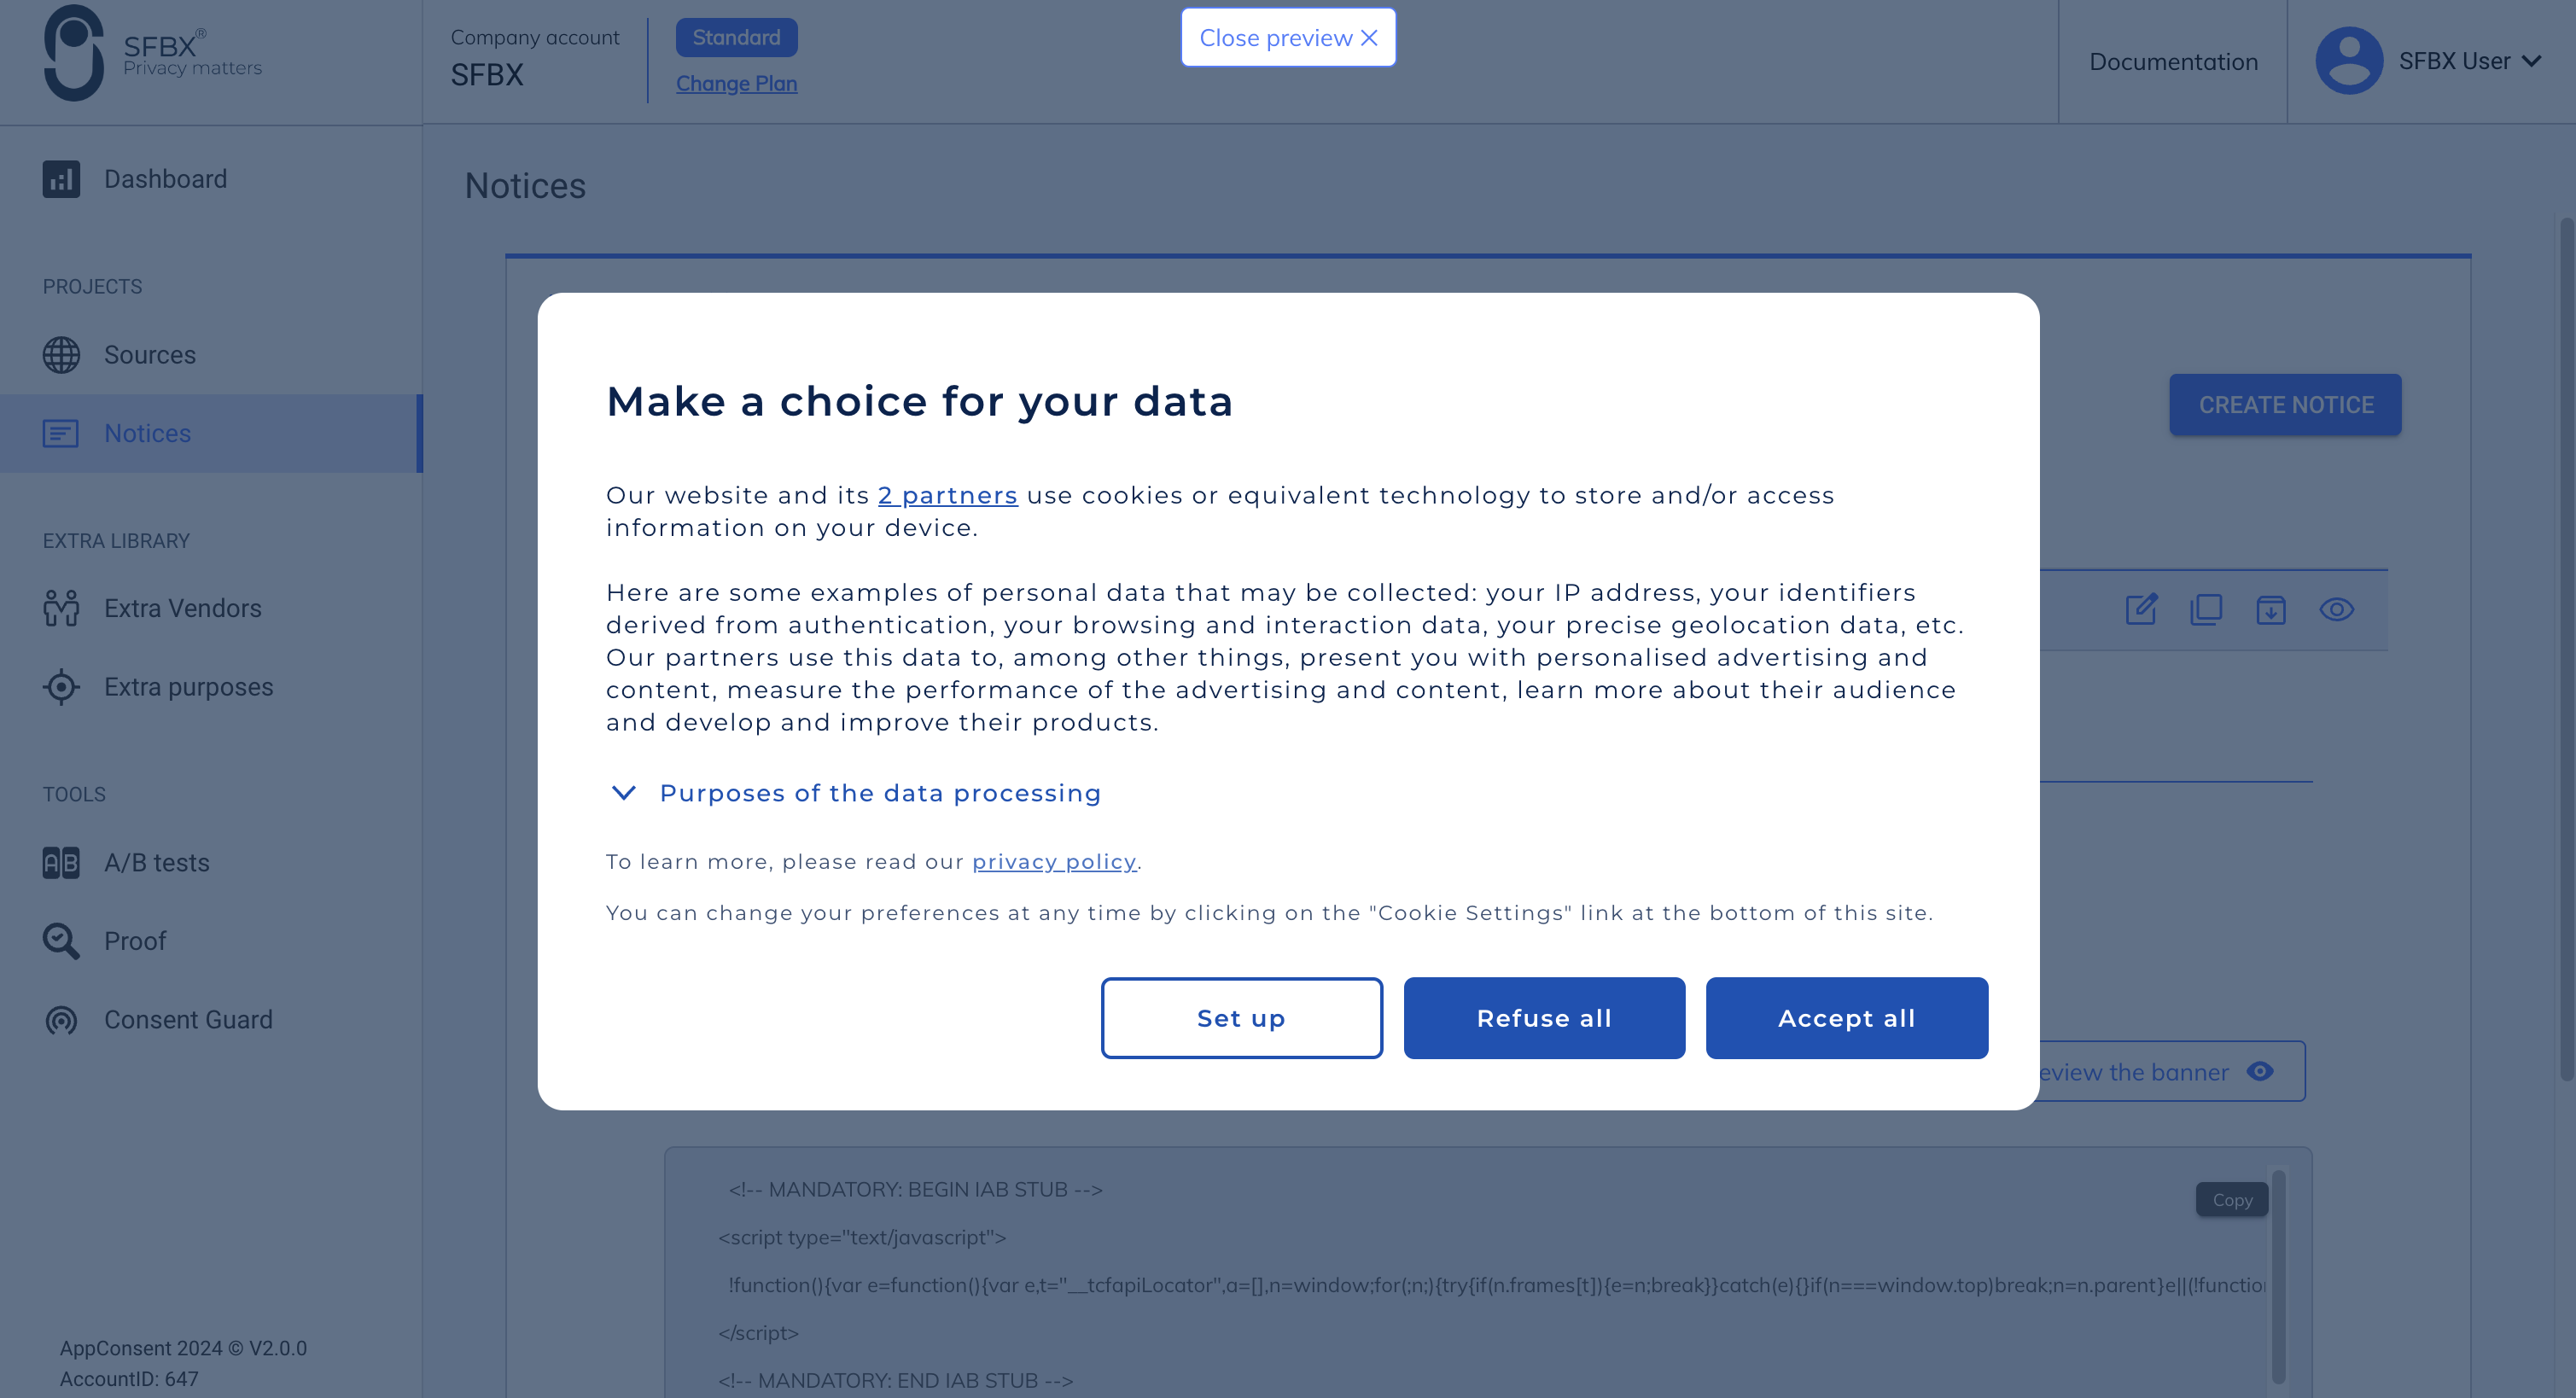
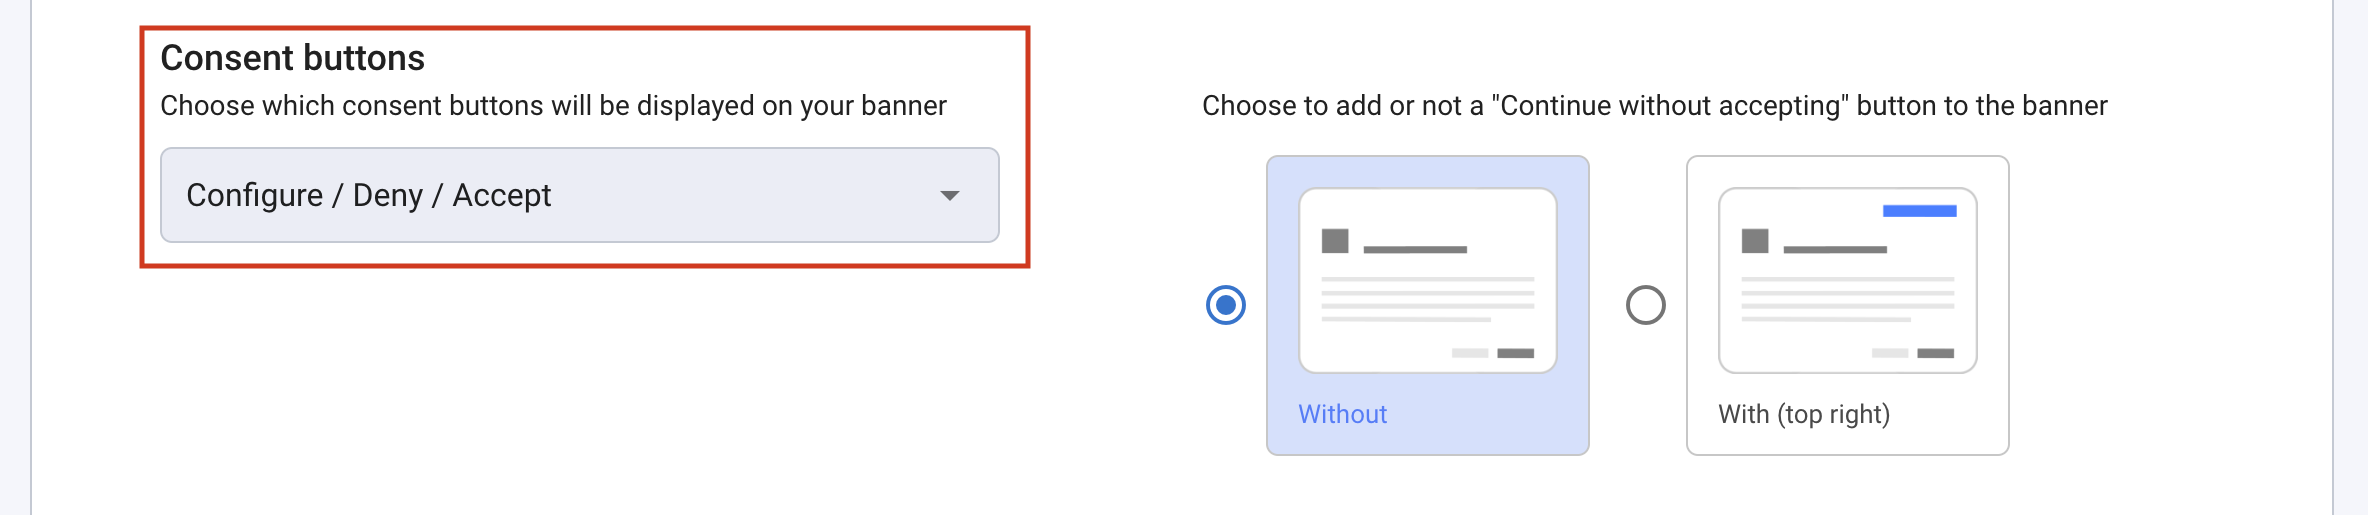
Choose the order of the buttons in the Consent buttons field. This is for the introduction page.
info
Compliance point (CNIL): since April 1st 2021, the French CNIL requires the presence of a button to refuse the data collection.
Click on save at the end of the page.
That's it, your website's manual is created in AppConsent. Now it's time to integrate some pieces of code on your website. After that, your notice will be displayed on your website and the consent collection can start.
3. Integrate your notice on your site
Other possible implementations
You wish integrate AppConsent with Google Tag Manager ? See the dedicated page : Install Appconsent with Google Tag Manager
You wish integrate AppConsent into shopify? See the dedicated page: Implément Appconsent with Shopify
- Go to Notices tab in AppConsent configuration interface
- Then under the notice you wish to integrate, copy the integration code using the "Copy" button
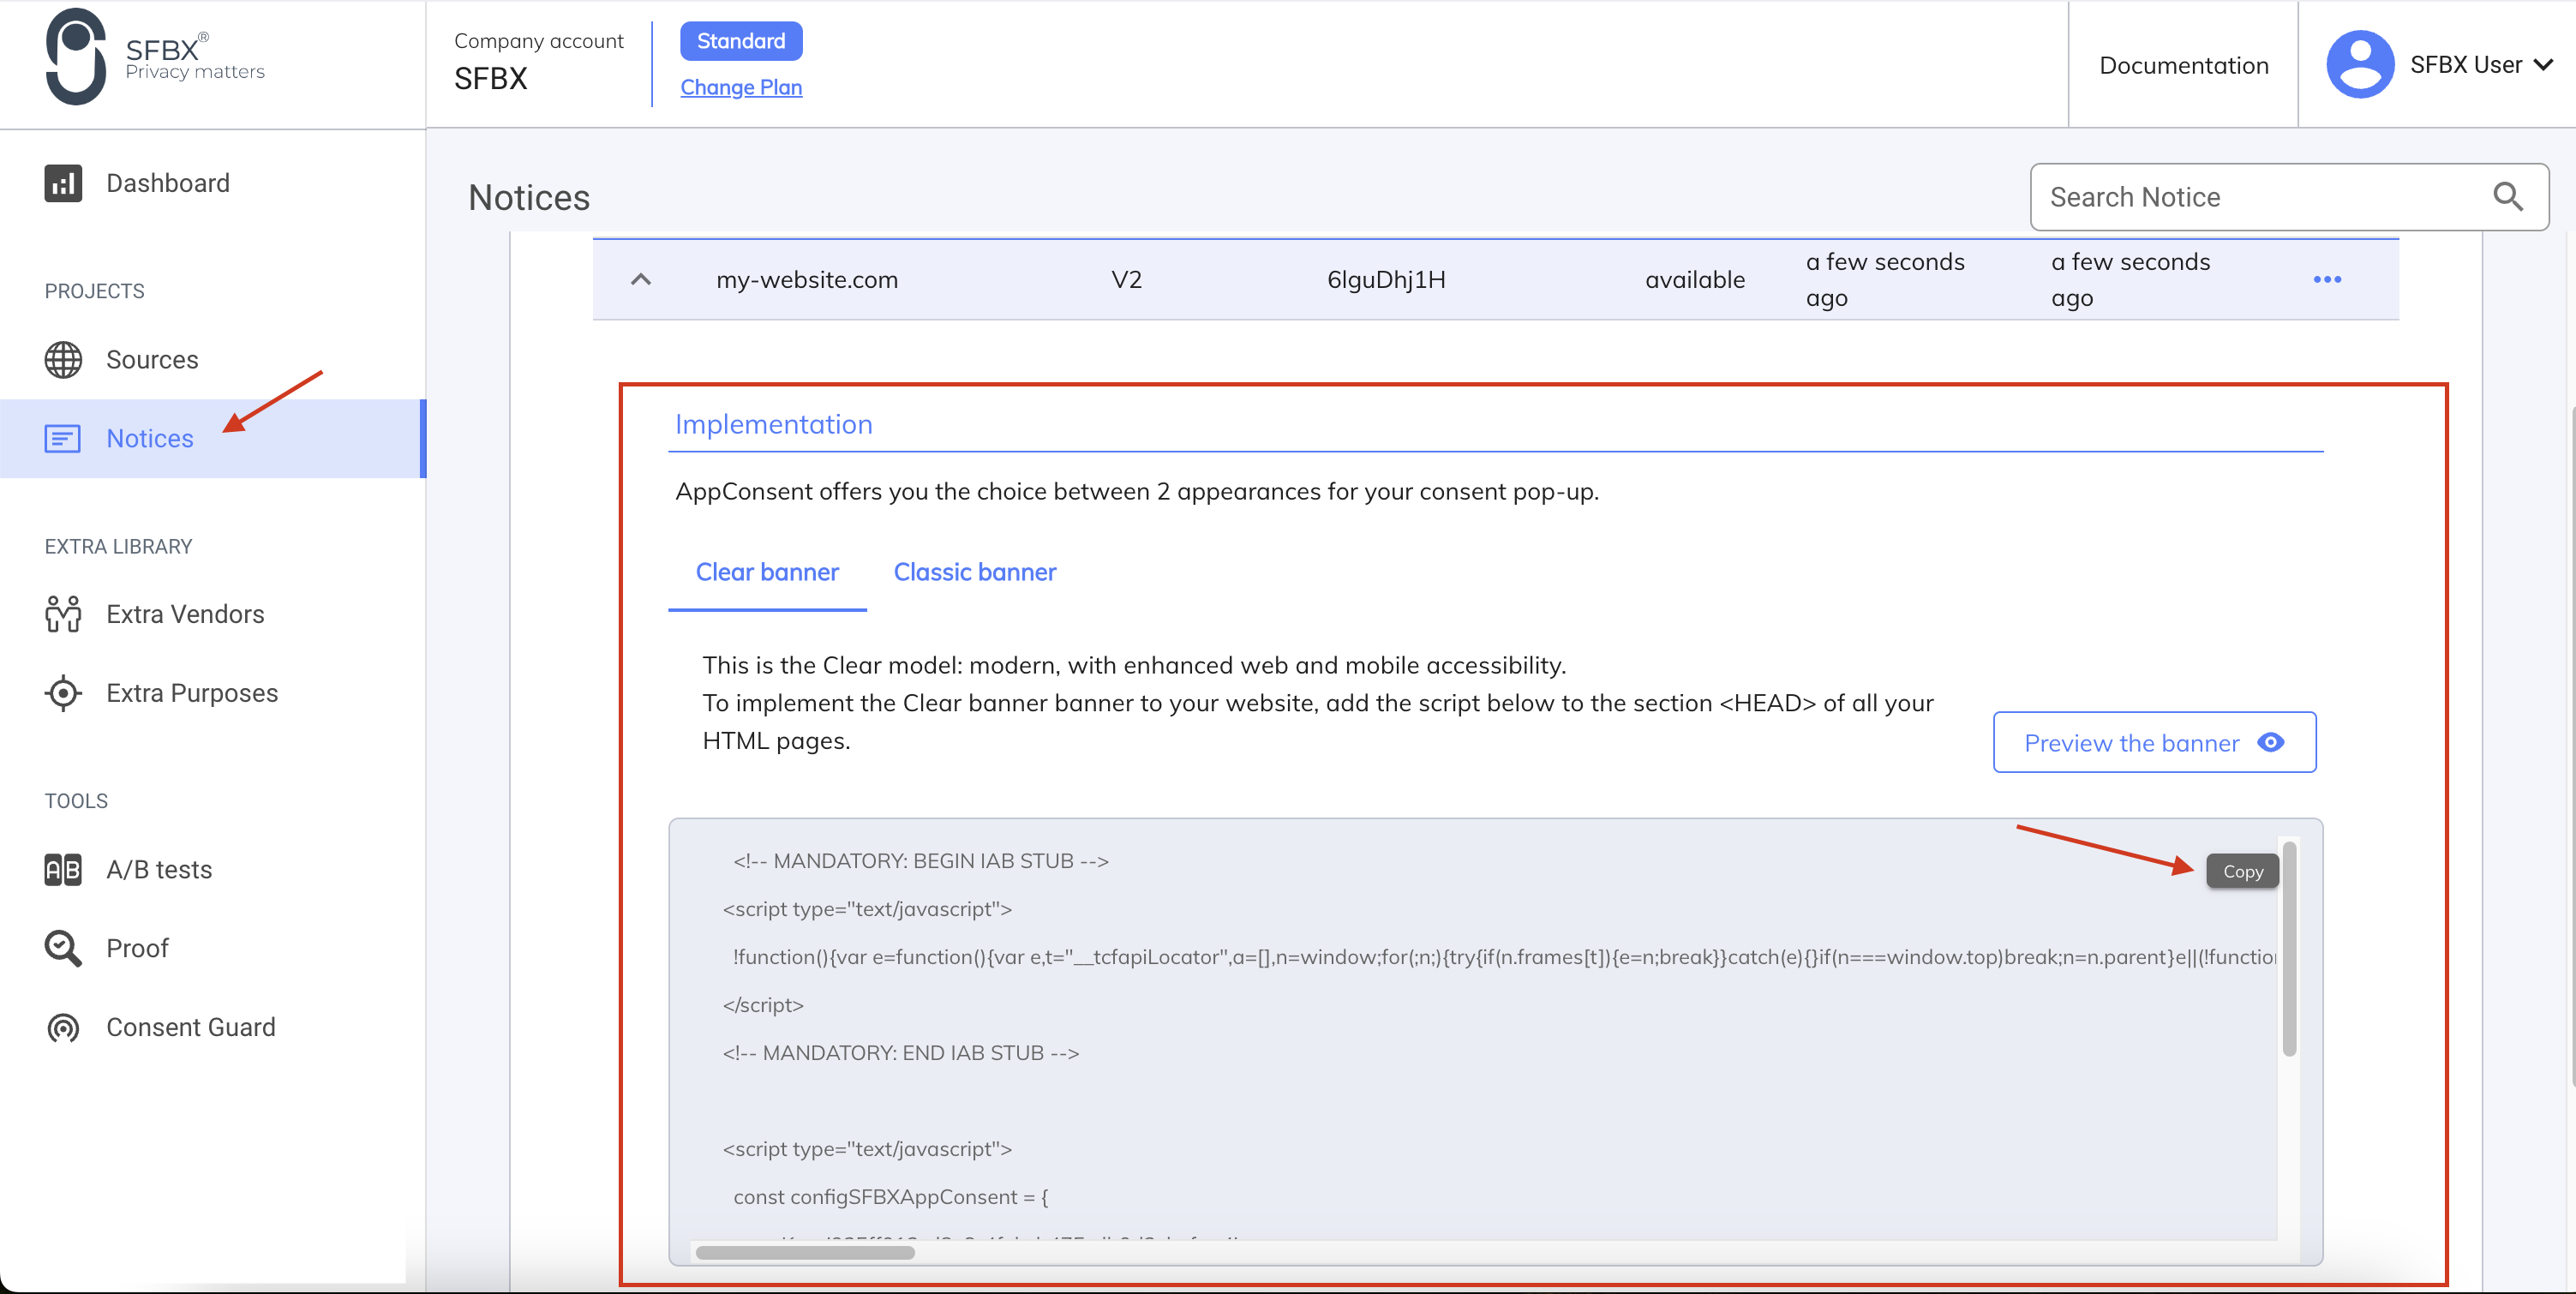
- Finally, paste the code in the
<head>tag in your website
That's it, your notice is now up and running on your website
To go further
Do you use Google Tag Manager? Find out how to integrate your notice with Google Tag Manager.
Do you have partners that are not listed in the IAB? Find out how to add your own partners (called extra vendors)
Are you collecting data for other purposes of your own? Find out how to add your own purposes (called extra purpose)