Configure a mobile notice
note
Before creating your notice, you need to have a valid source declared in AppConsent. See section Create a source in order to learn how to create a new source.
In the left menu, click on Notices and then on CREATE NOTICE.

Settings
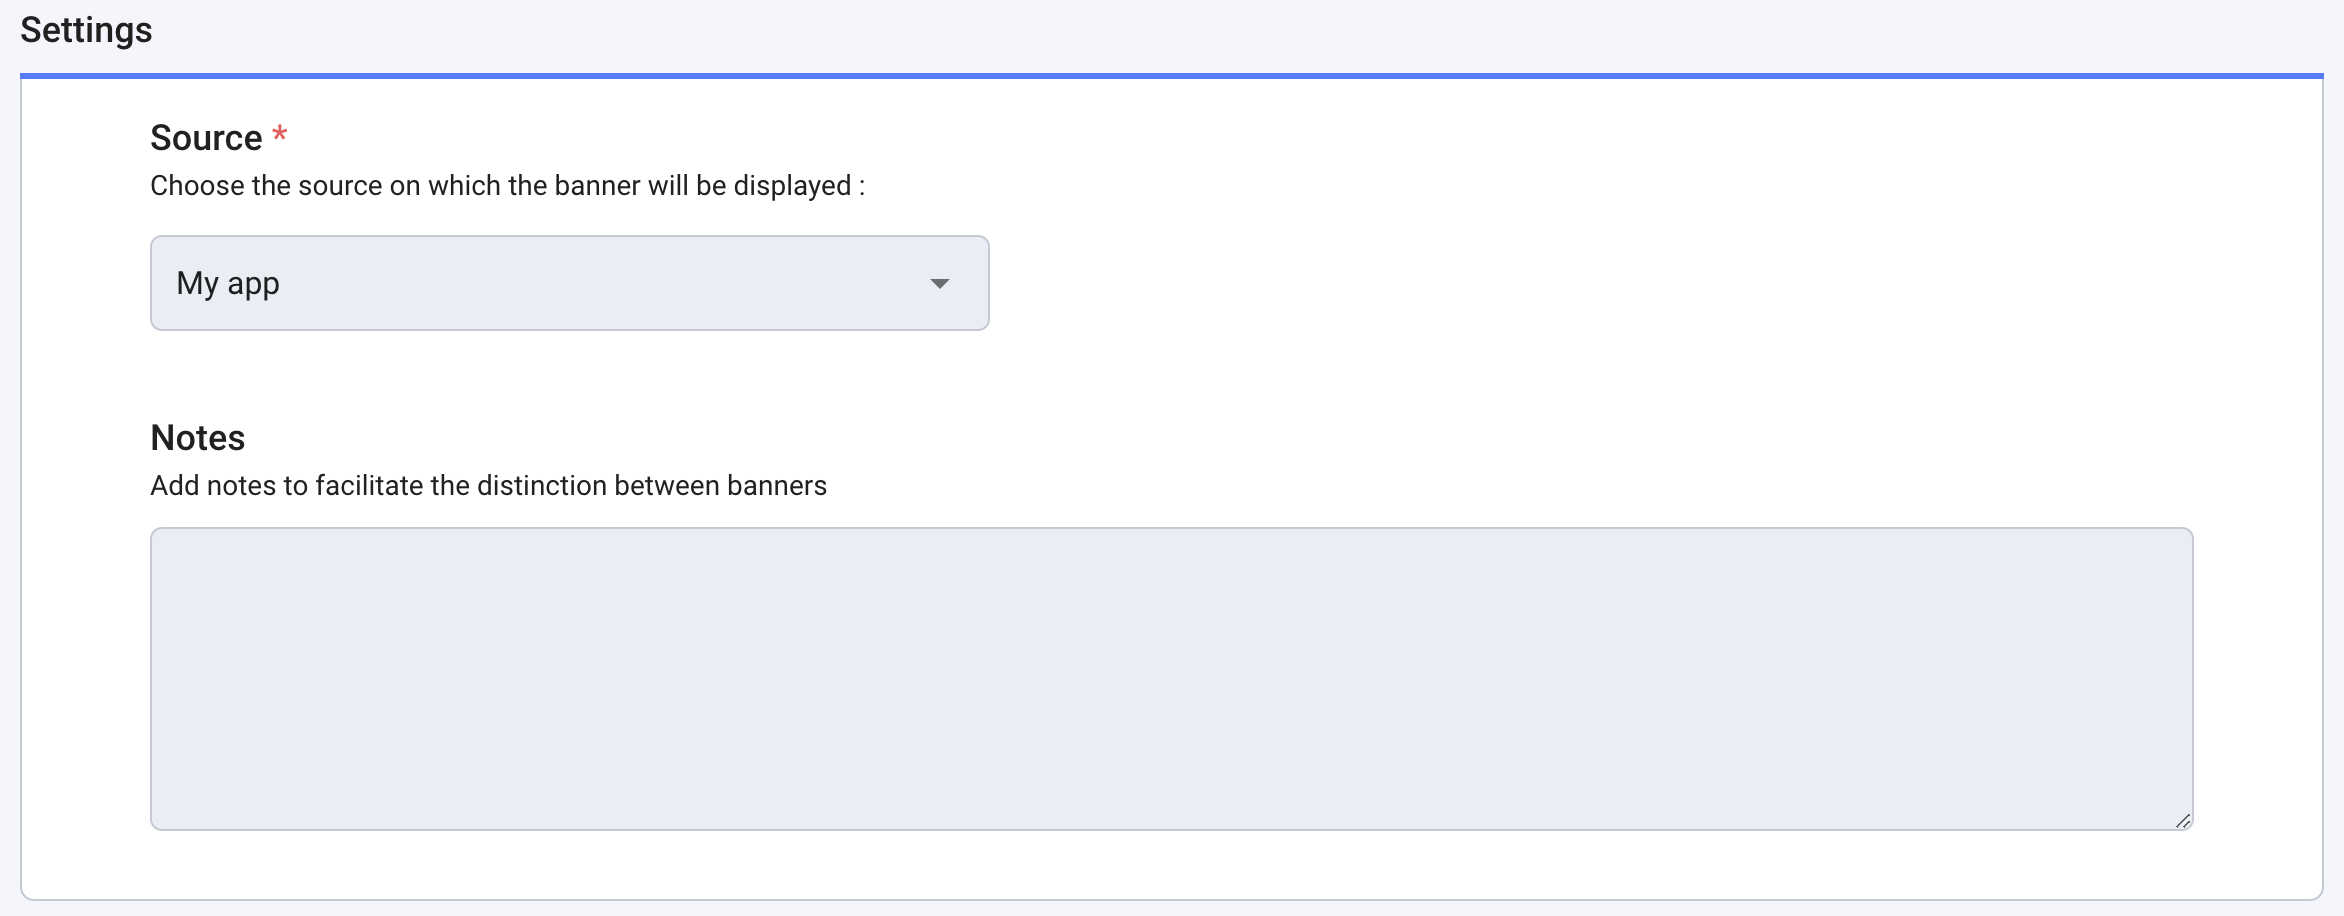
Sources: Select the source you want to attach the notice to. A notice is always linked to one source and for your App, this source needs to have a Mobile App type and a Name of application.
Notes: Add the comments you want. It’s a reminder for your own usage and it will not be displayed anywhere in the notice.
Language & text customization
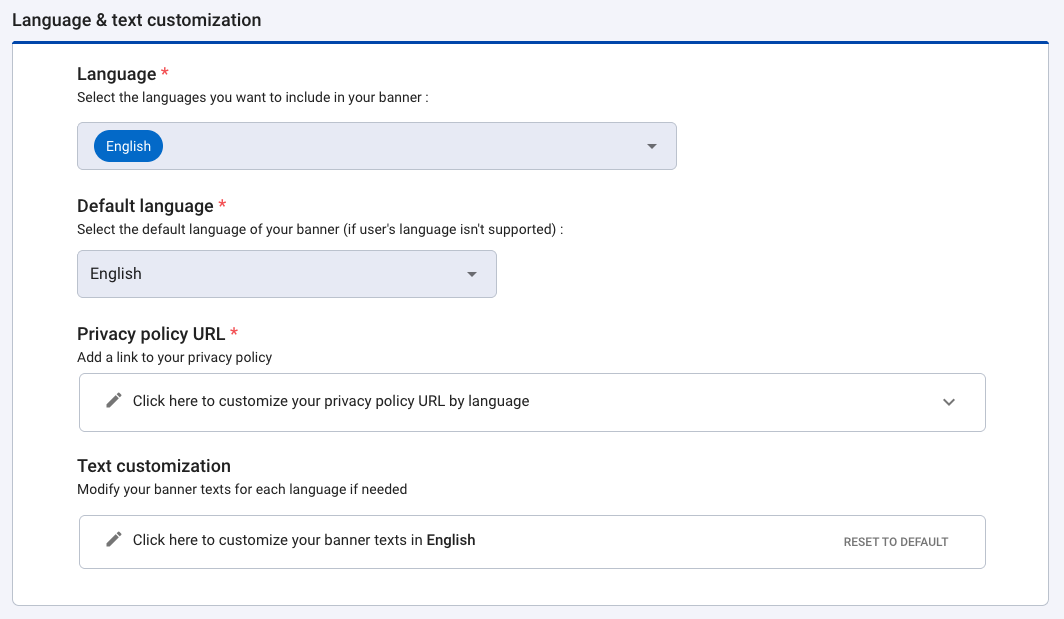
Languages
Select the language you want to be included in your notice.
Default language
This language will be used if the browser language is not configured in one of the languages included in the notice.
By default, a new notice is configured in English only. But you can add other languages and translations.
Privacy policy URL
Add the link to your privacy policy for each of the languages selected above. This link will be automatically added to the "See more paragraph" banner field in the text customization section once the notice has been created.
Text customization
In each language tab, you will find all text of your notice. You can modify them. But you can also reset the default texts by clicking on Reset to default.
Important
Please note that the default text of the banner "See more paragraph" banner field does not mention your link
to your privacy policy page. Make sure to update it with your own link by completing the <a\> tag in each language
selected.
If the <privacy_policy_url> tag is not present in the "See more paragraph" banner field, be sure to add
your own link by completing the <a\> tag.
Add clickable link in your texts for Android and iOS
If you need to add clickable links in your text, simply place a URL in your text using
<a href="insert your link here">privacy policy</a> tag to have clickable text that will redirect the user to a URL.
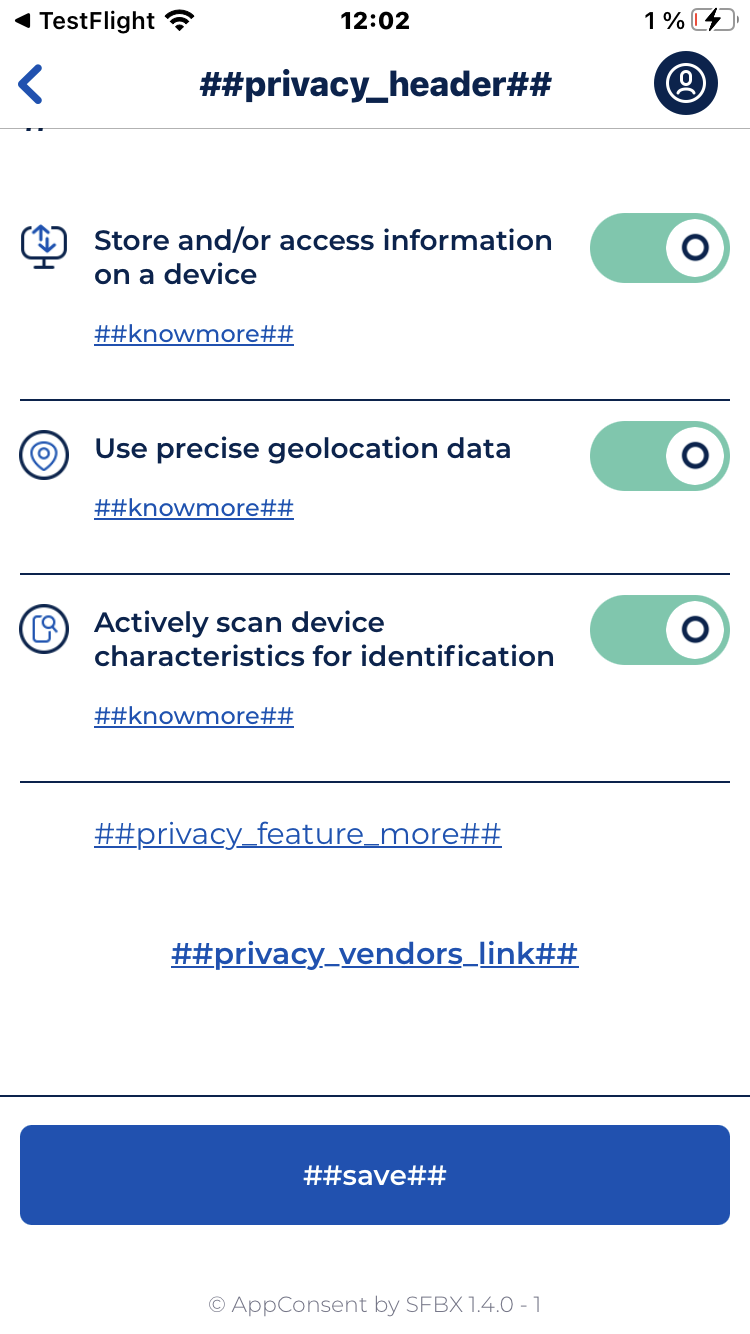
It is possible to create links in text to redirect users to other parts of the notice. For this, two tags are available:
- <goto_vendors>: Allows to create a redirection link to the list of all partners (vendors) that are present in the notice.
- Note: The <goto> tag is deprecated, use <goto_vendors> instead
- <goto_settings>: Allows to create a redirection link to consent settings page
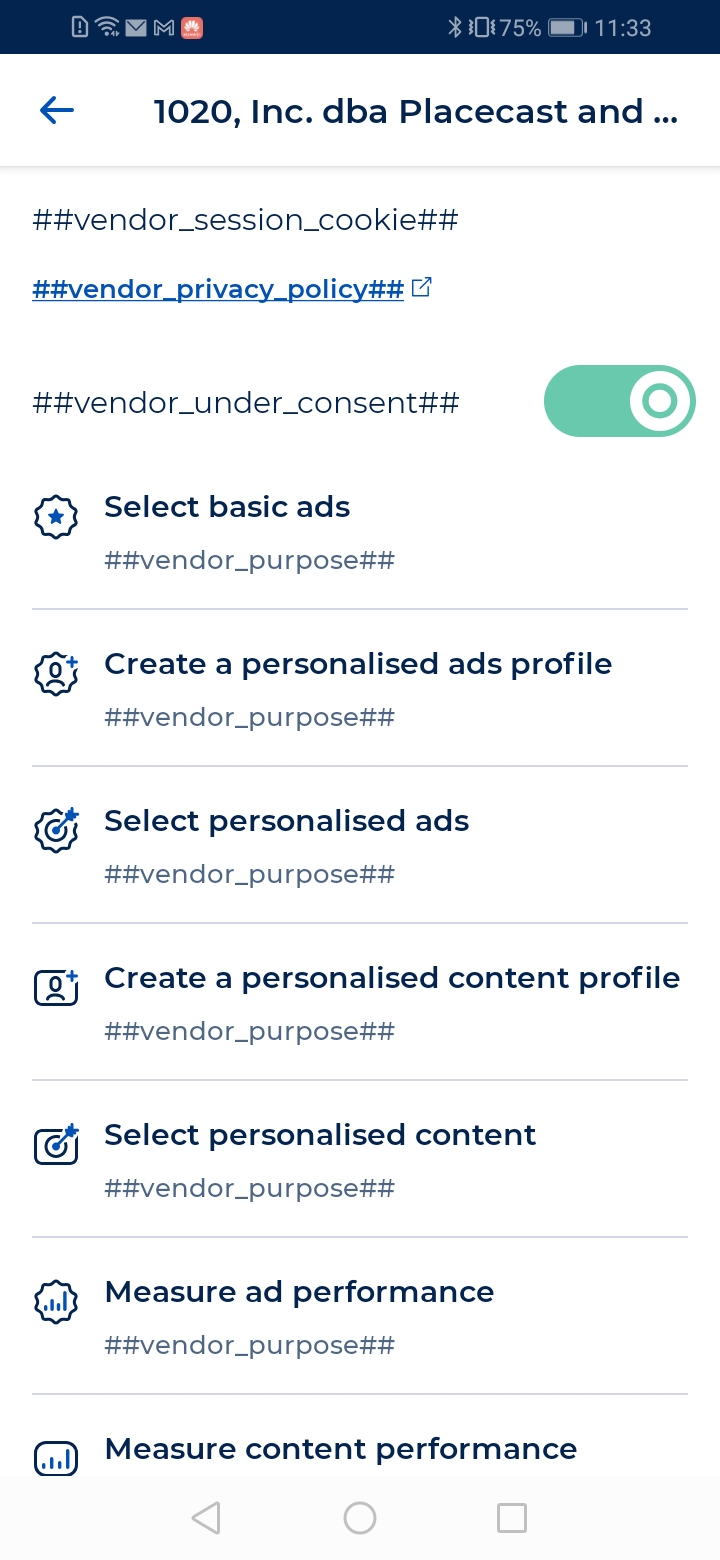
The titles of the IAB purposes and their definitions can't be changed. It's due to the IAB TCF compatibility with their Term & Privacy policies.
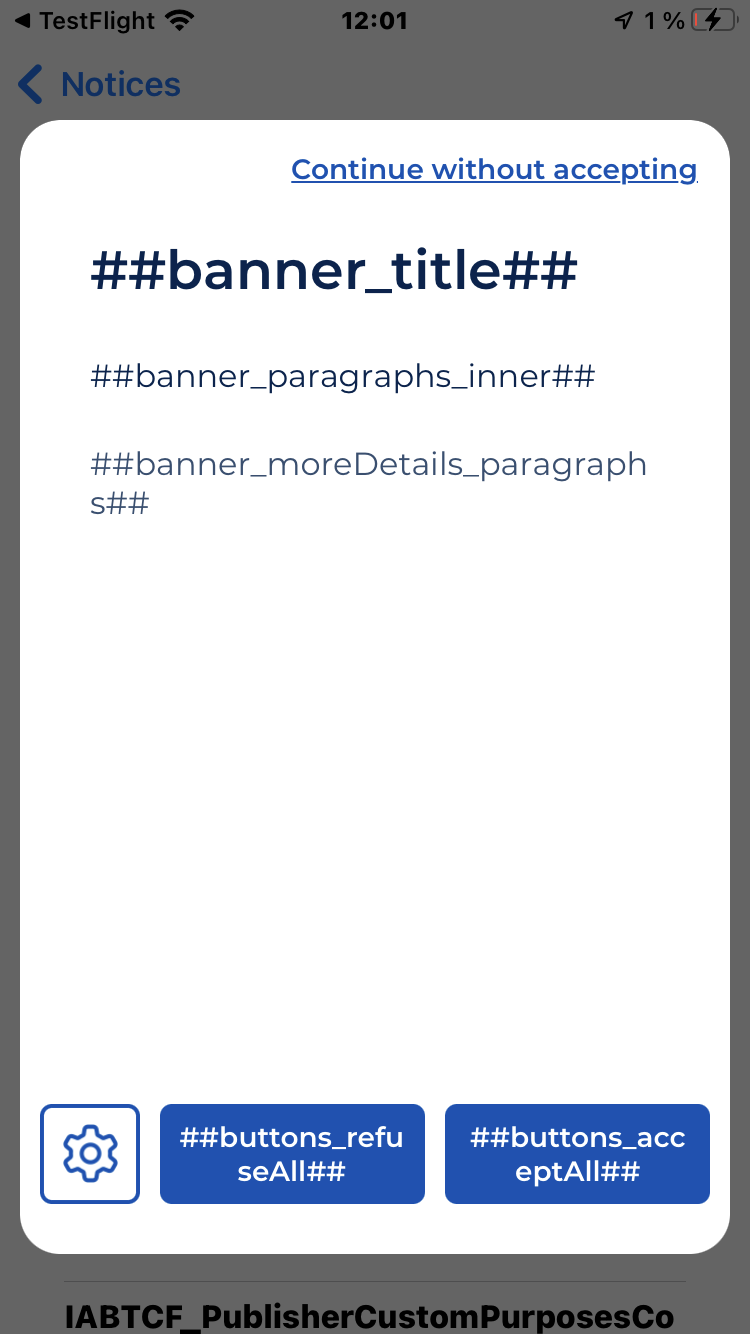
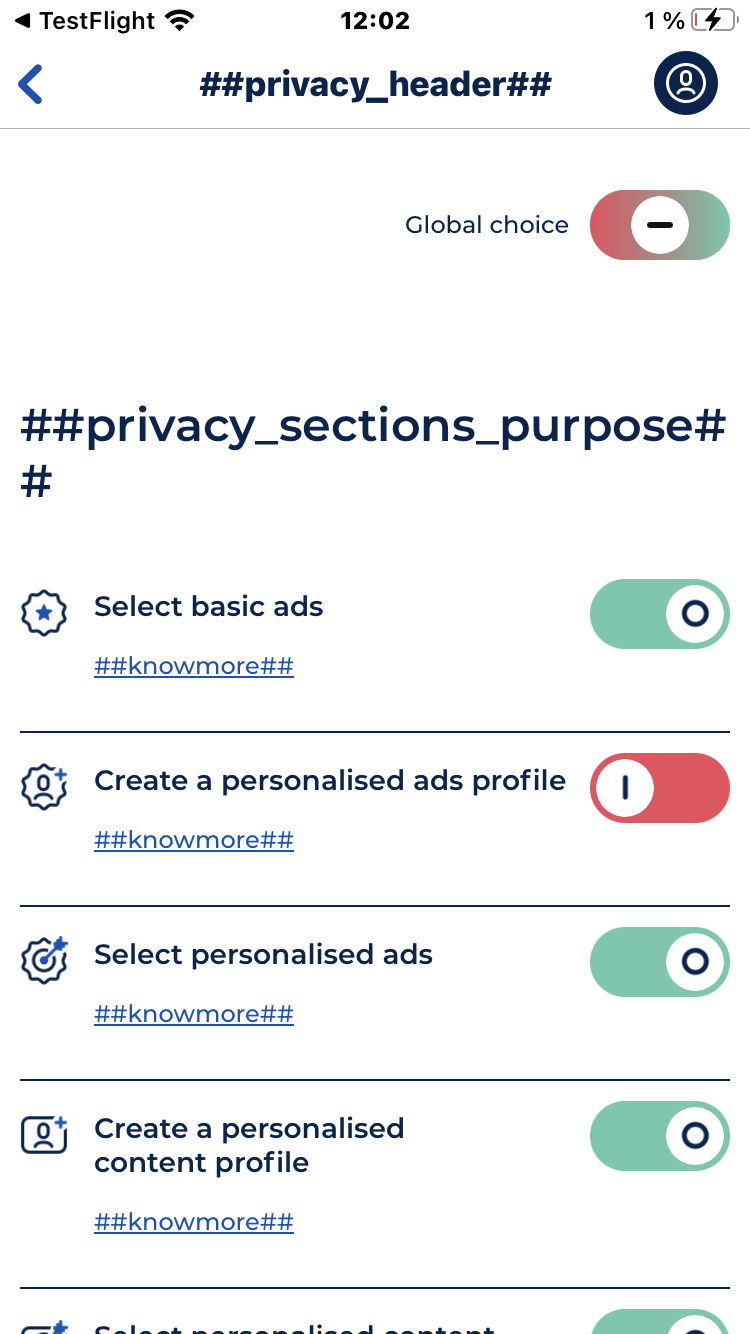
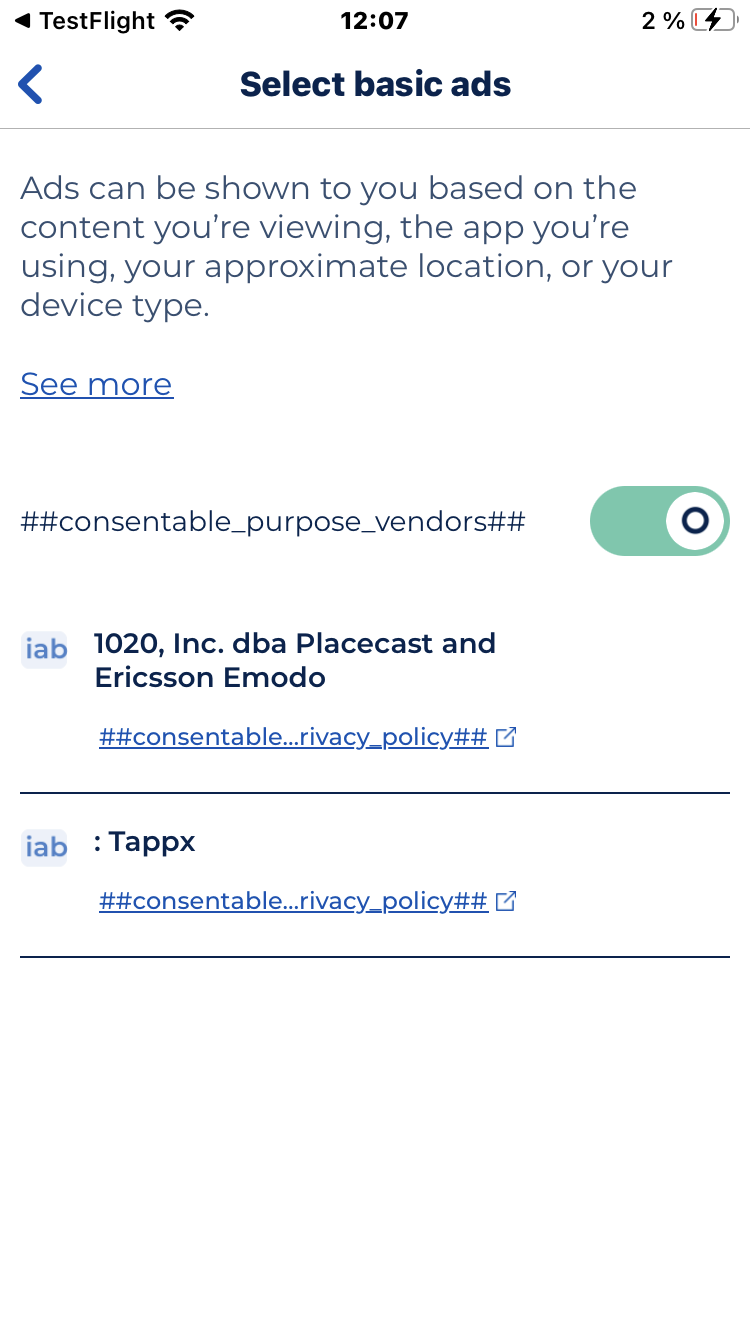
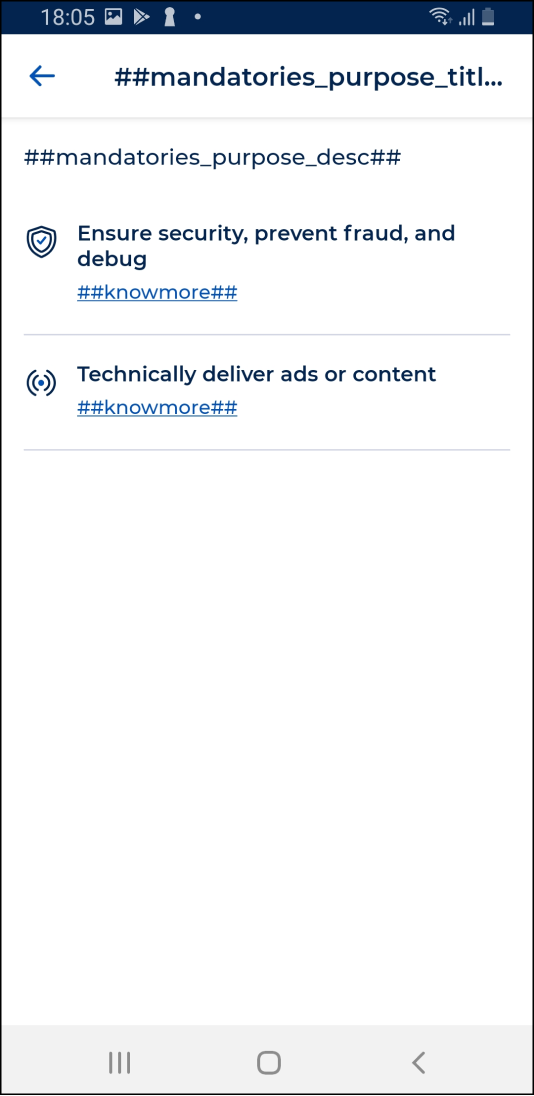
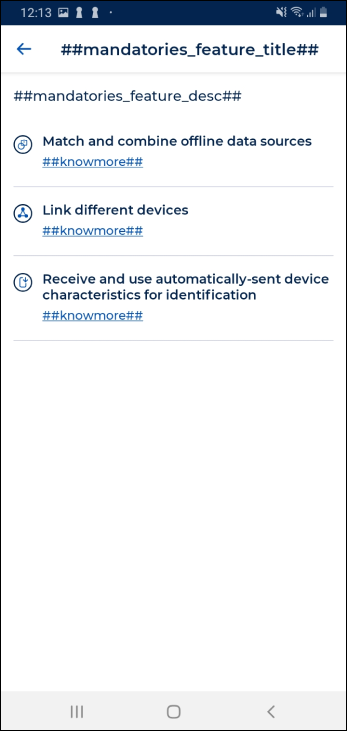
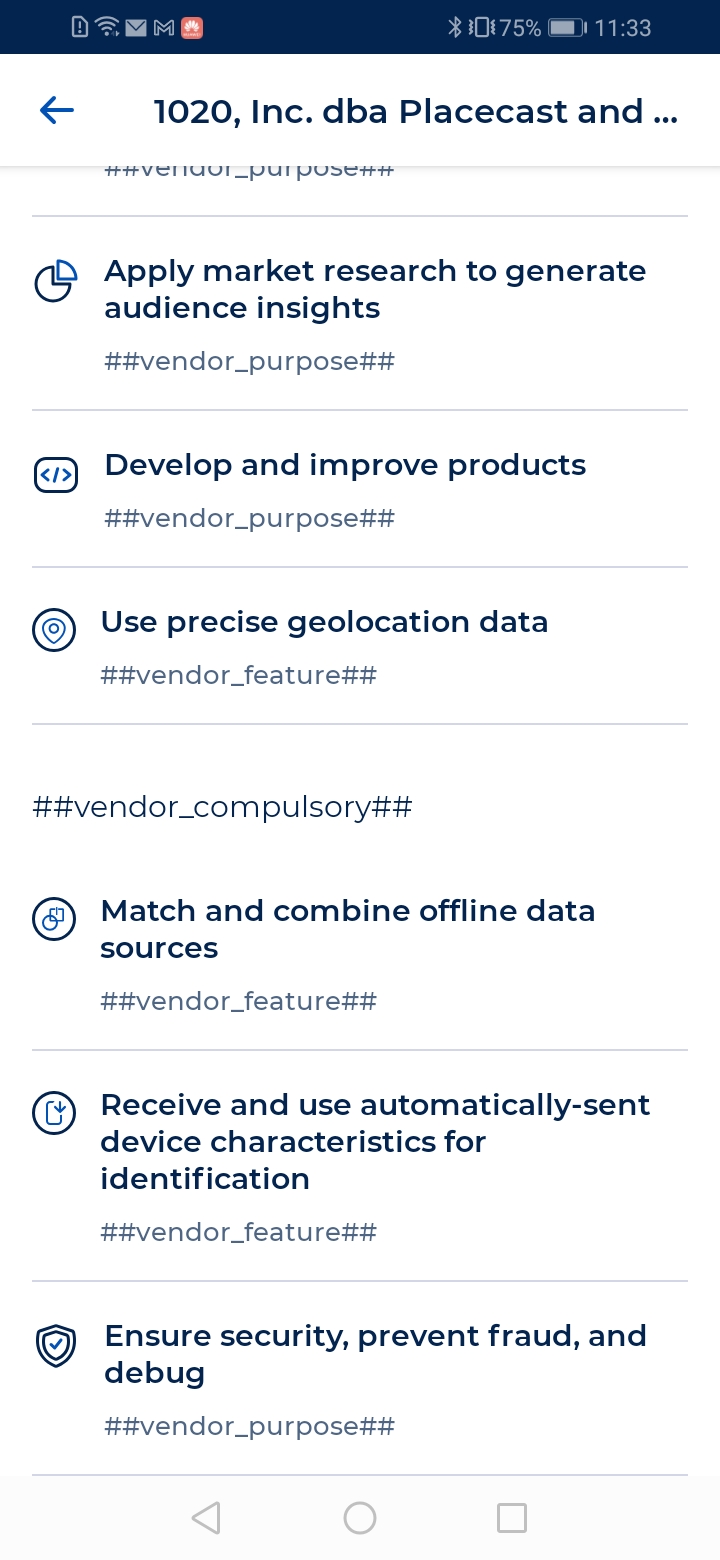
Have a look below to see where each field affects the consent notice. When you see ##name_field## that means edition is possible over this text.

note
There is no need to change the text in the fields below, these entries will not be taken into account:
- Seemore
- privacy_sections_stacks
- choices
- consentable_vendors_popover_title
- consentable_legintvendors_popover_title
- consentable_legint_accept
- vendor_legints_info
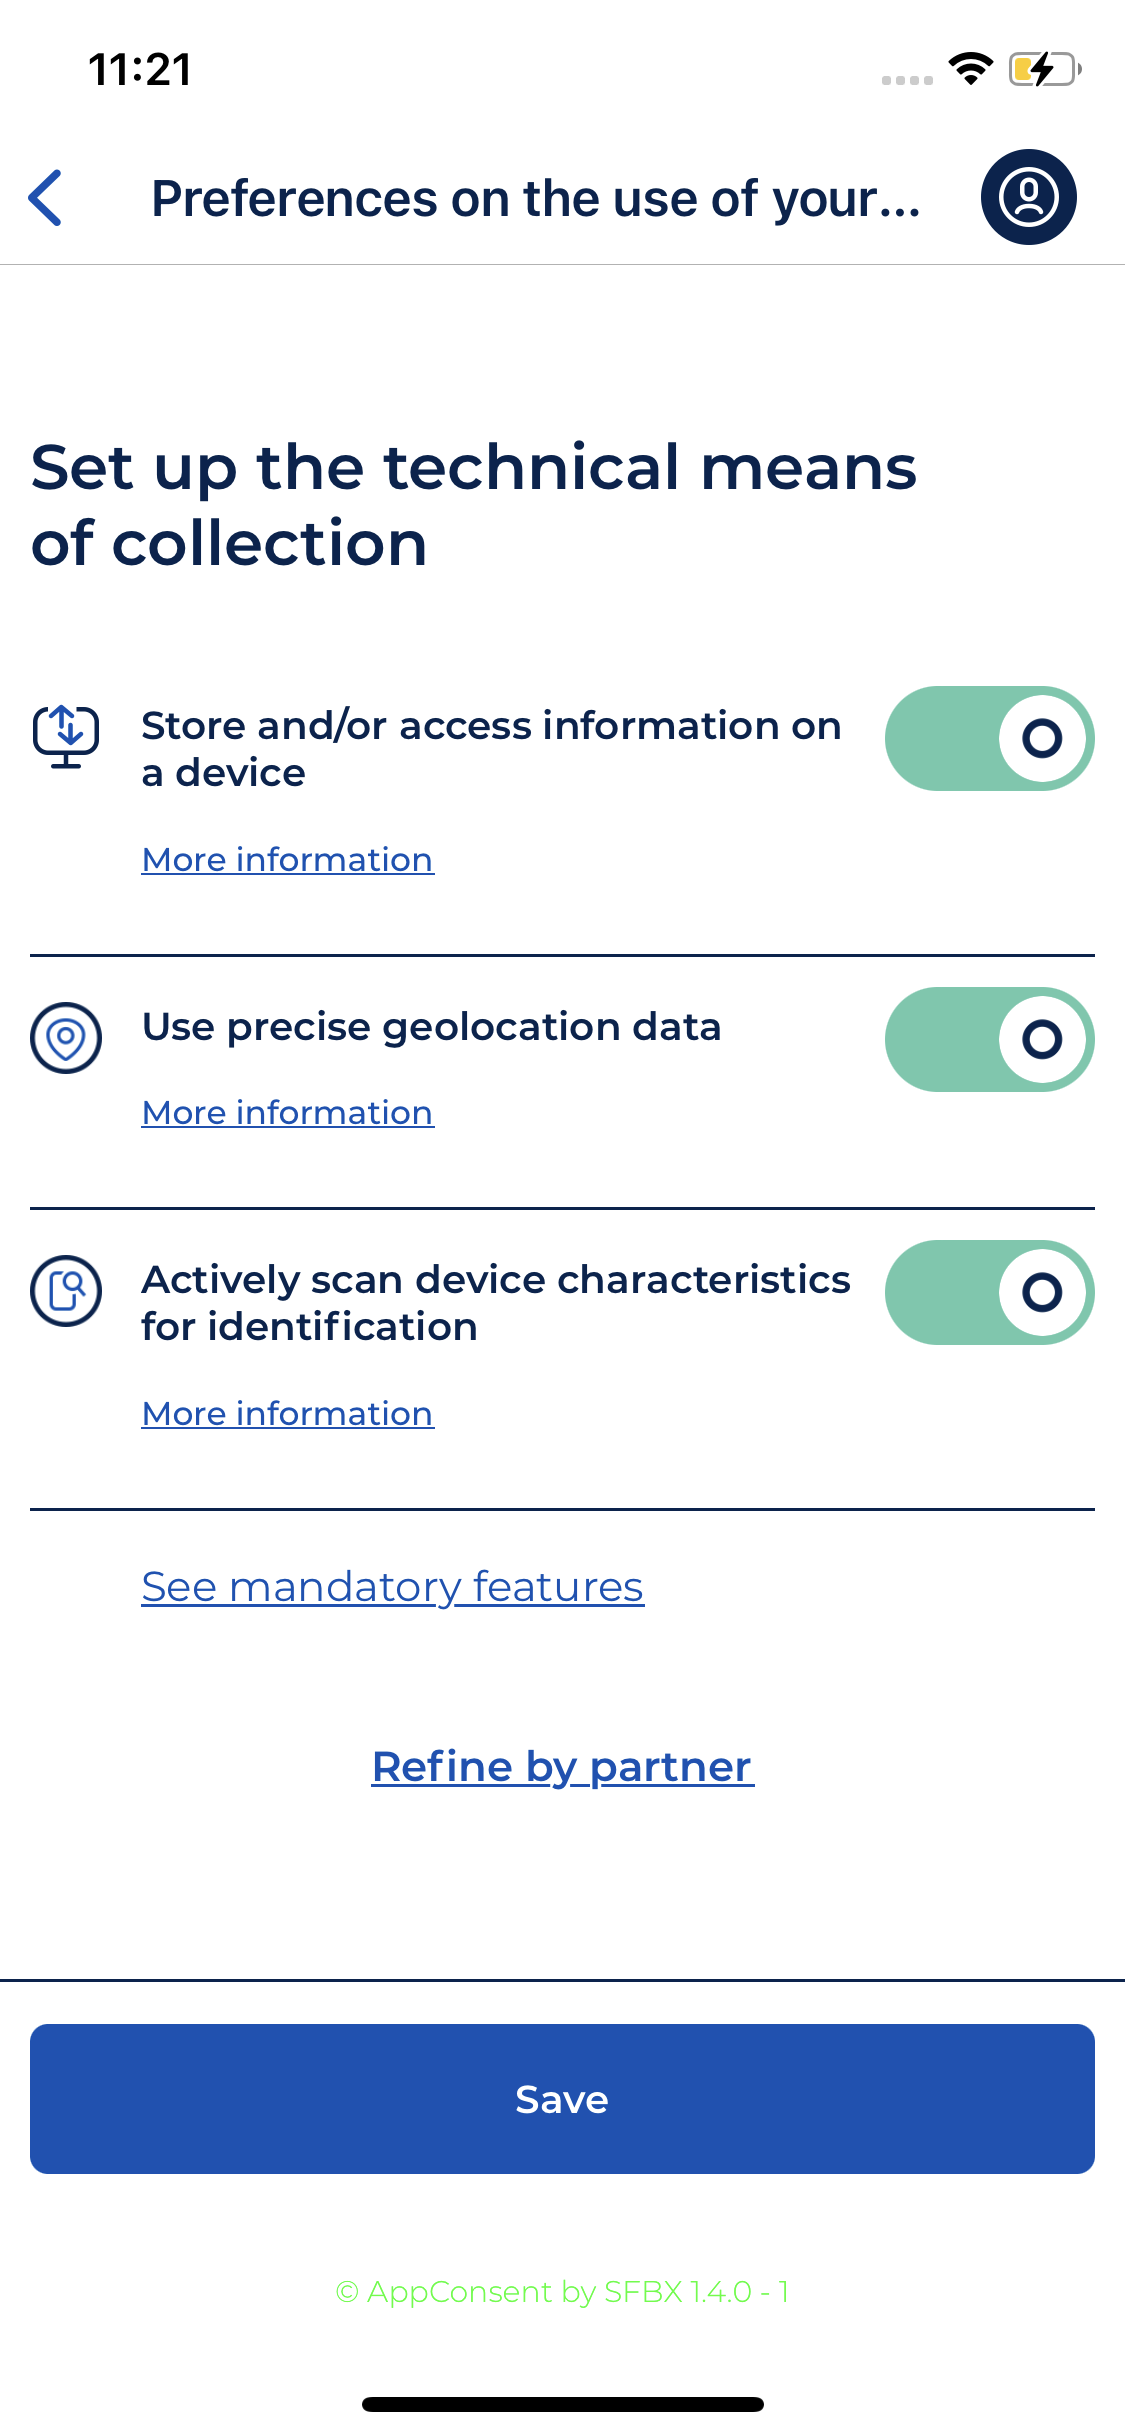
- mandatories_feature_section
- mandatories_purpose_section
- banner_moreDetails_open
- banner_moreDetails_close
- stack_details_switch_title
Banner layout
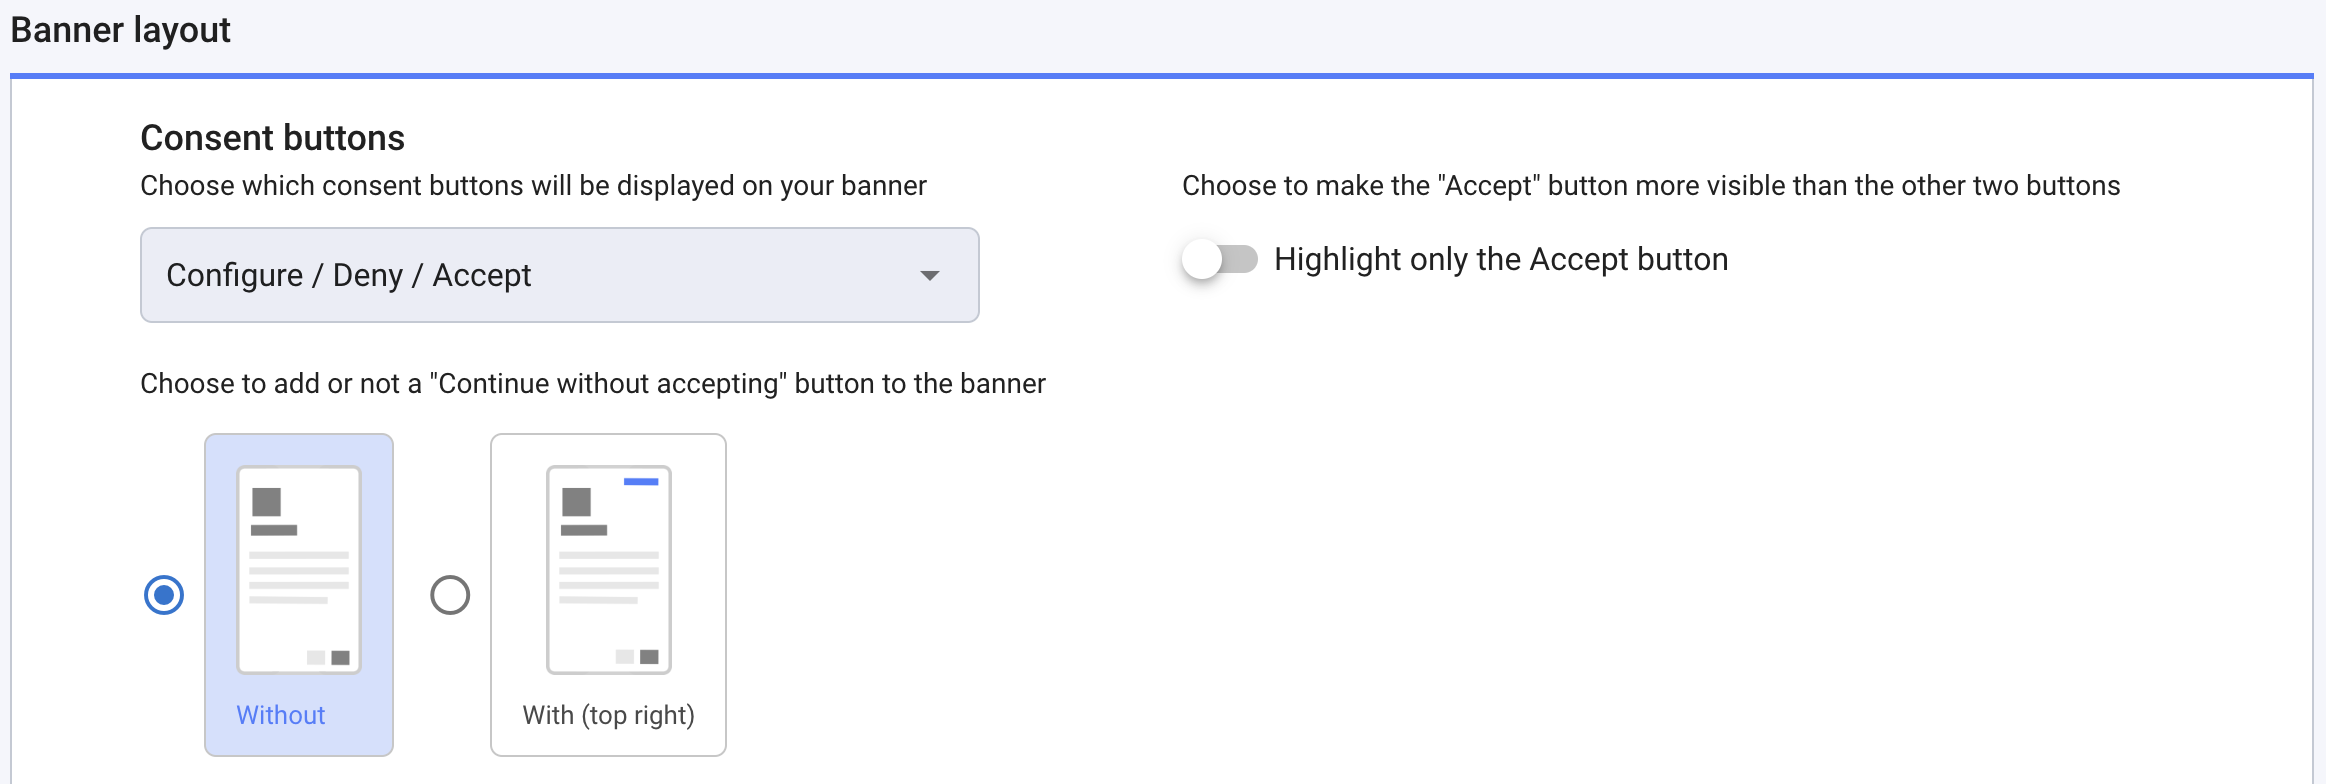
Consent buttons
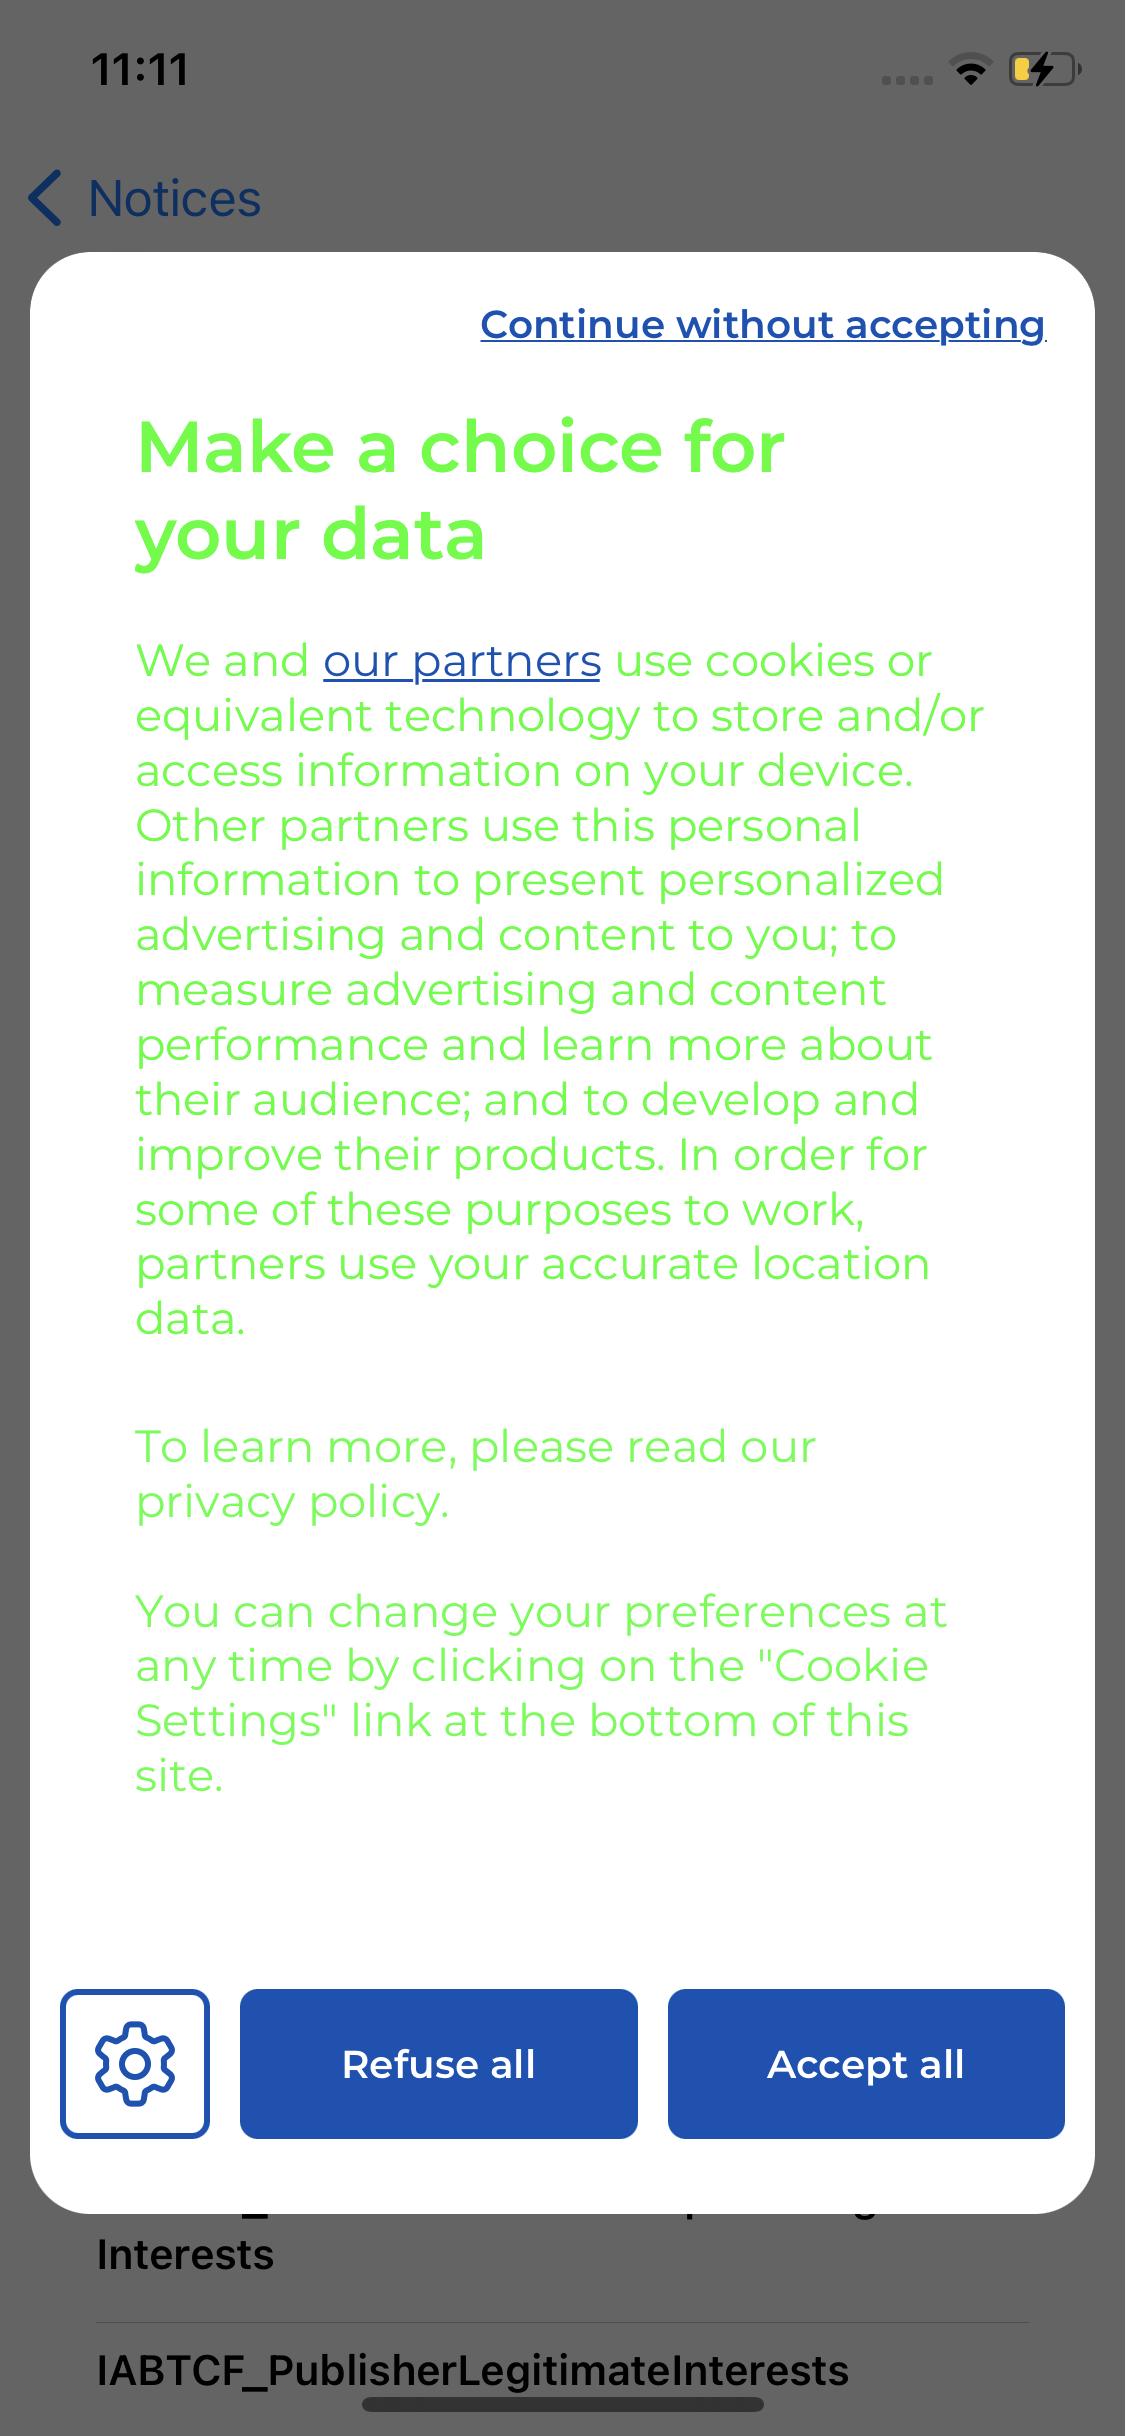
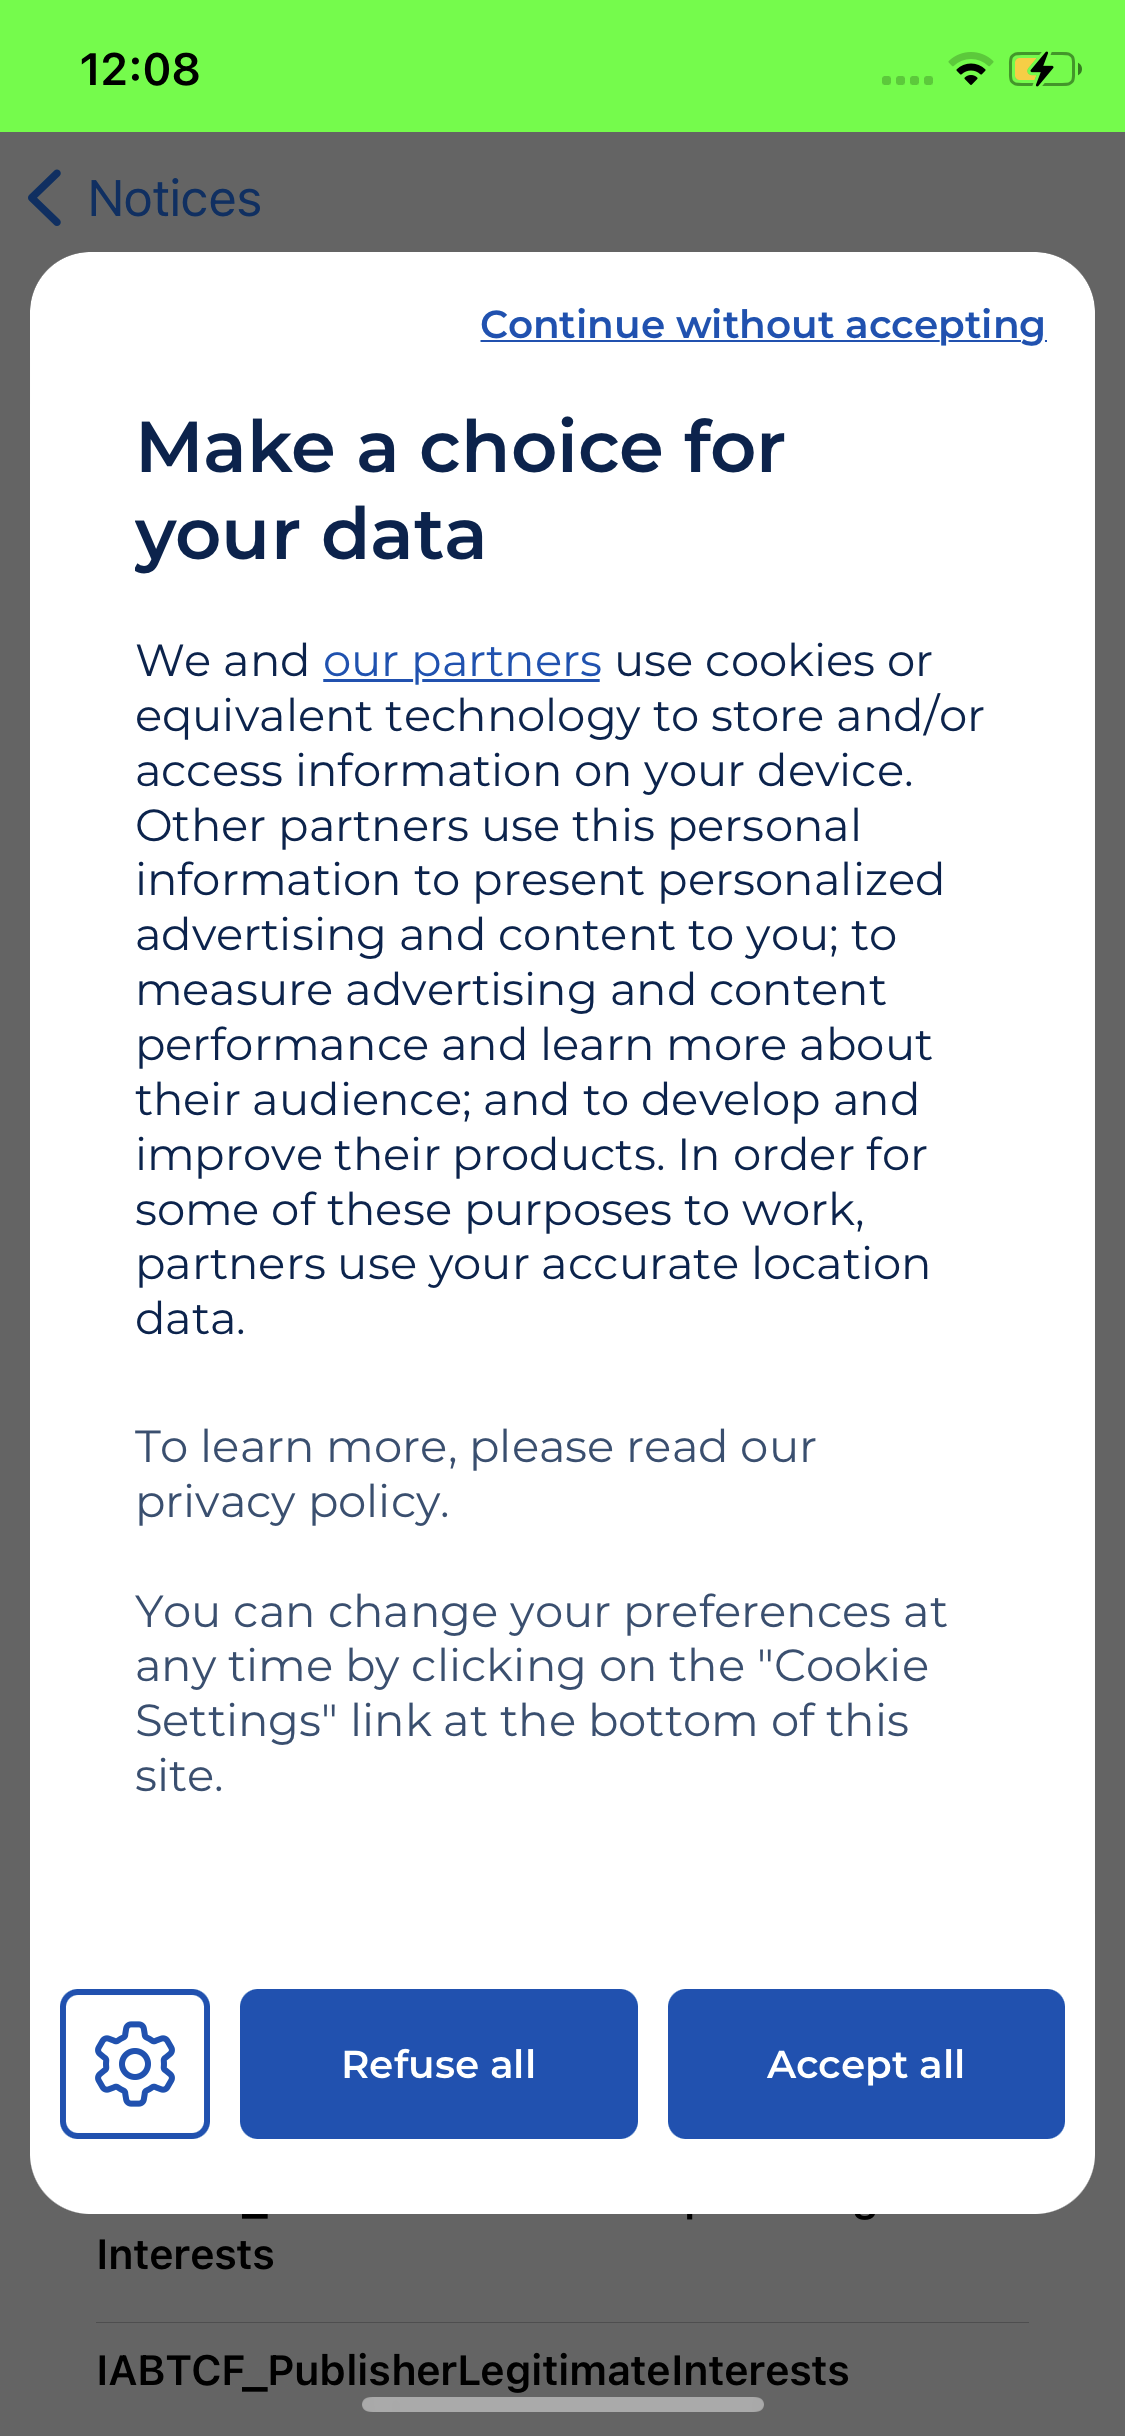
Choose the buttons and their order on the introduction page
[3 buttons] Choose to highlight only the Accept button. If activated, the Accept button will be more prominent than the other two buttons.
Choose to add or not the "Continue without accepting" button so that the user can leave the notice without making a choice. By default, it is a link "continue without accepting" placed at the top right of the window.
Note about italian notices
As recommended by the Italian regulator, the Garante, our Continue without accepting link is automatically replaced by a cross for all InApp notices, for whom the user device has an Italian country code. This cross has the same effect as our link Continue without accepting: close the notice with no consent.
iOS ATT
- Activate for iOS. On iOS, user consent for ad tracking is managed by the
AppTrackingTransparency(ATT) system. To activate this parameter, the success screen must be deactivated.

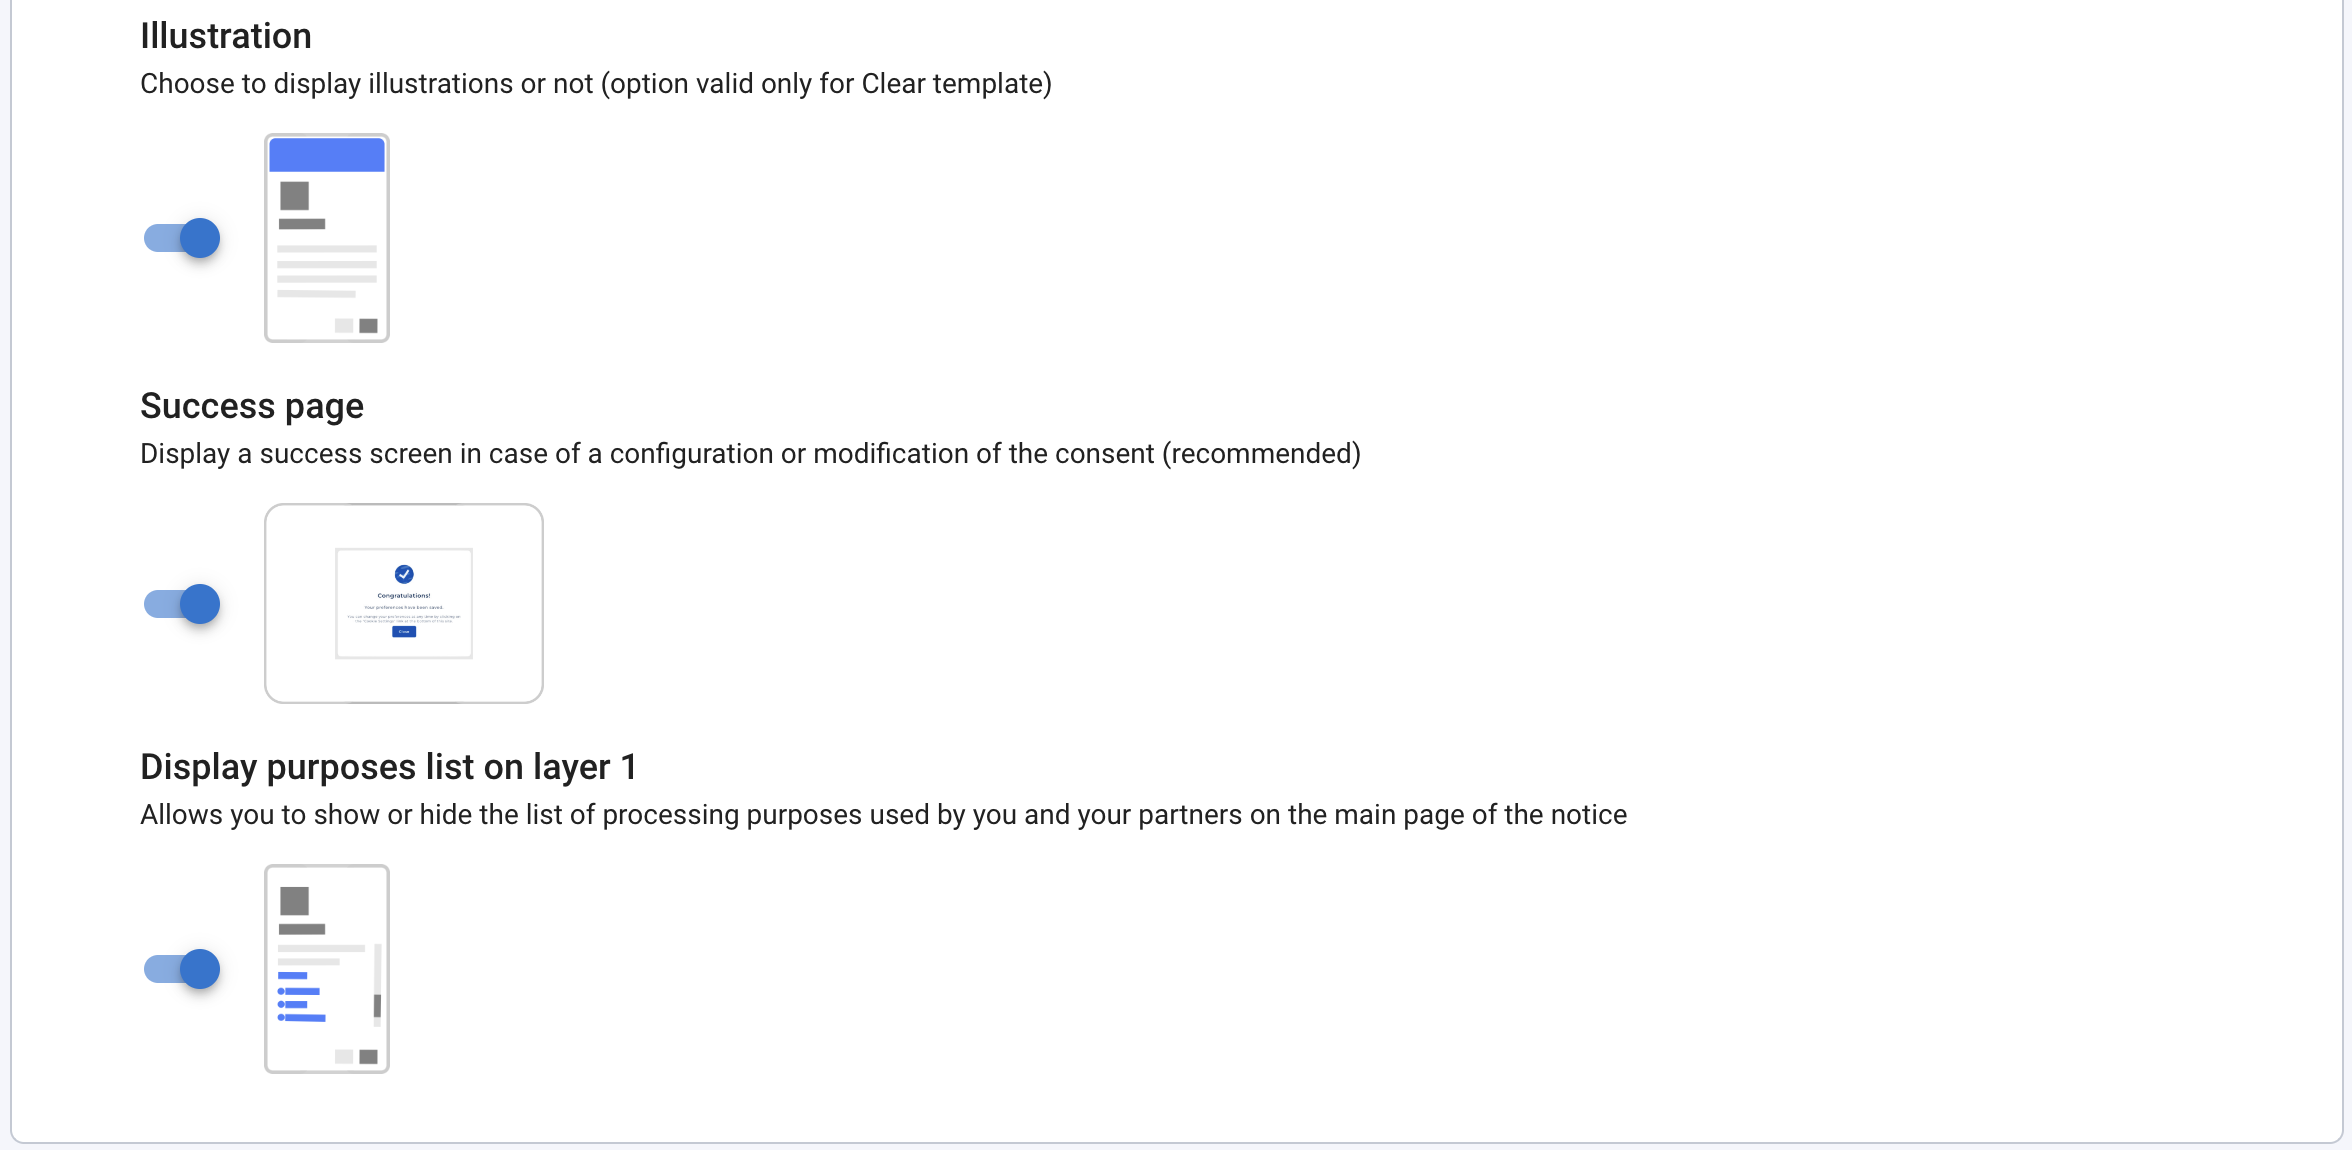
Illustration
[ Standard, Essential & Premium Plans] Choose to display illustrations or not on your banner. (only for Clear banner)
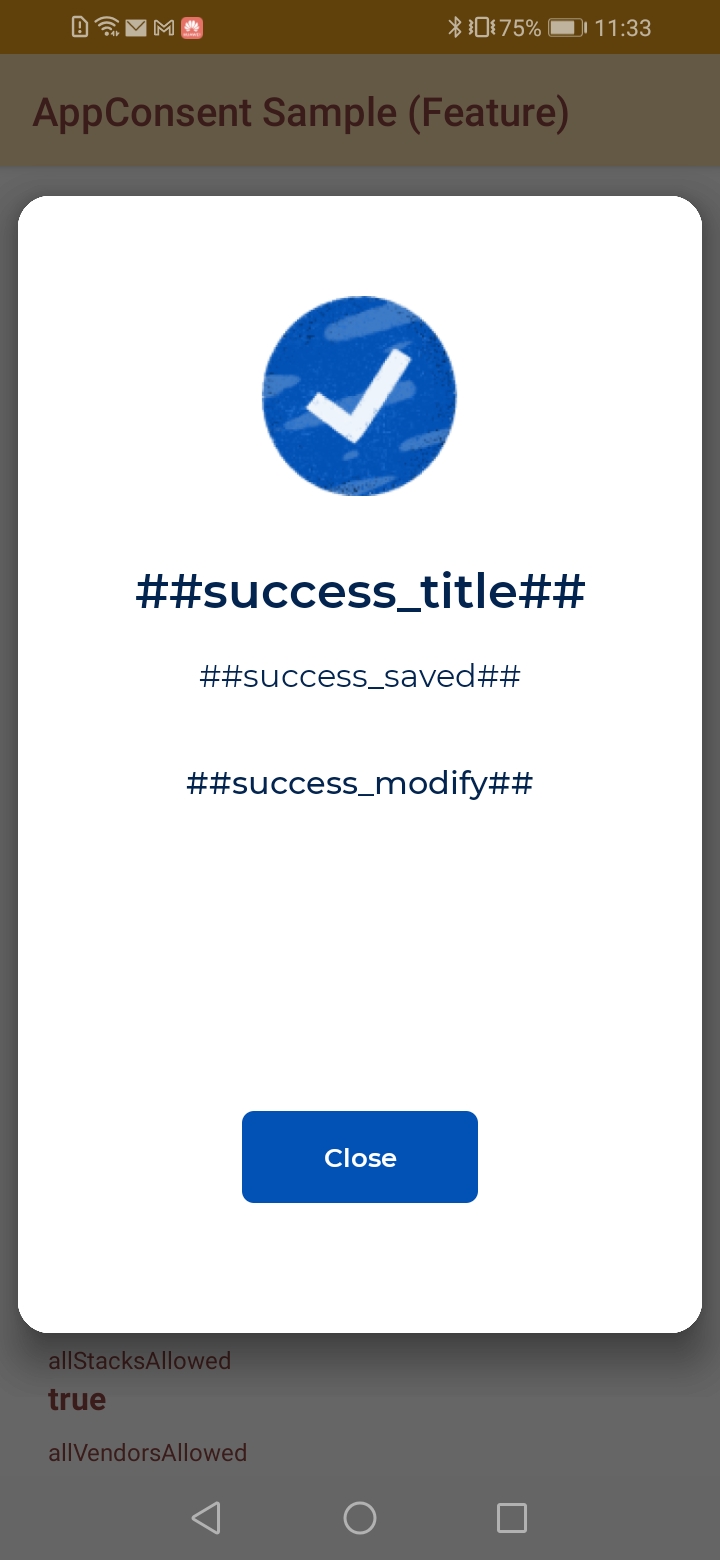
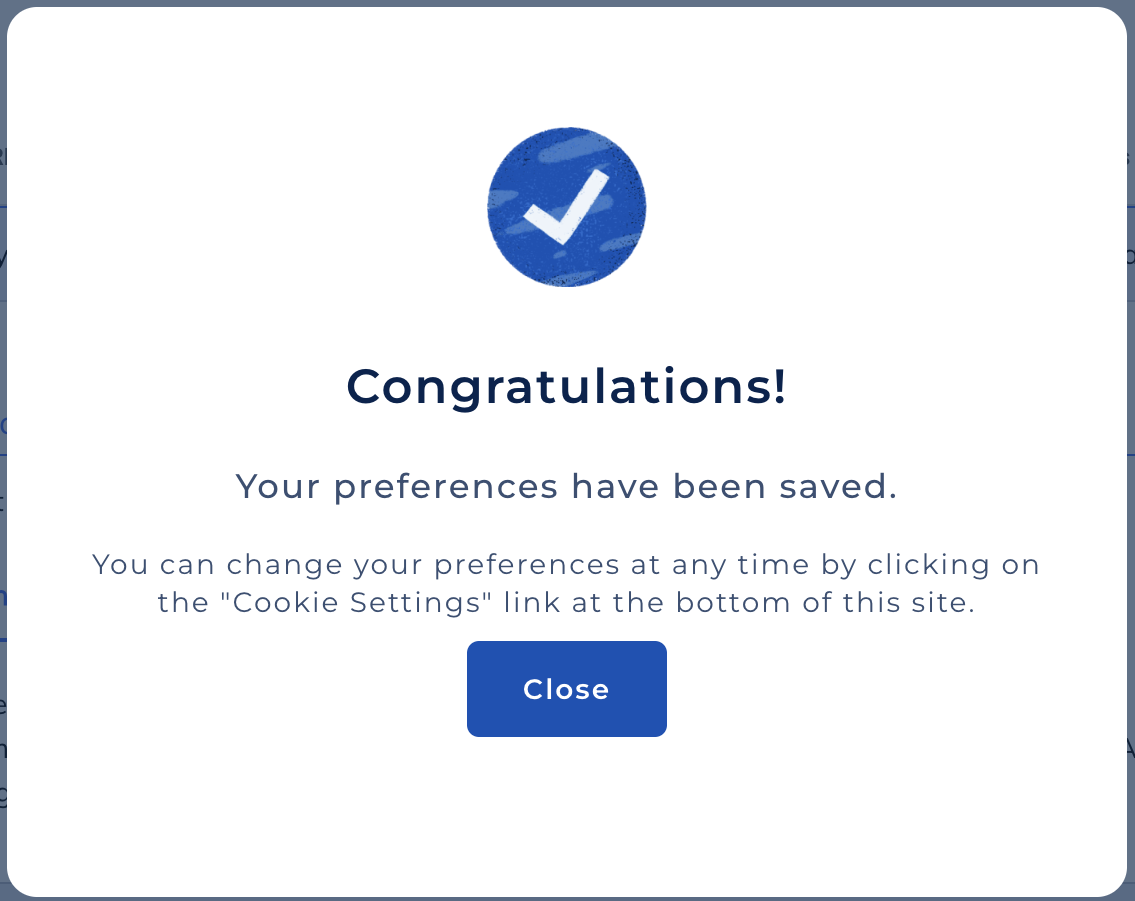
Success Screen
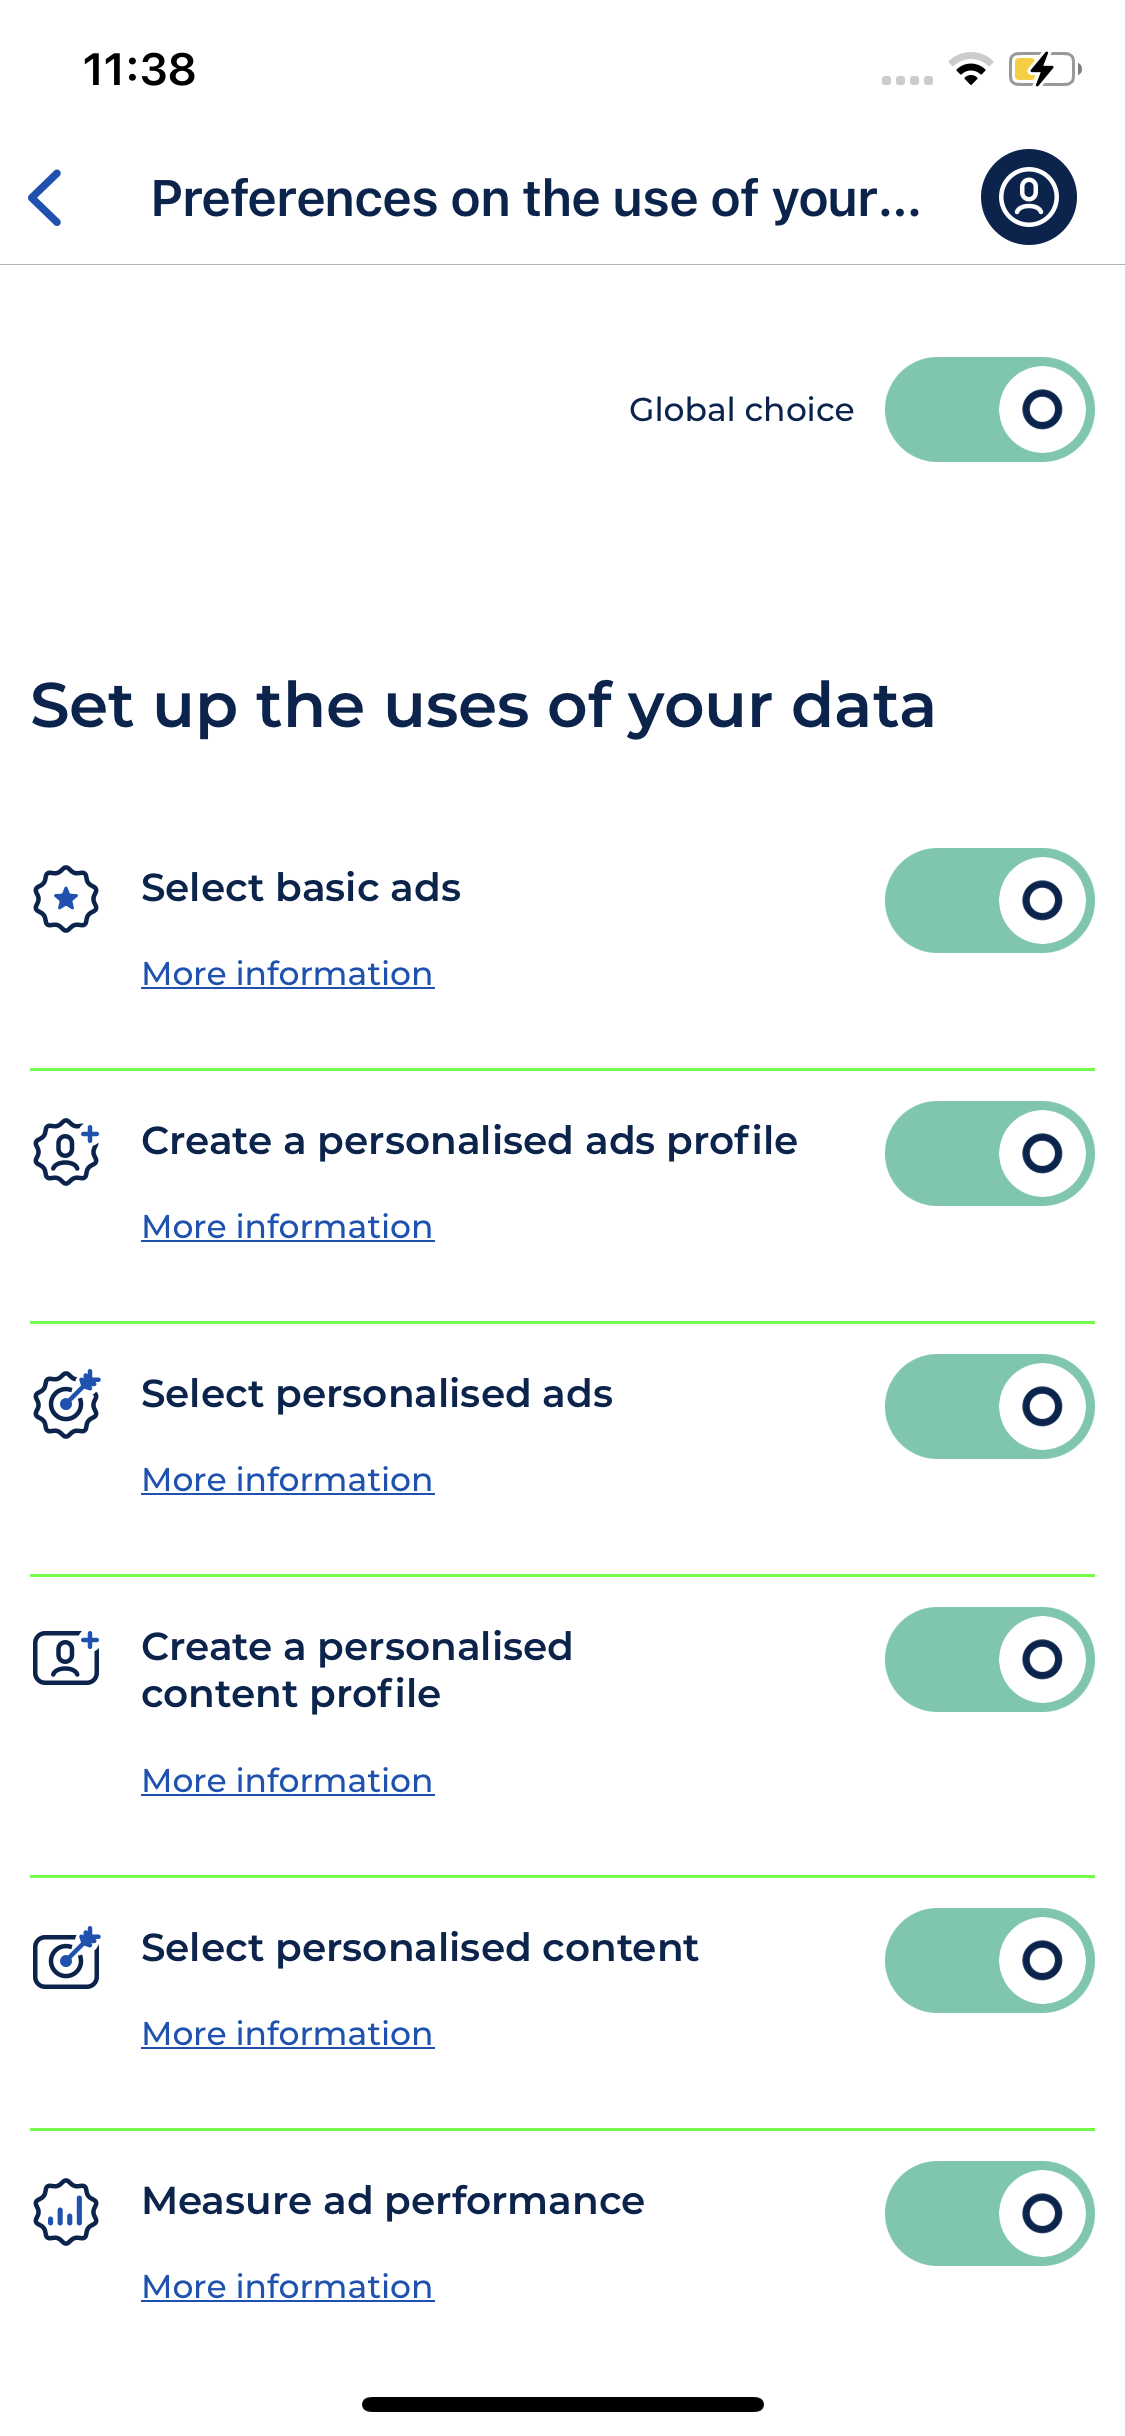
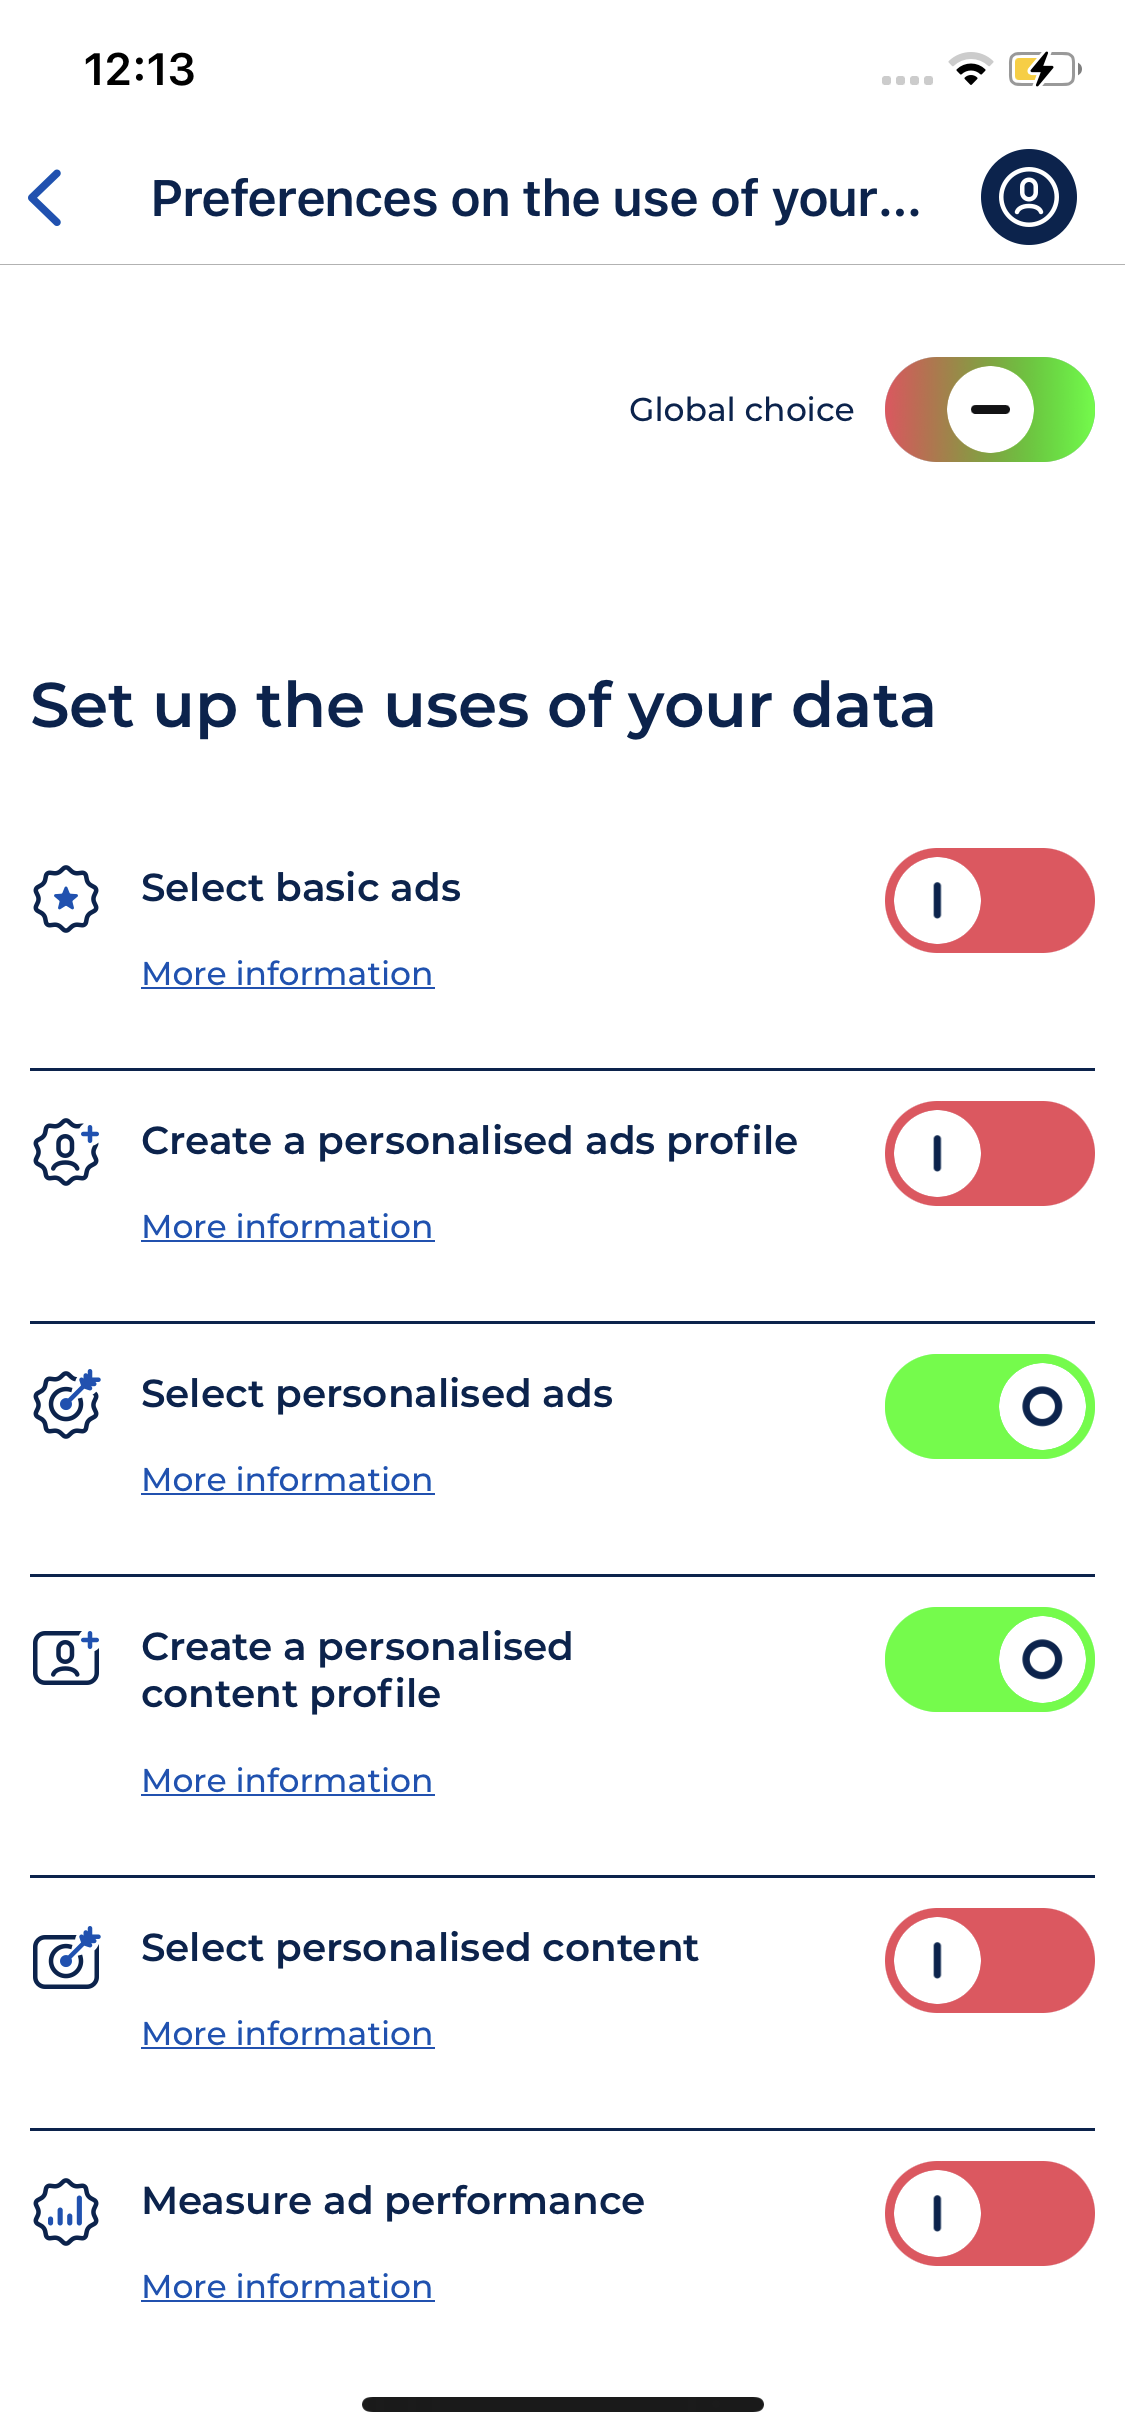
Activate this option if you want the following screen when the user goes beyond the introduction screen and makes mixed choices.
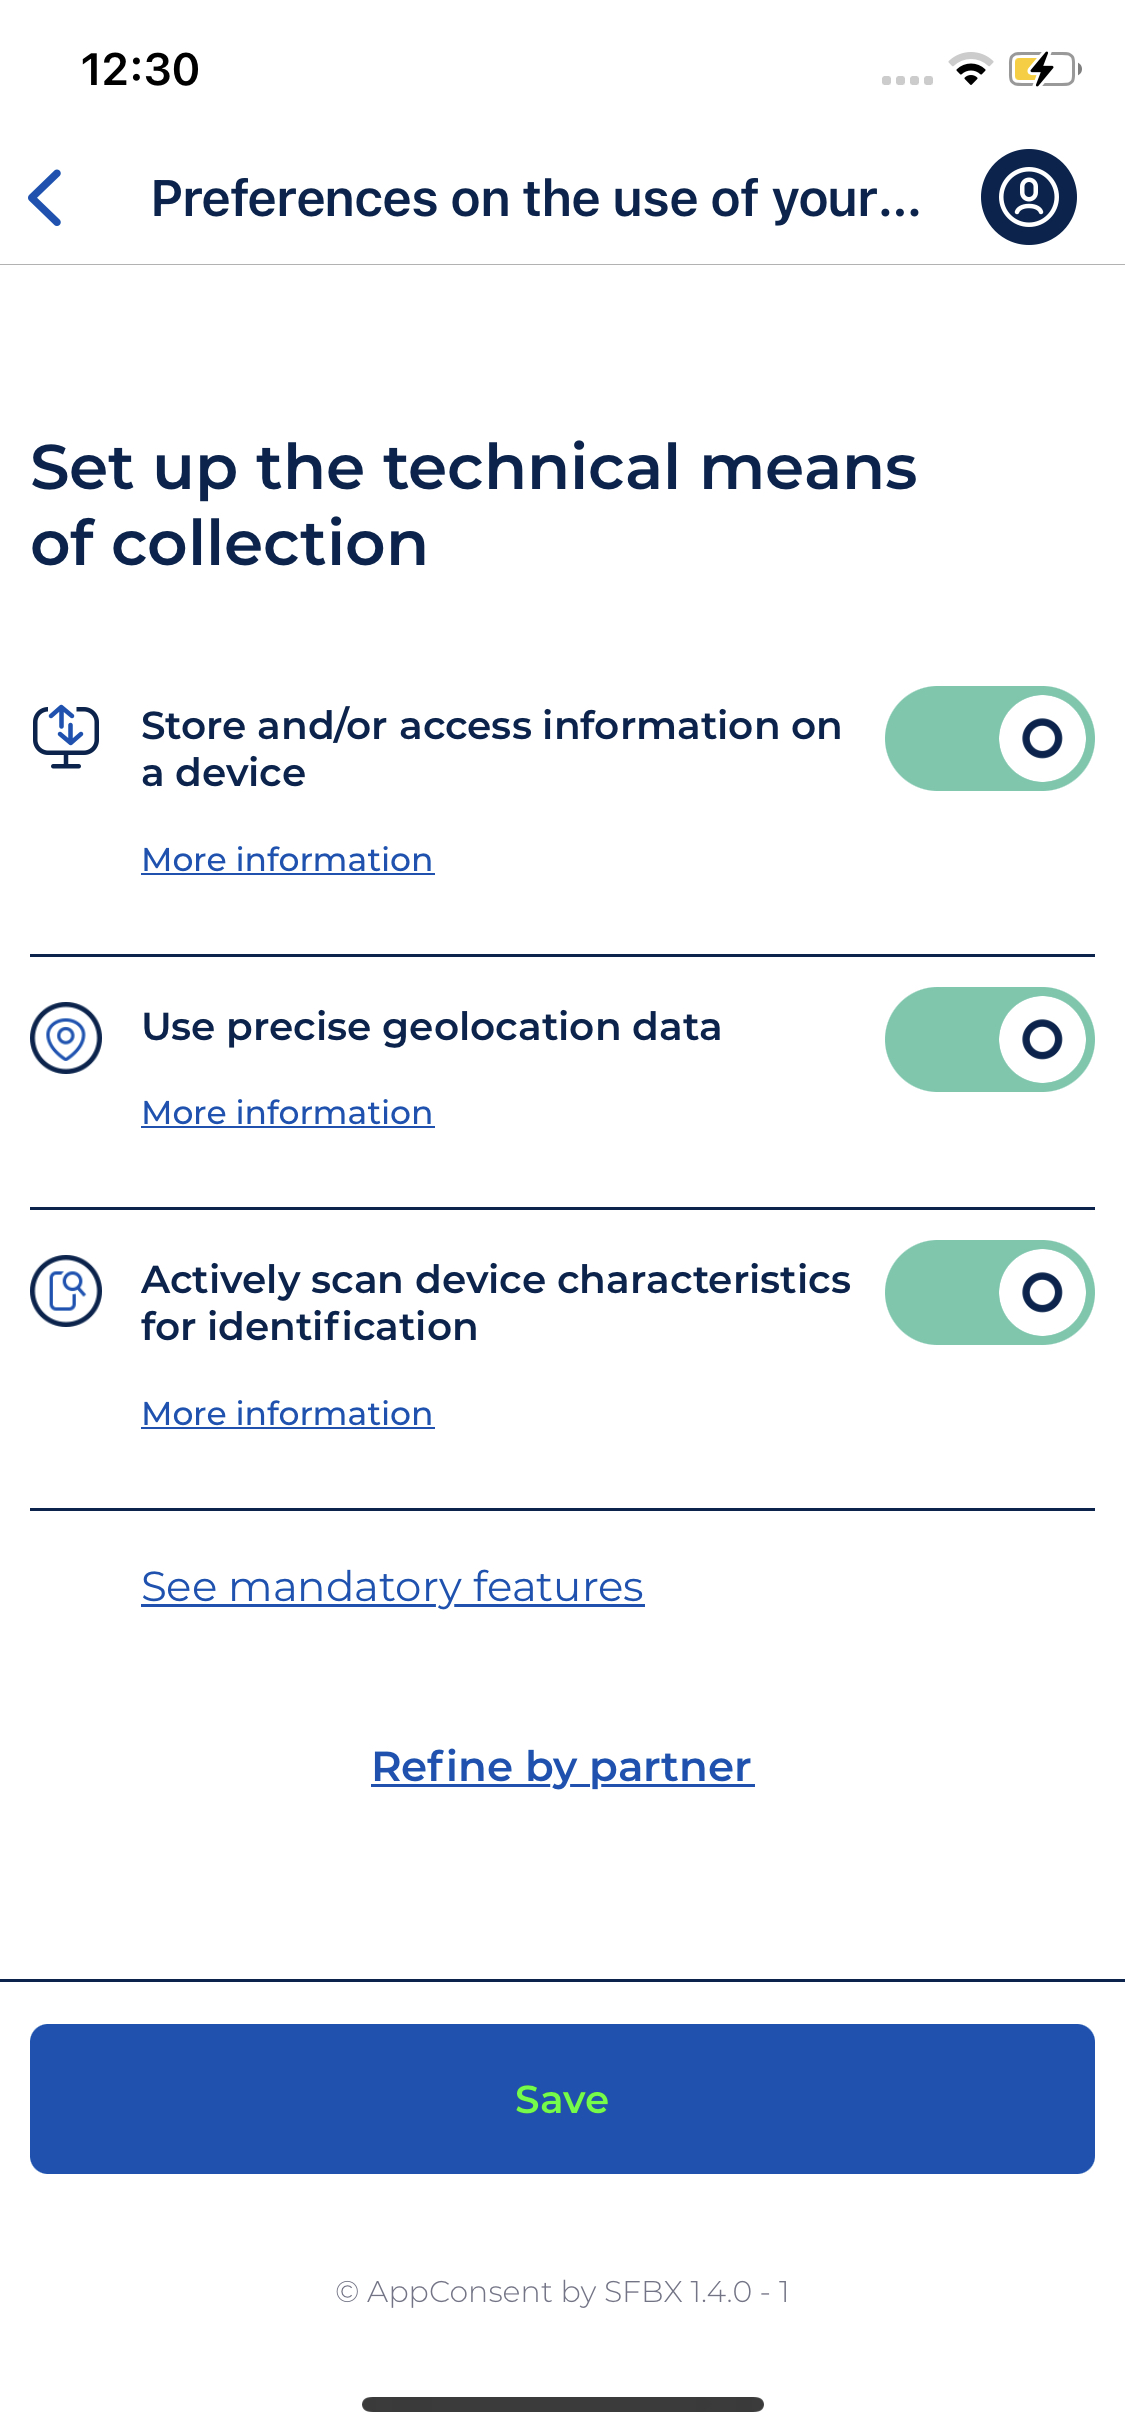
Display purposes list on layer 1
[ Standard, Essential & Premium Plans ] Choose to display or hide the list of processing purposes used by you and your partners on the main page of the banner.
Important
Please note that the IAB TCF (Transparency and Consent Framework) and the various European DPAs require the purposes of processing to be displayed. If you deactivate this option, it is your responsibility to inform your users in an appropriate manner about the purposes for which their personal data is processed.
UI customization
[ Standard, Essential & Premium Plans ] To have a notice which fits with your app UI, you can customize some visual assets and colors.
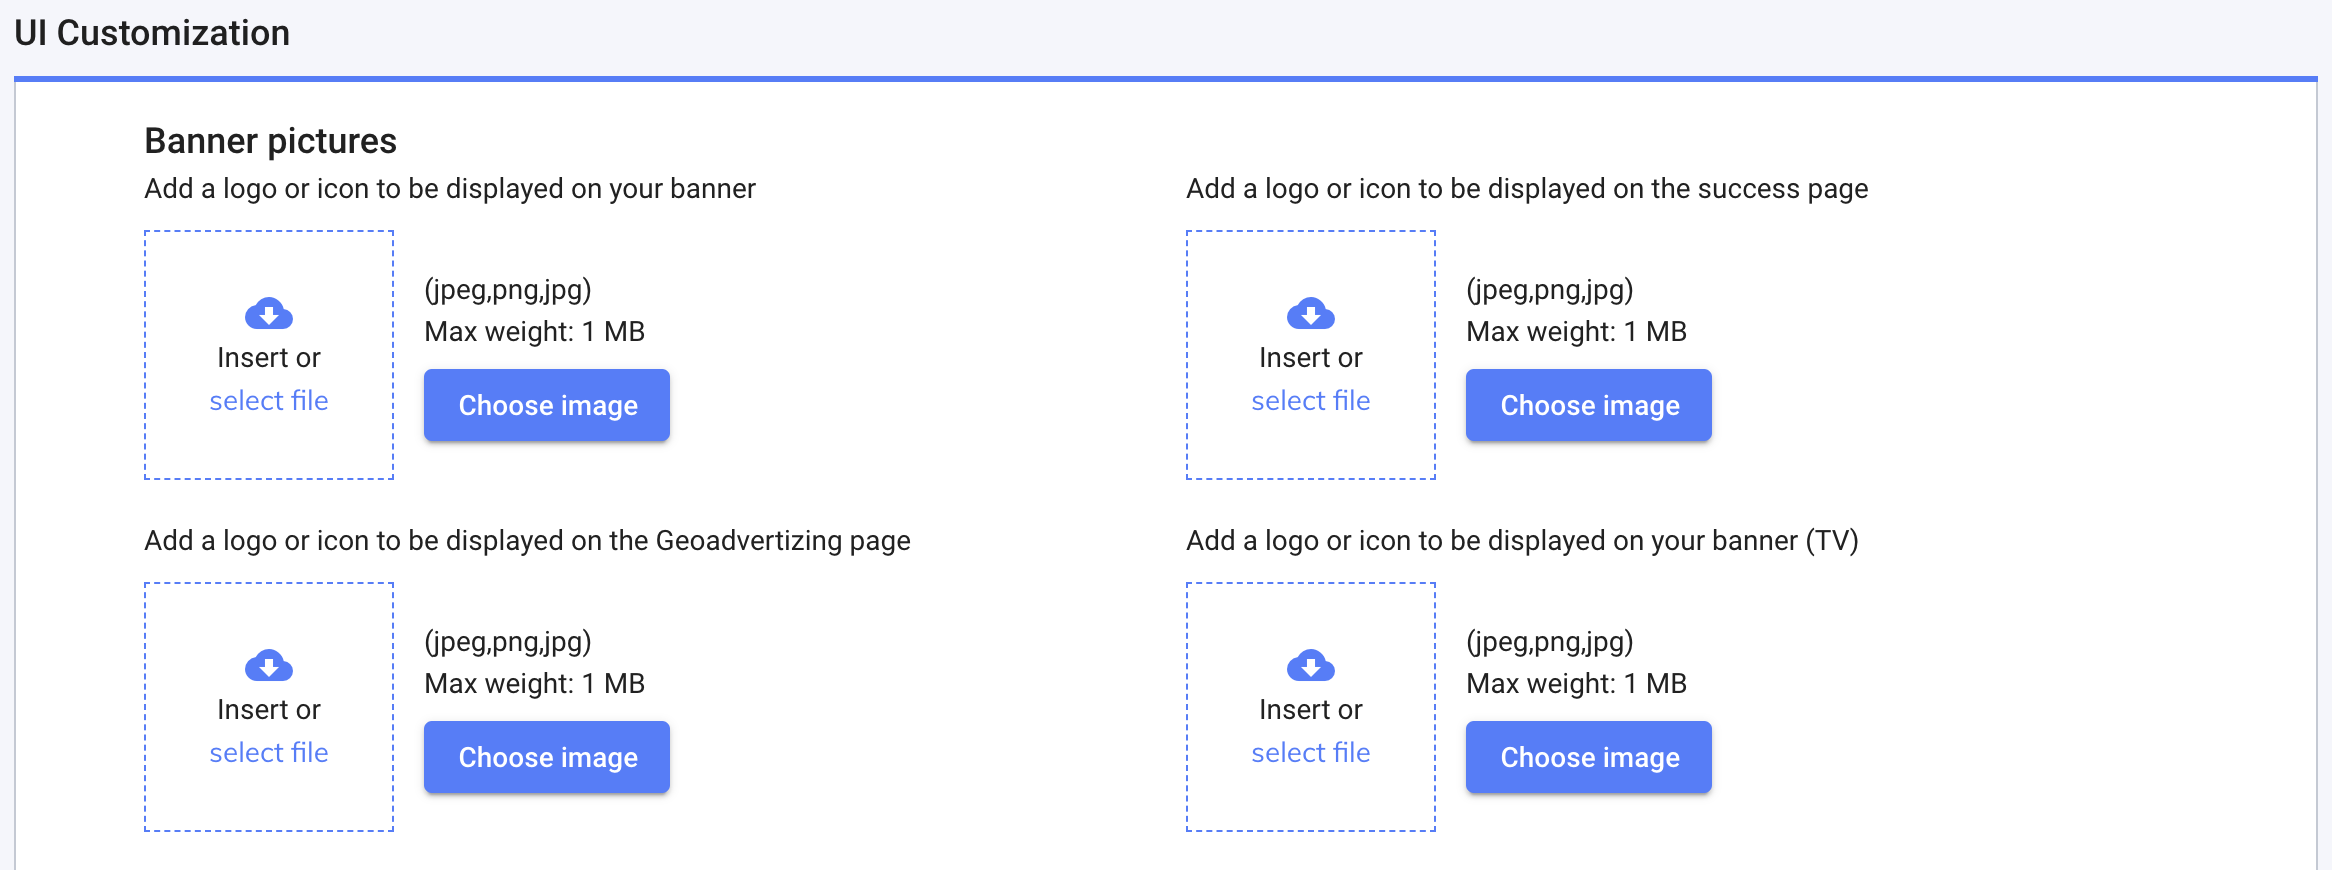
Banner pictures
Add a logo or icon : Your image will be displayed on your banner.
Add a logo or icon to be displayed on the success page : If you have chosen to display a success screen, choose the image to be displayed on it.
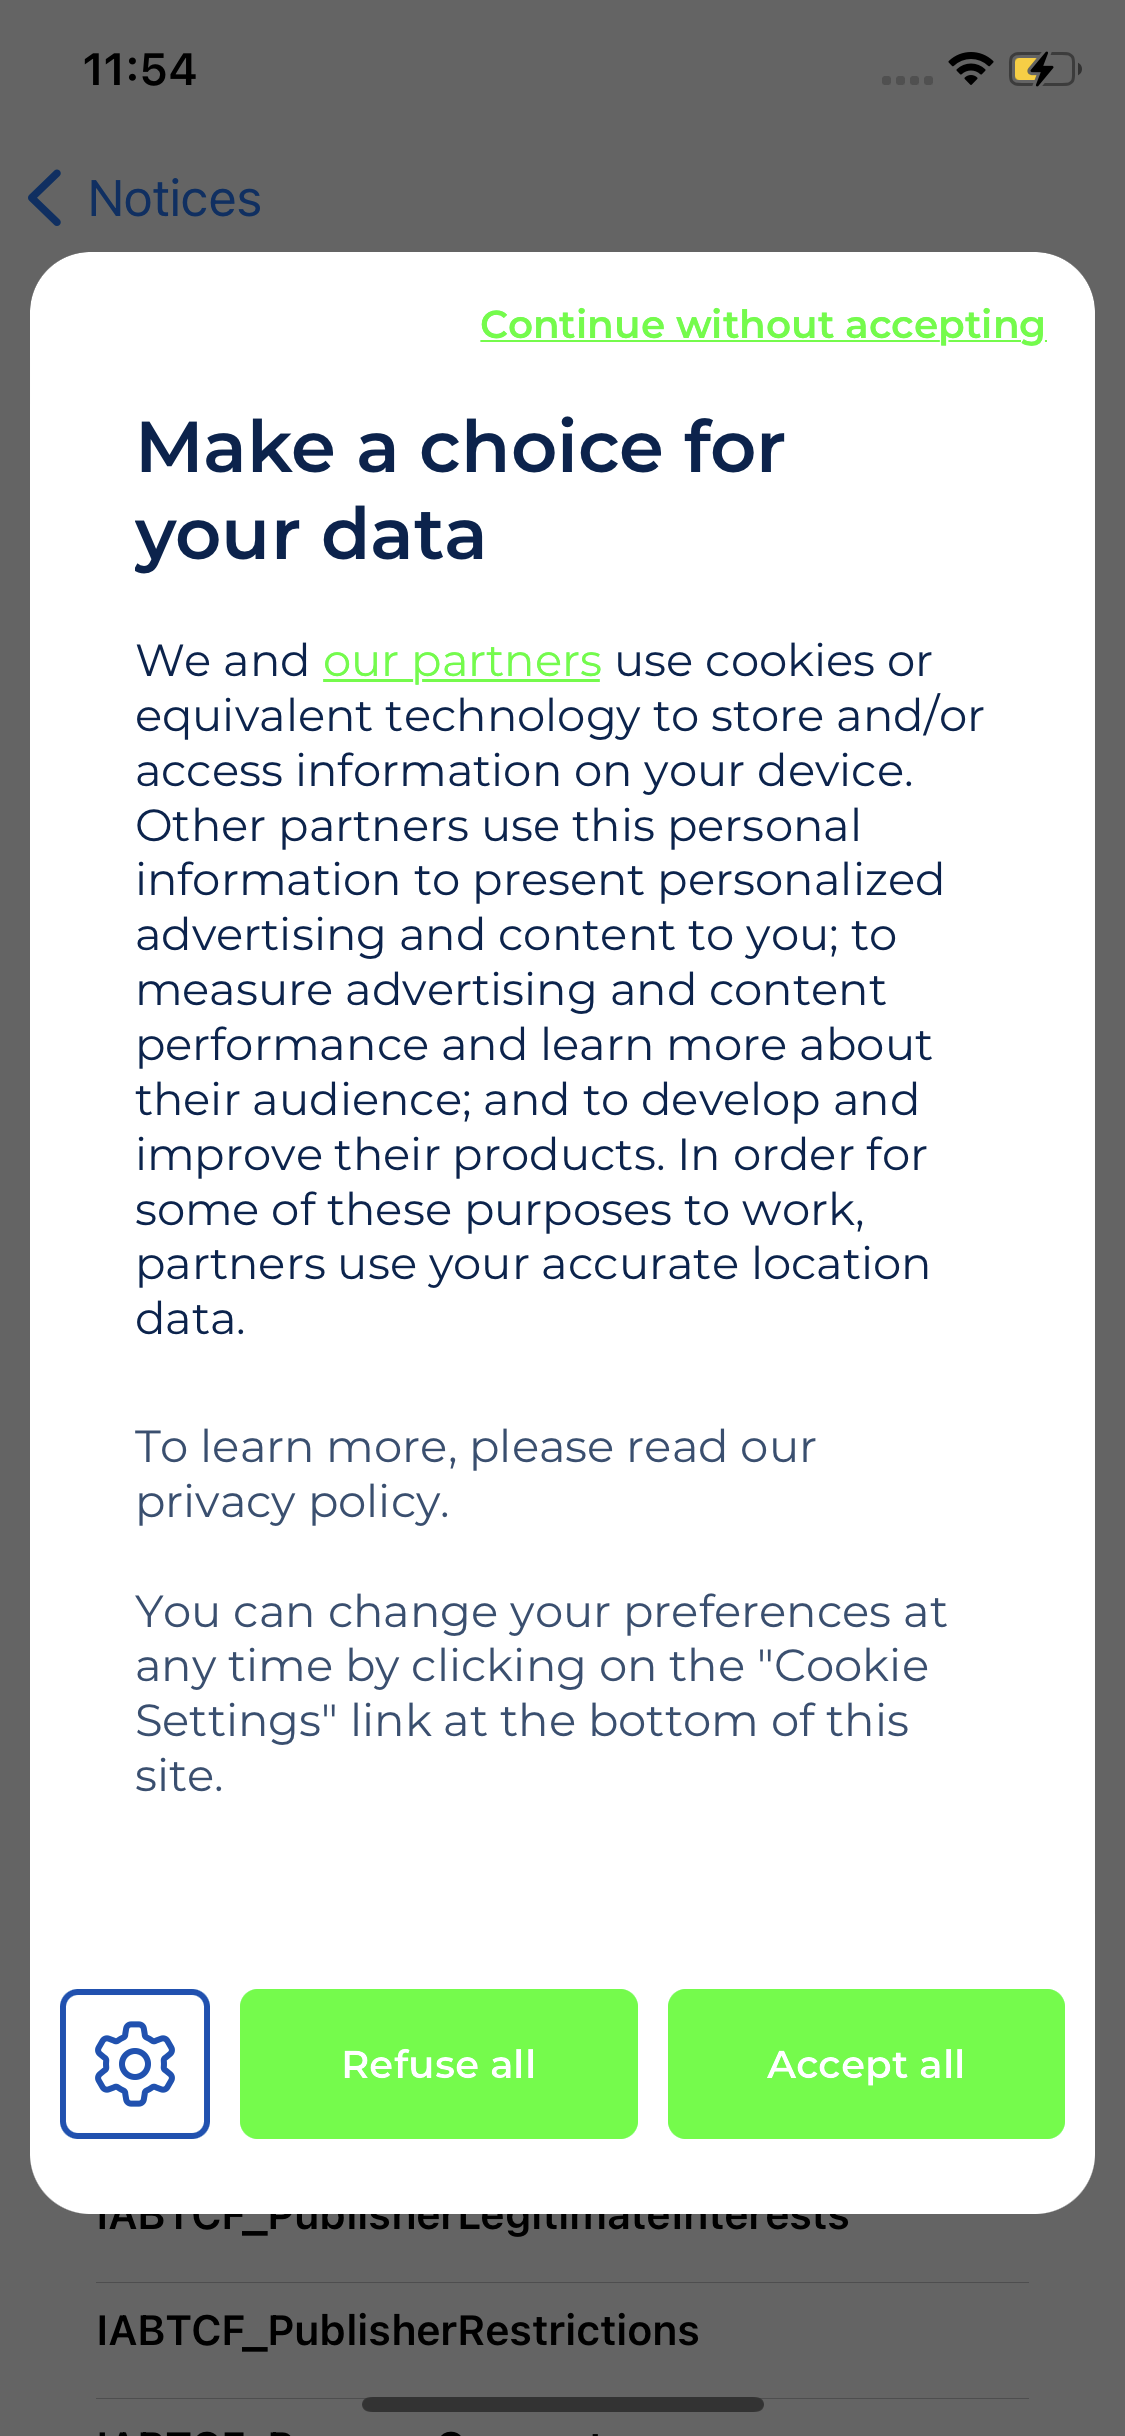
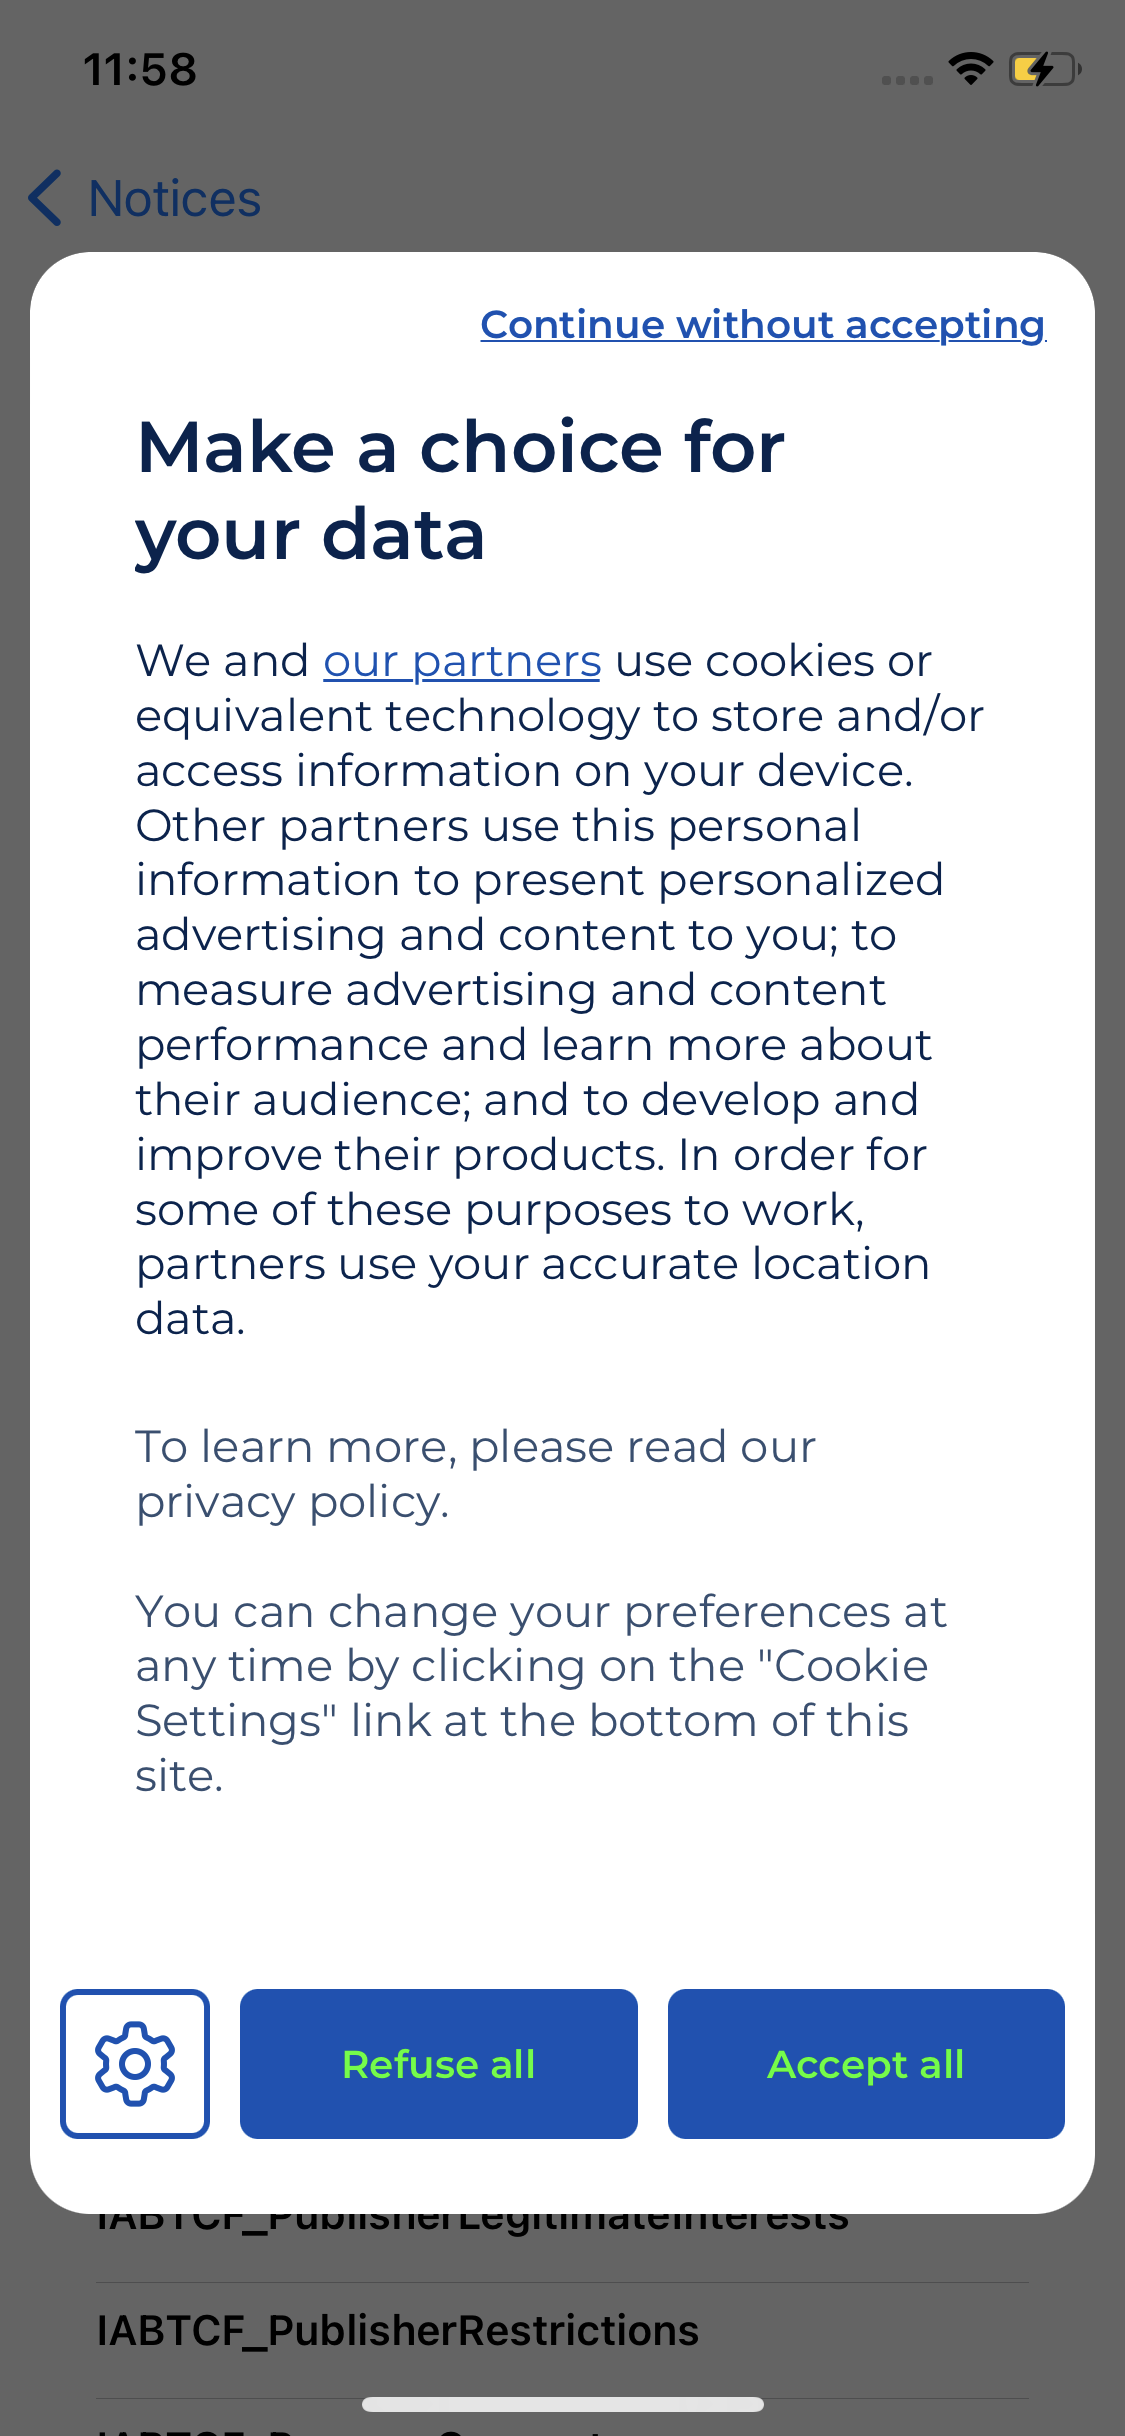
Buttons and texts color
Depending on whether you choose to integrate the Classic or the Clear consent notice template on your application, please refer to the corresponding section to modify the default UI customization.
Some colors of the notice can be customized with your own colors.
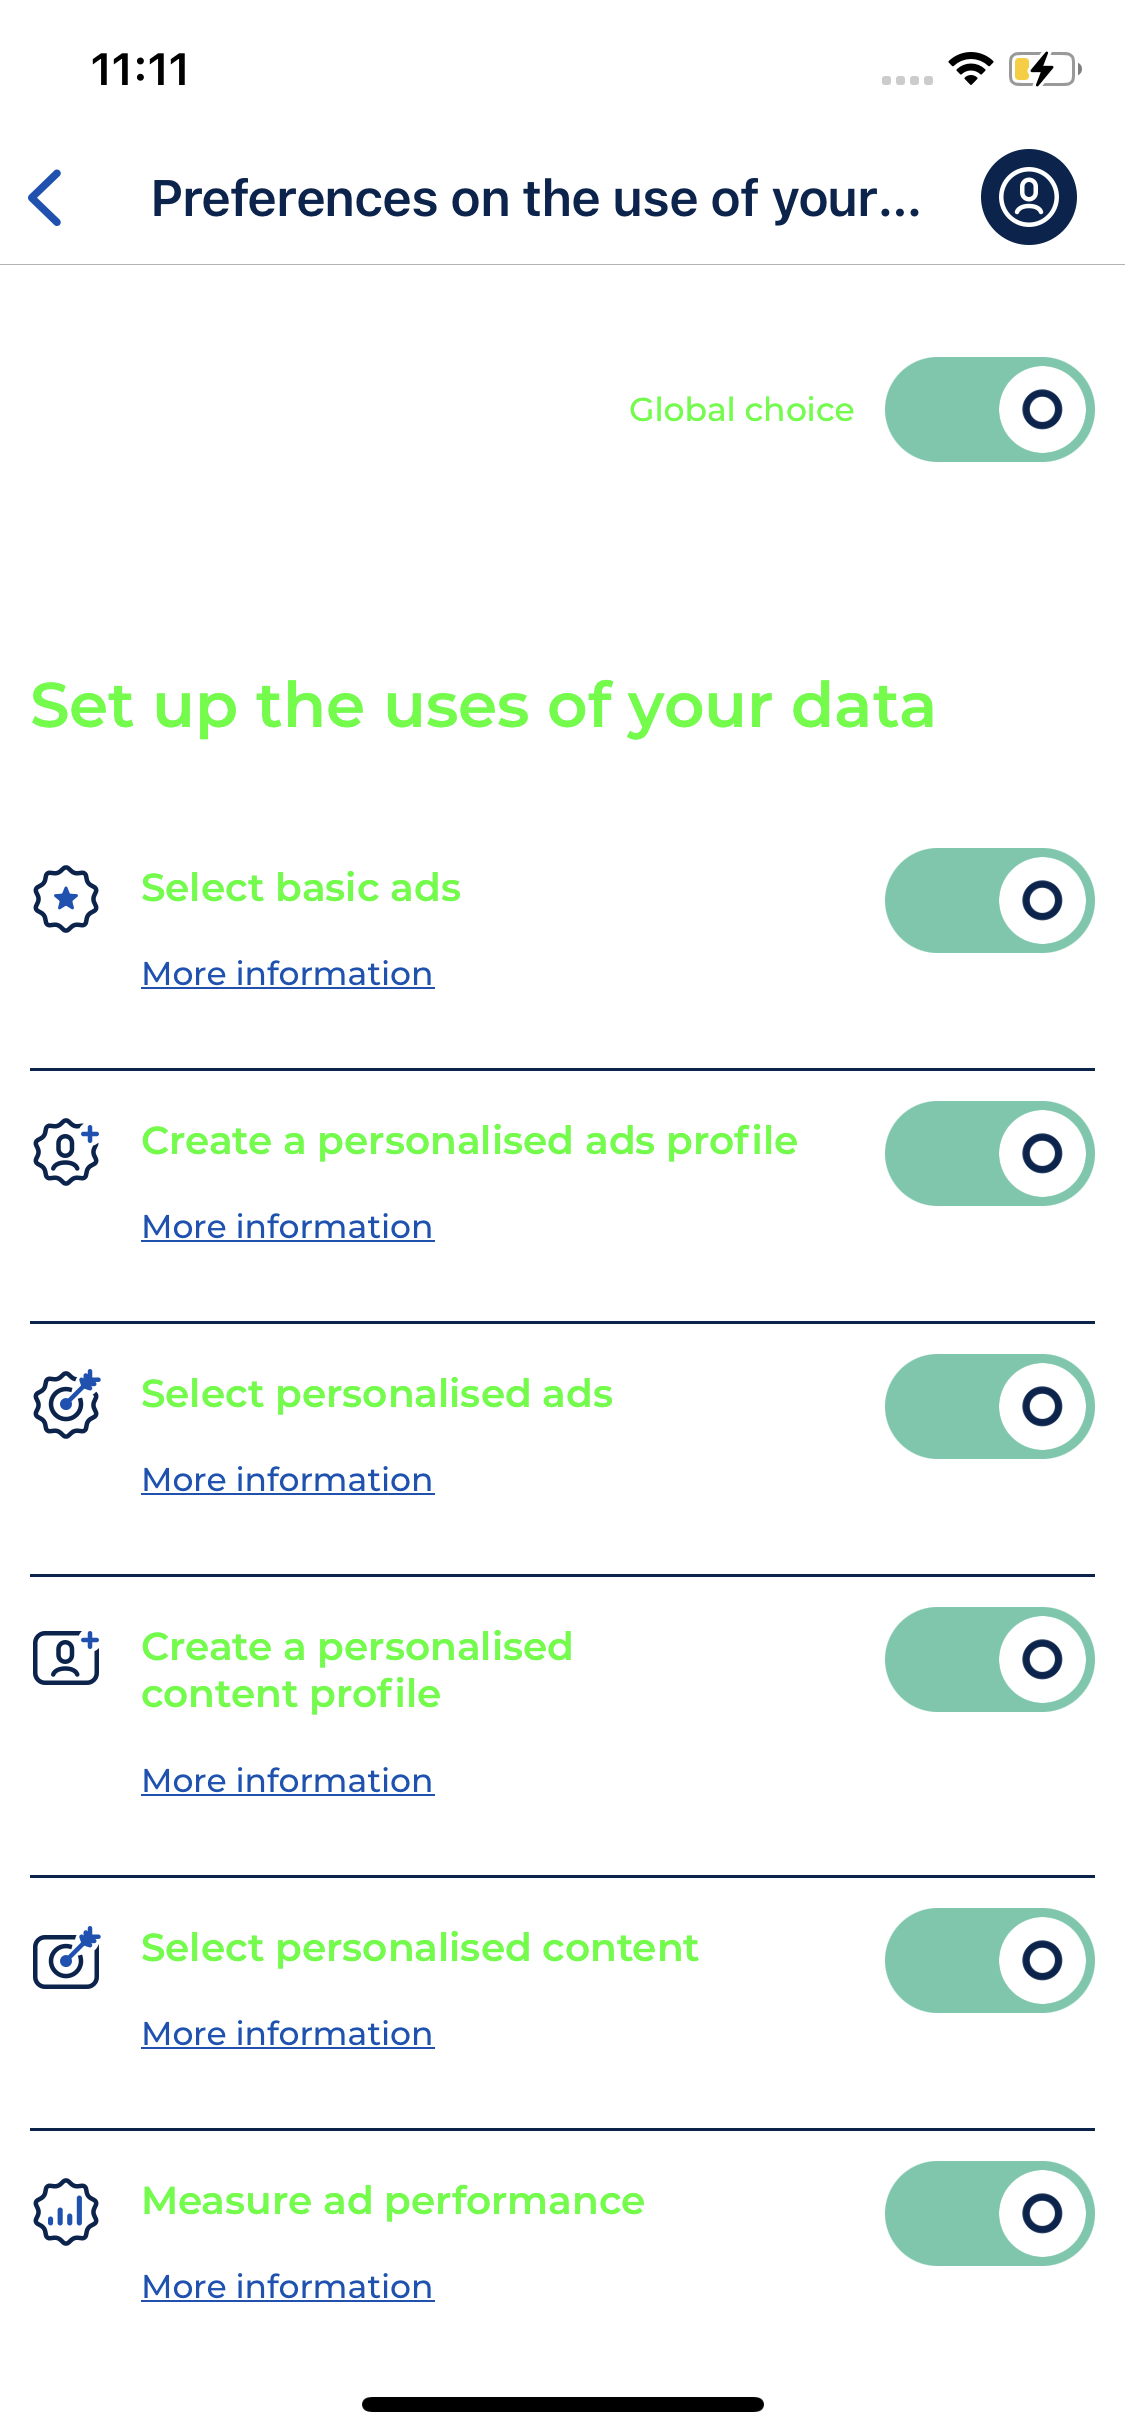
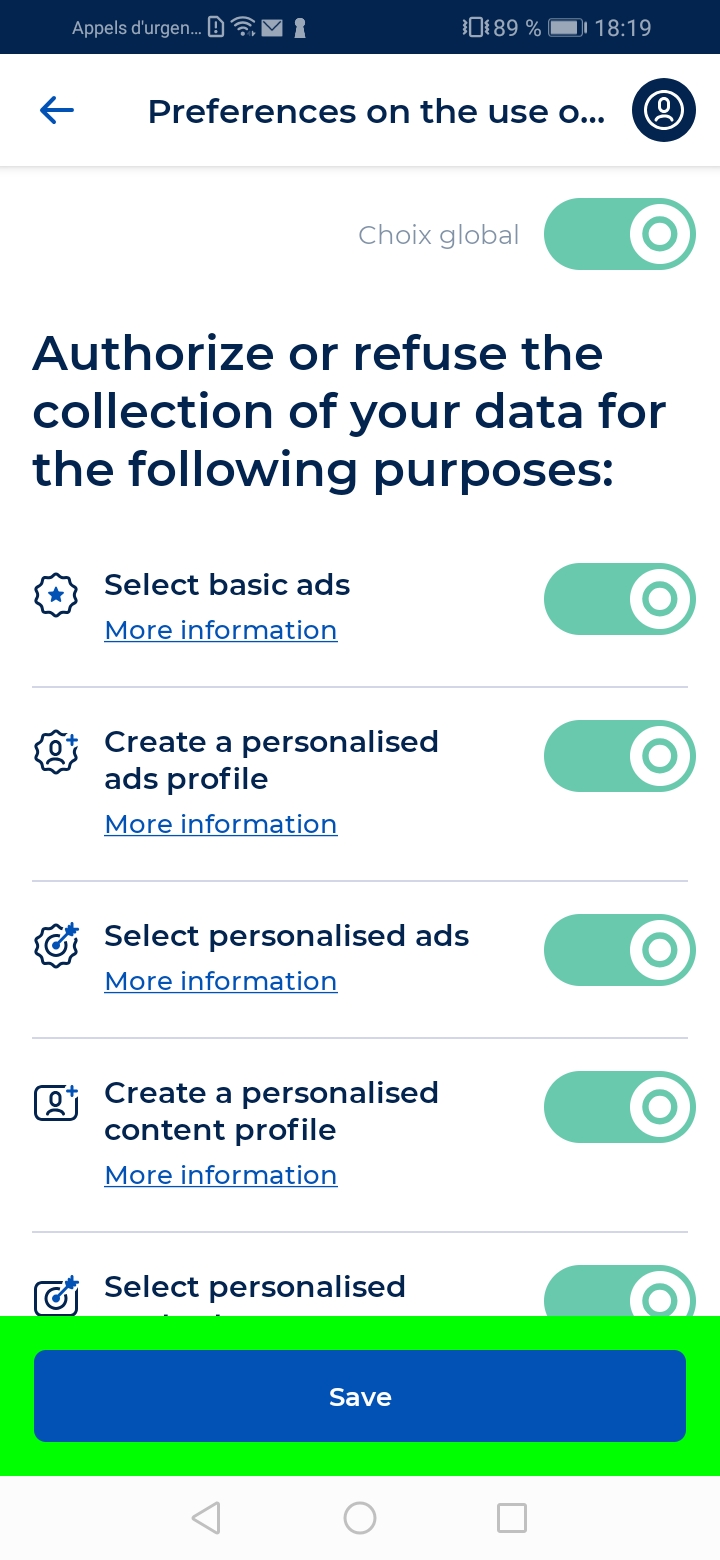
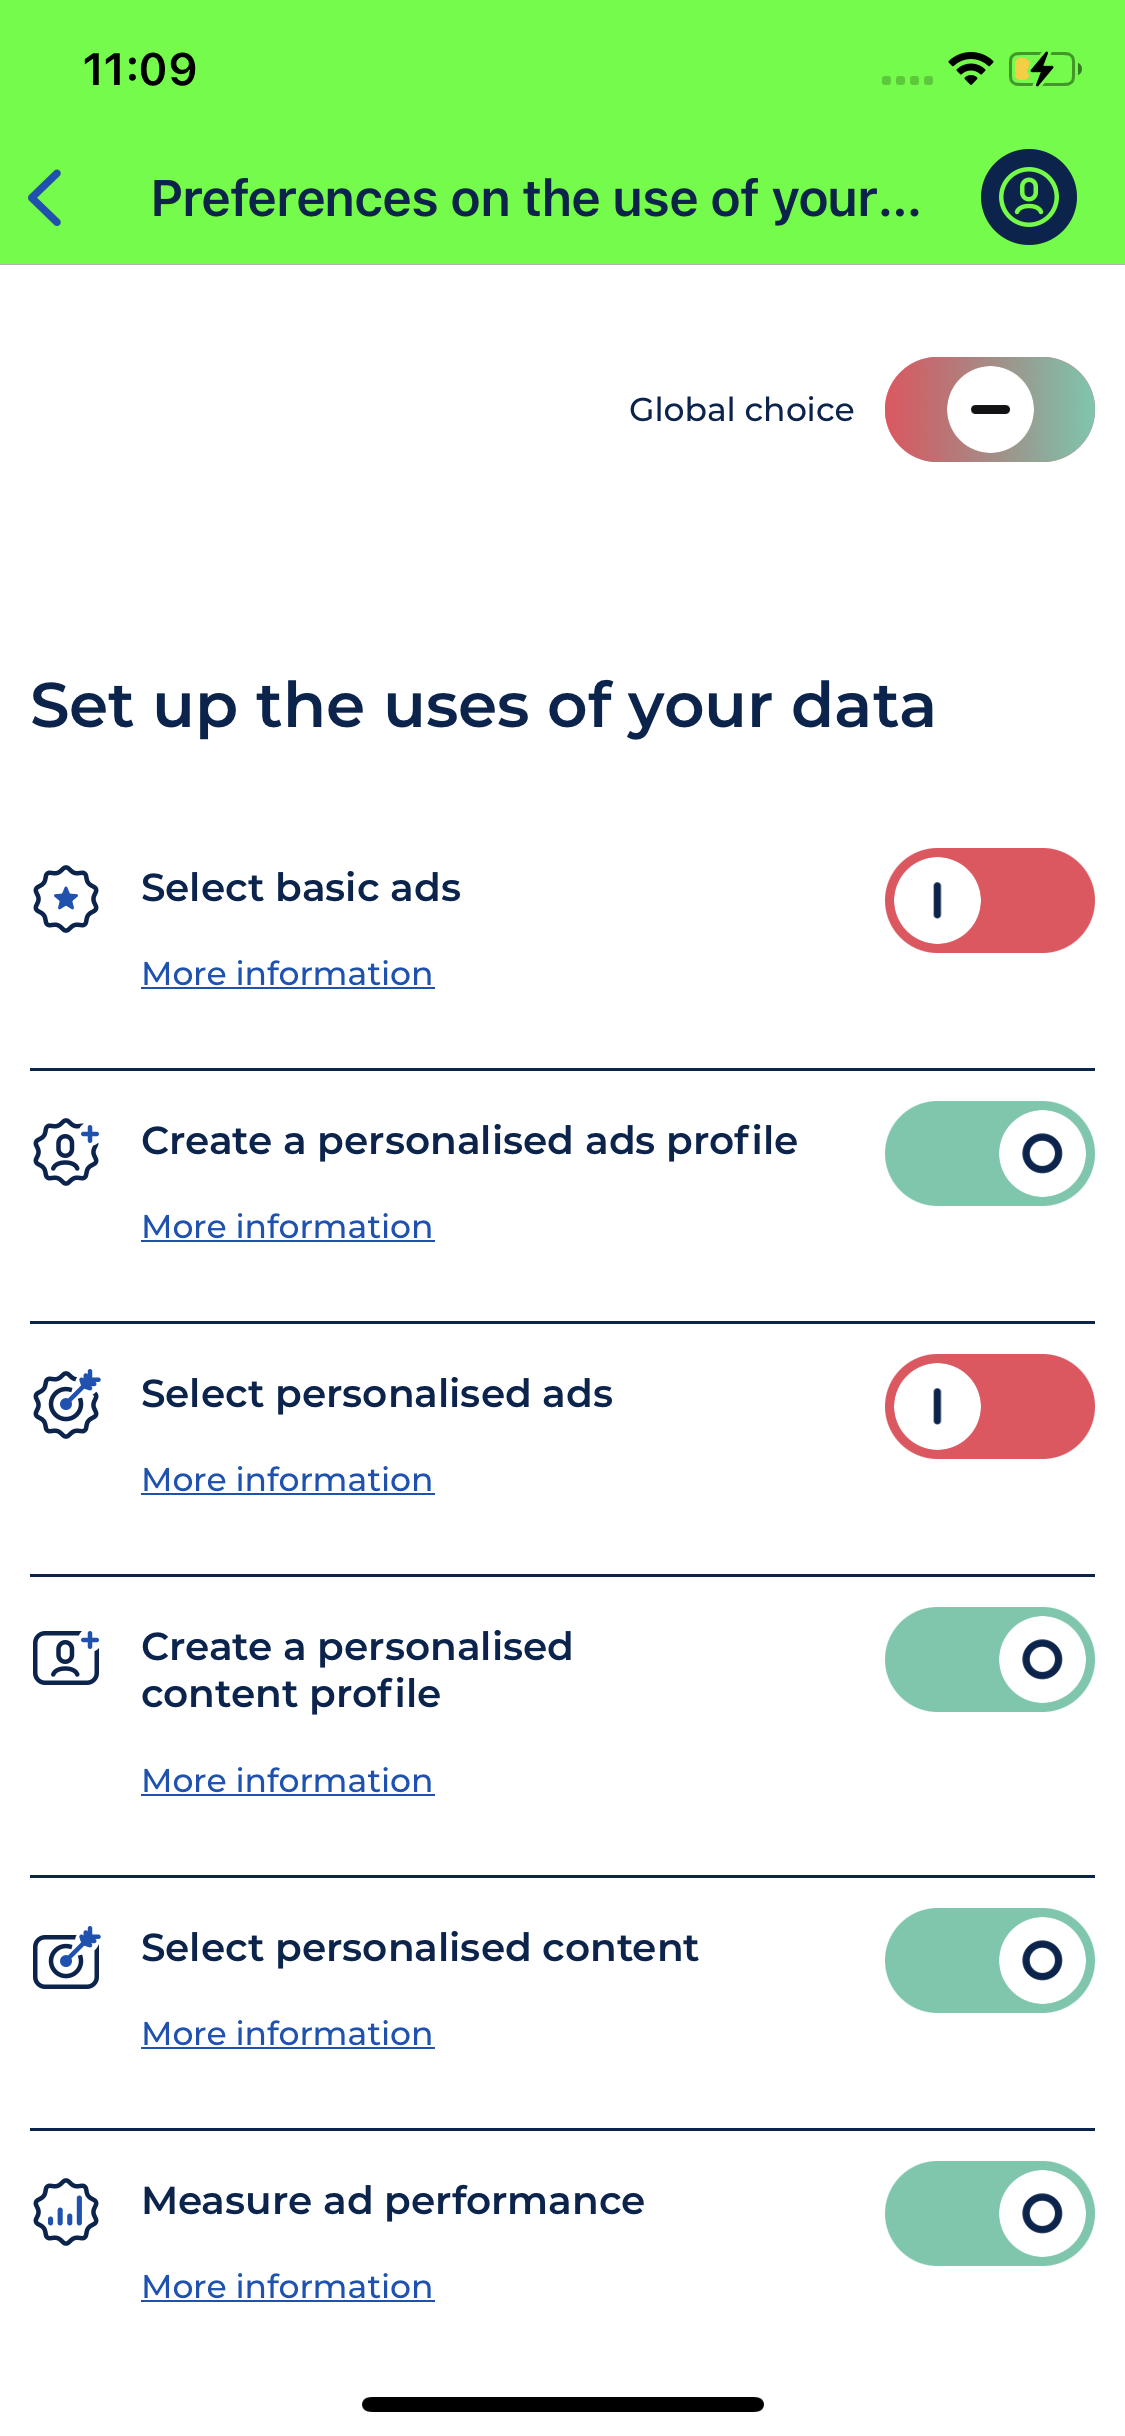
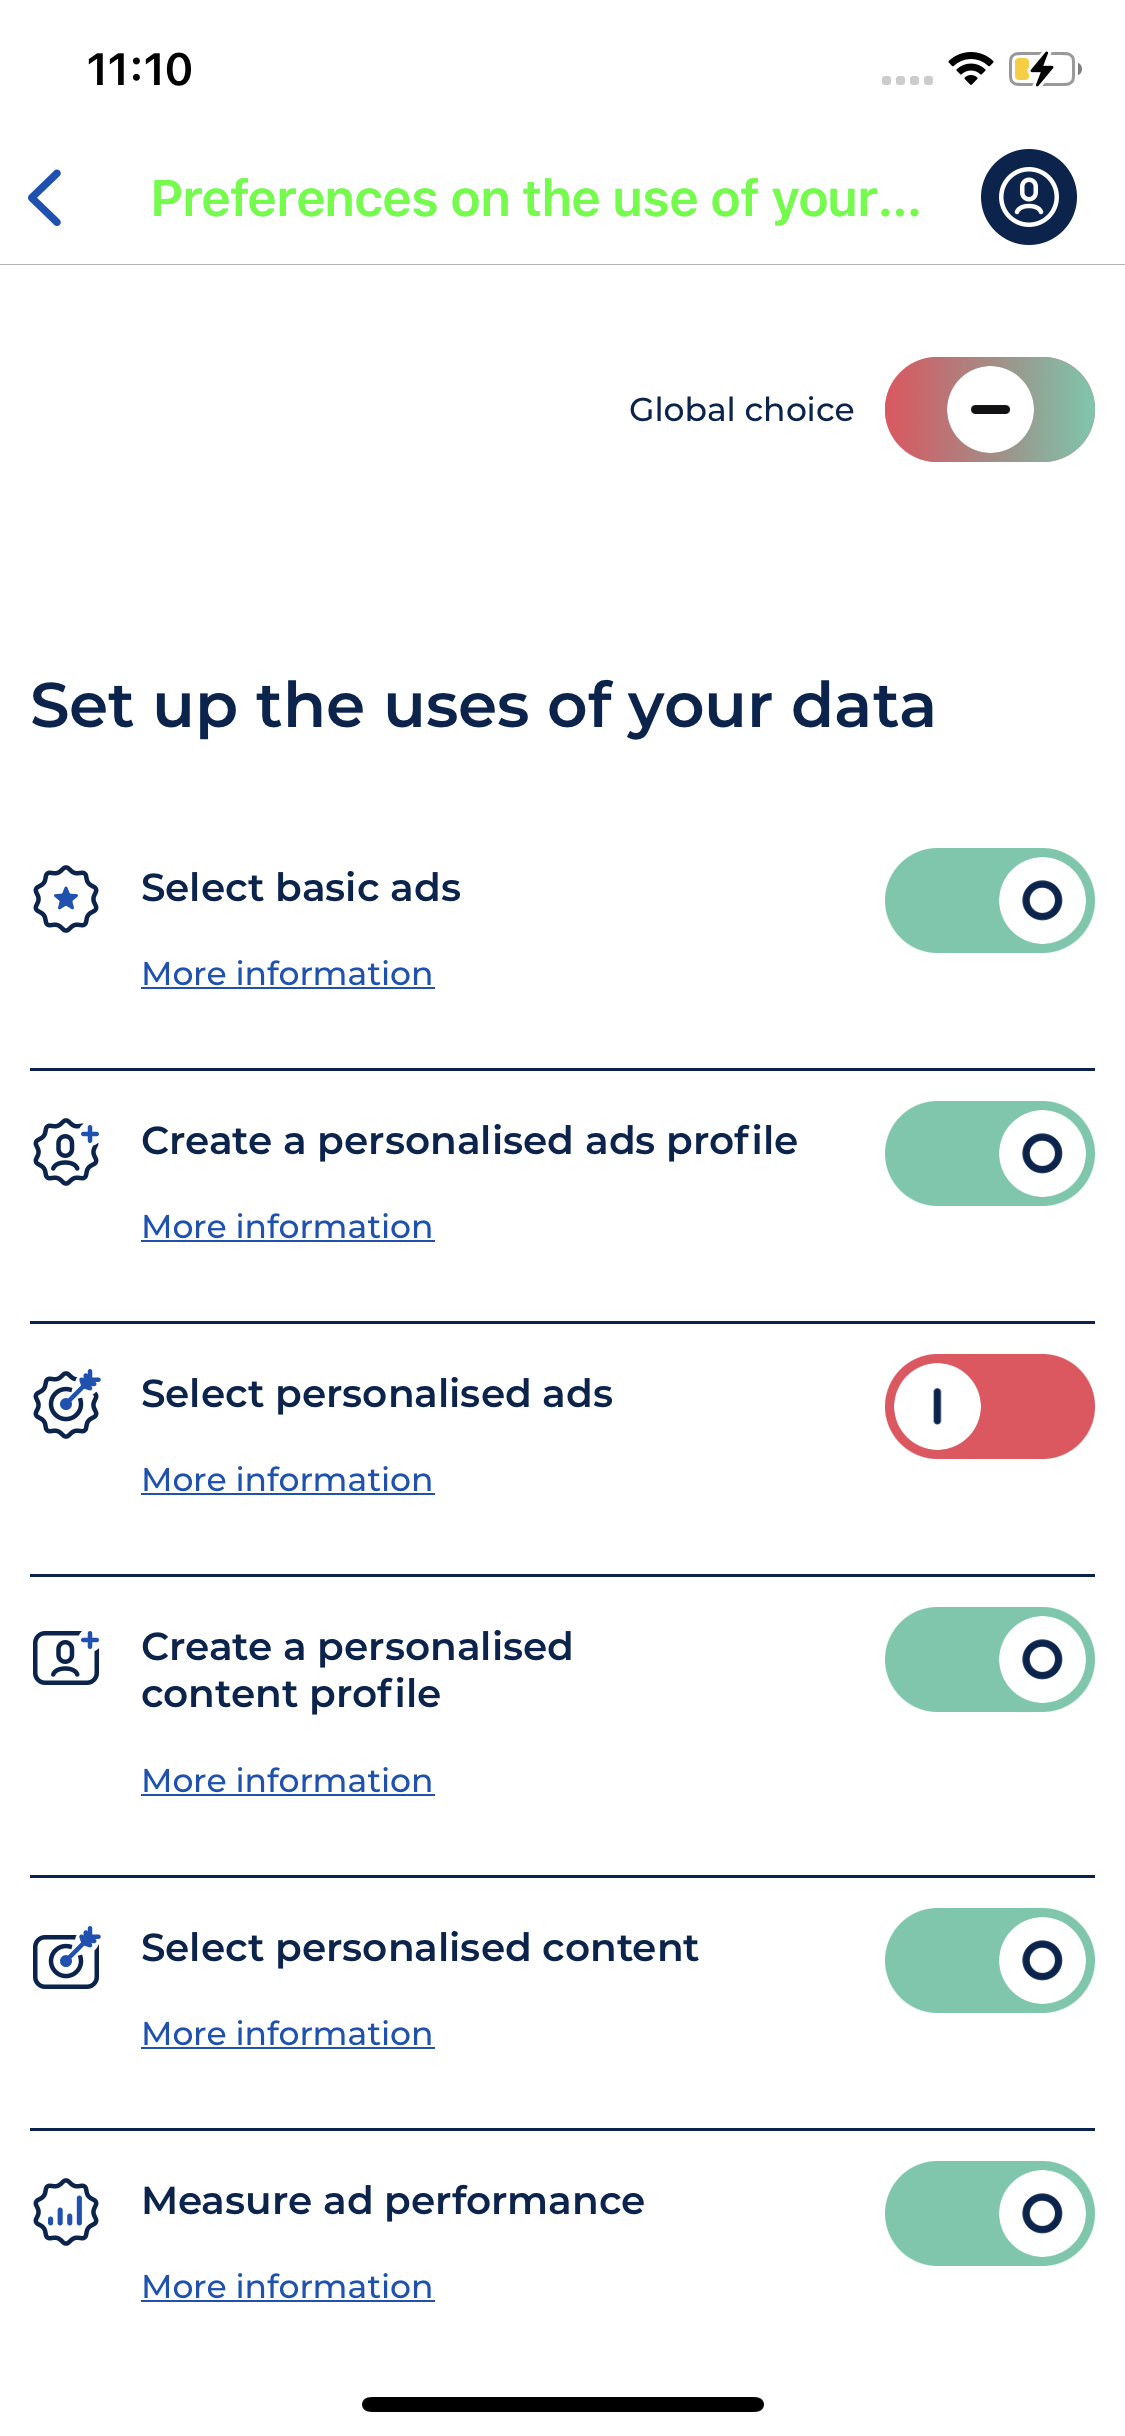
Have a look below to see how each field (mentioned in legend) affects the consent notice.
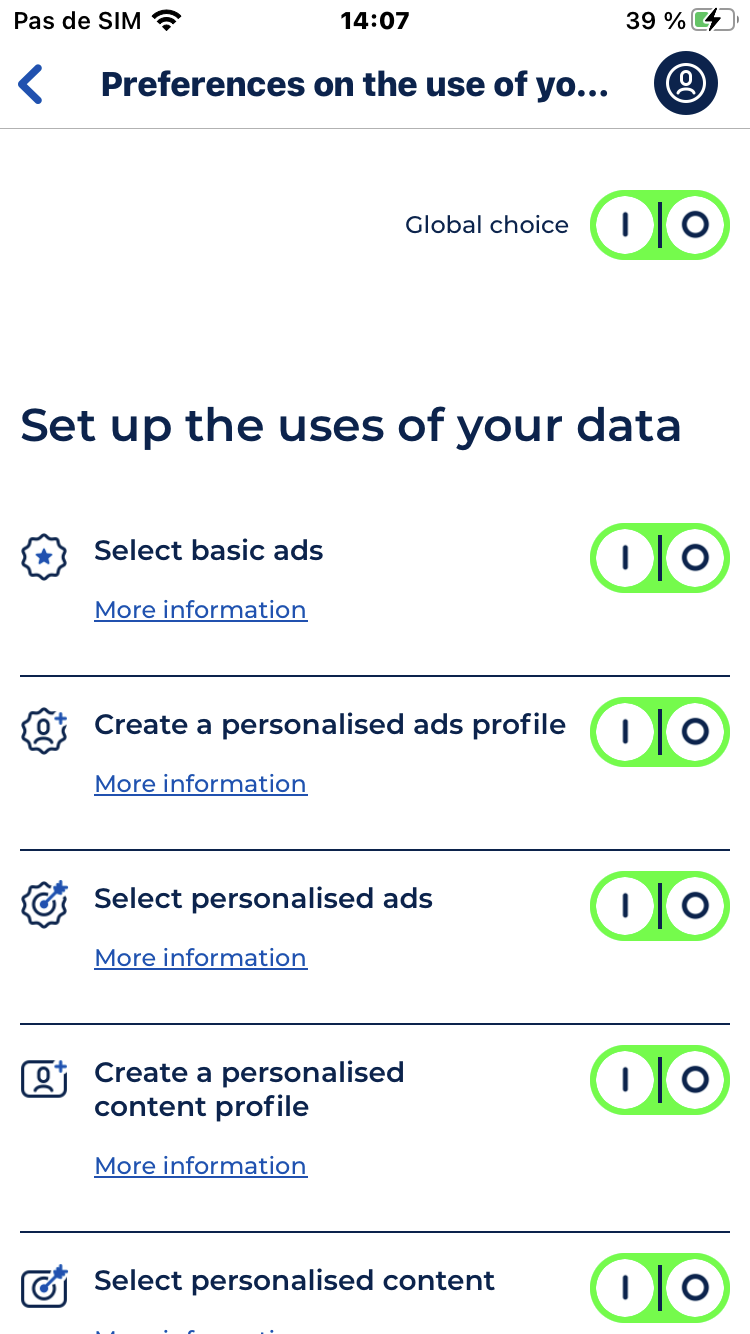
In the examples below each element named under the screenshot is customized in green (#00FF00)


note
The fields below are for Box TV notices only:
- Vendor background color dark
- Vendor separator color
- Button selected color
Advanced settings
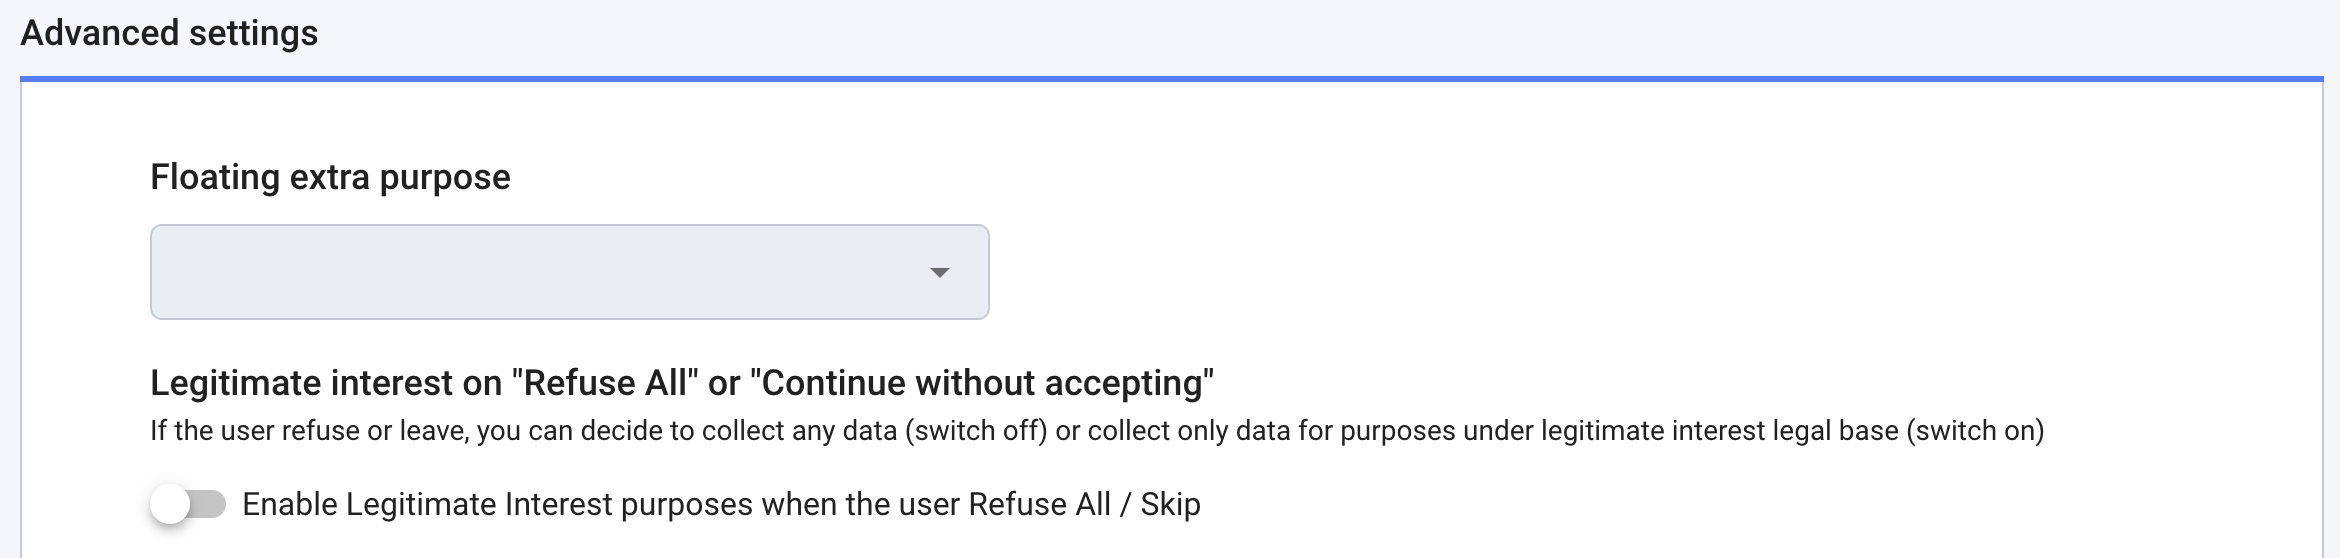
Floating extra purpose
A floating purpose is a purpose for which only the storage of the consent is concerned. See the Floating purpose feature section.
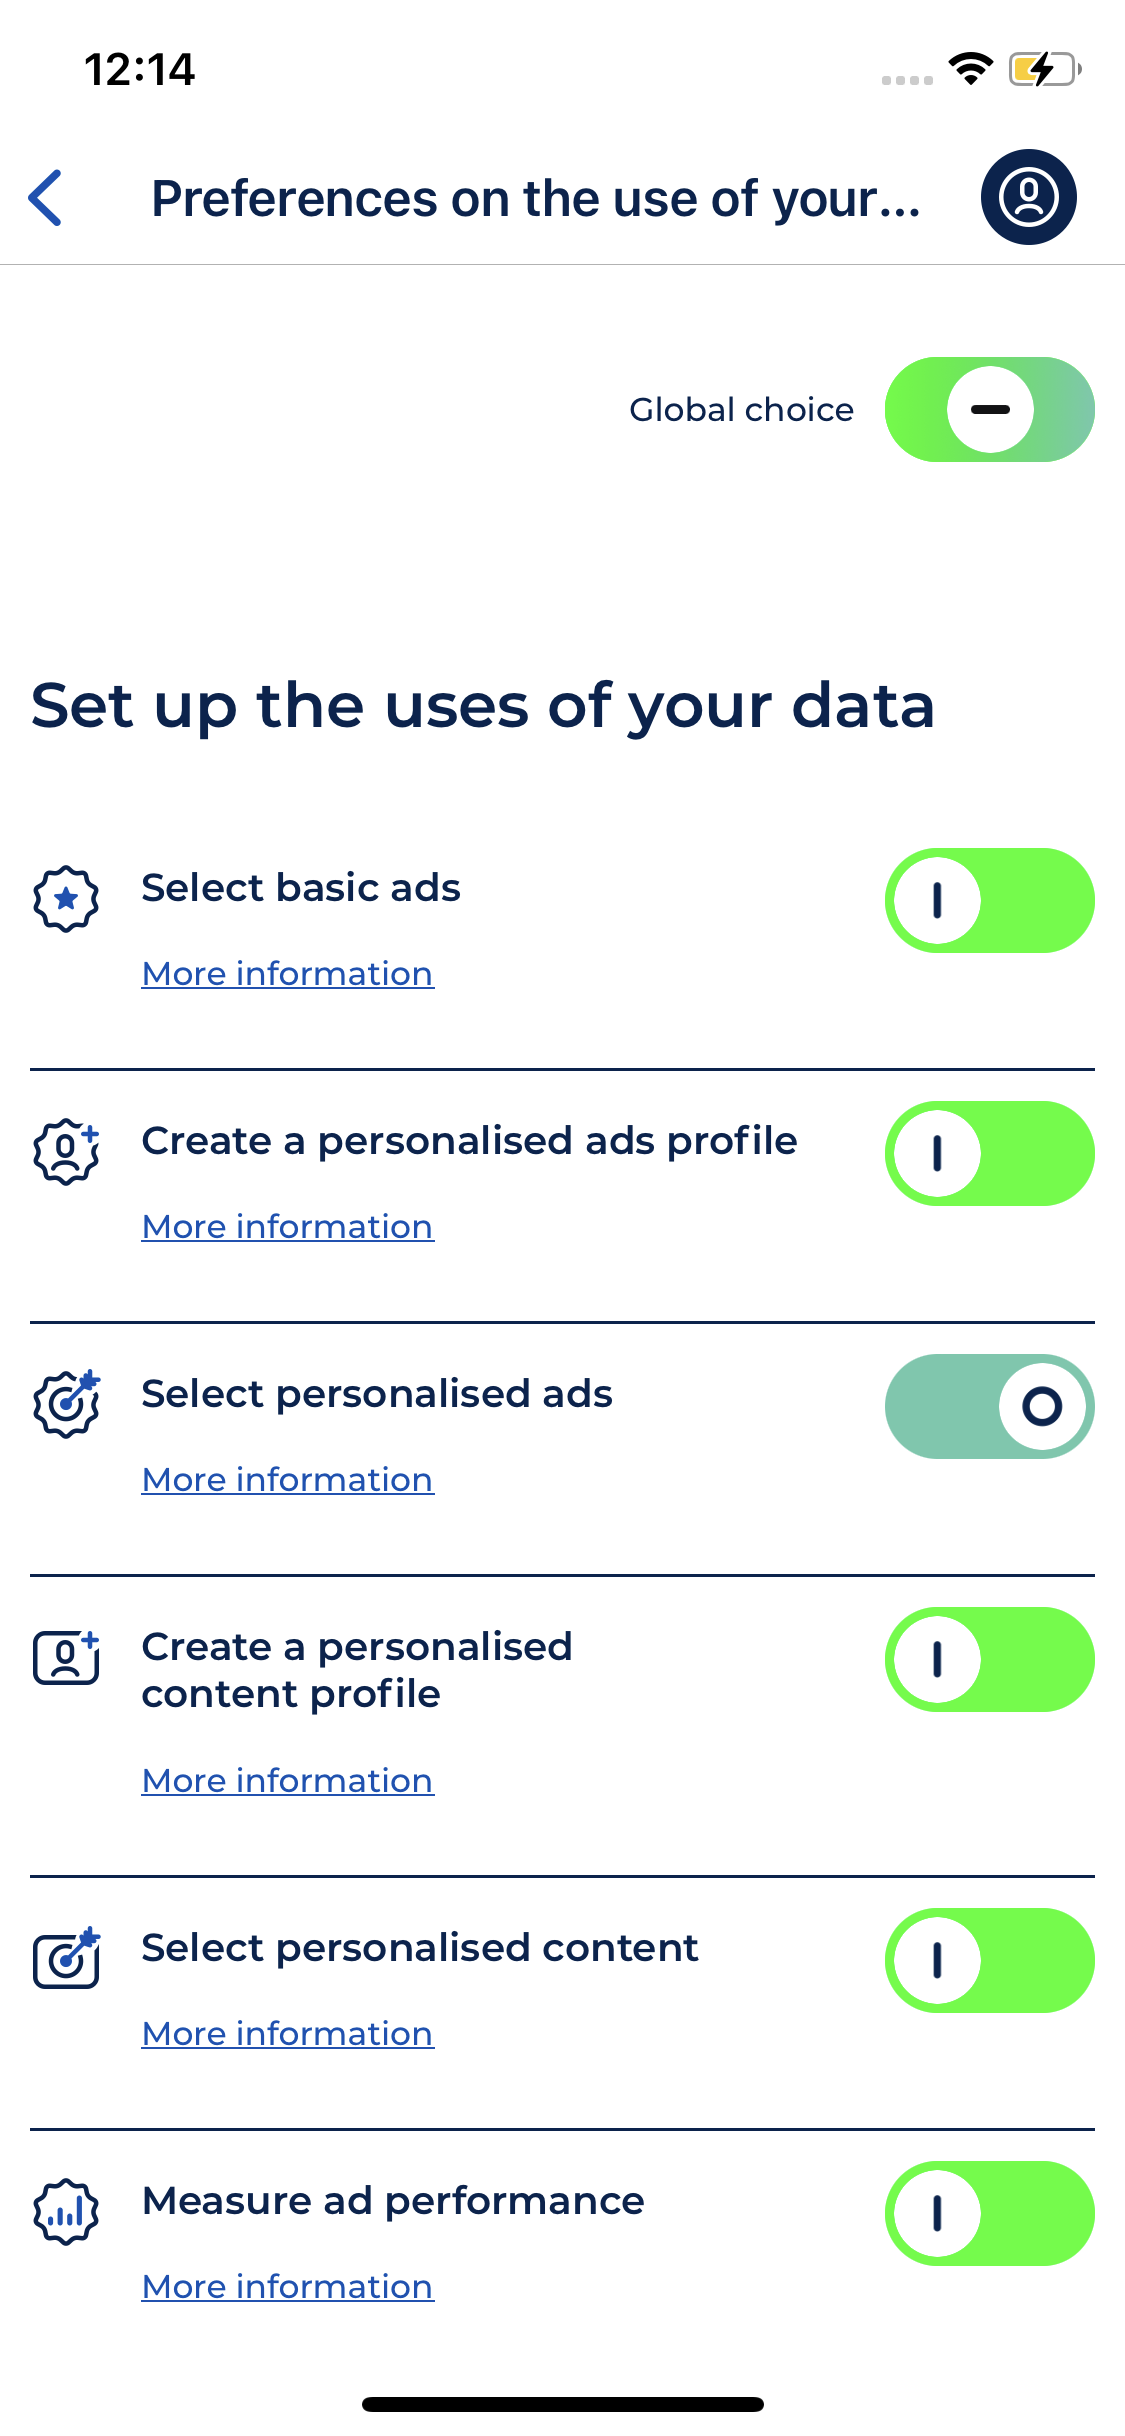
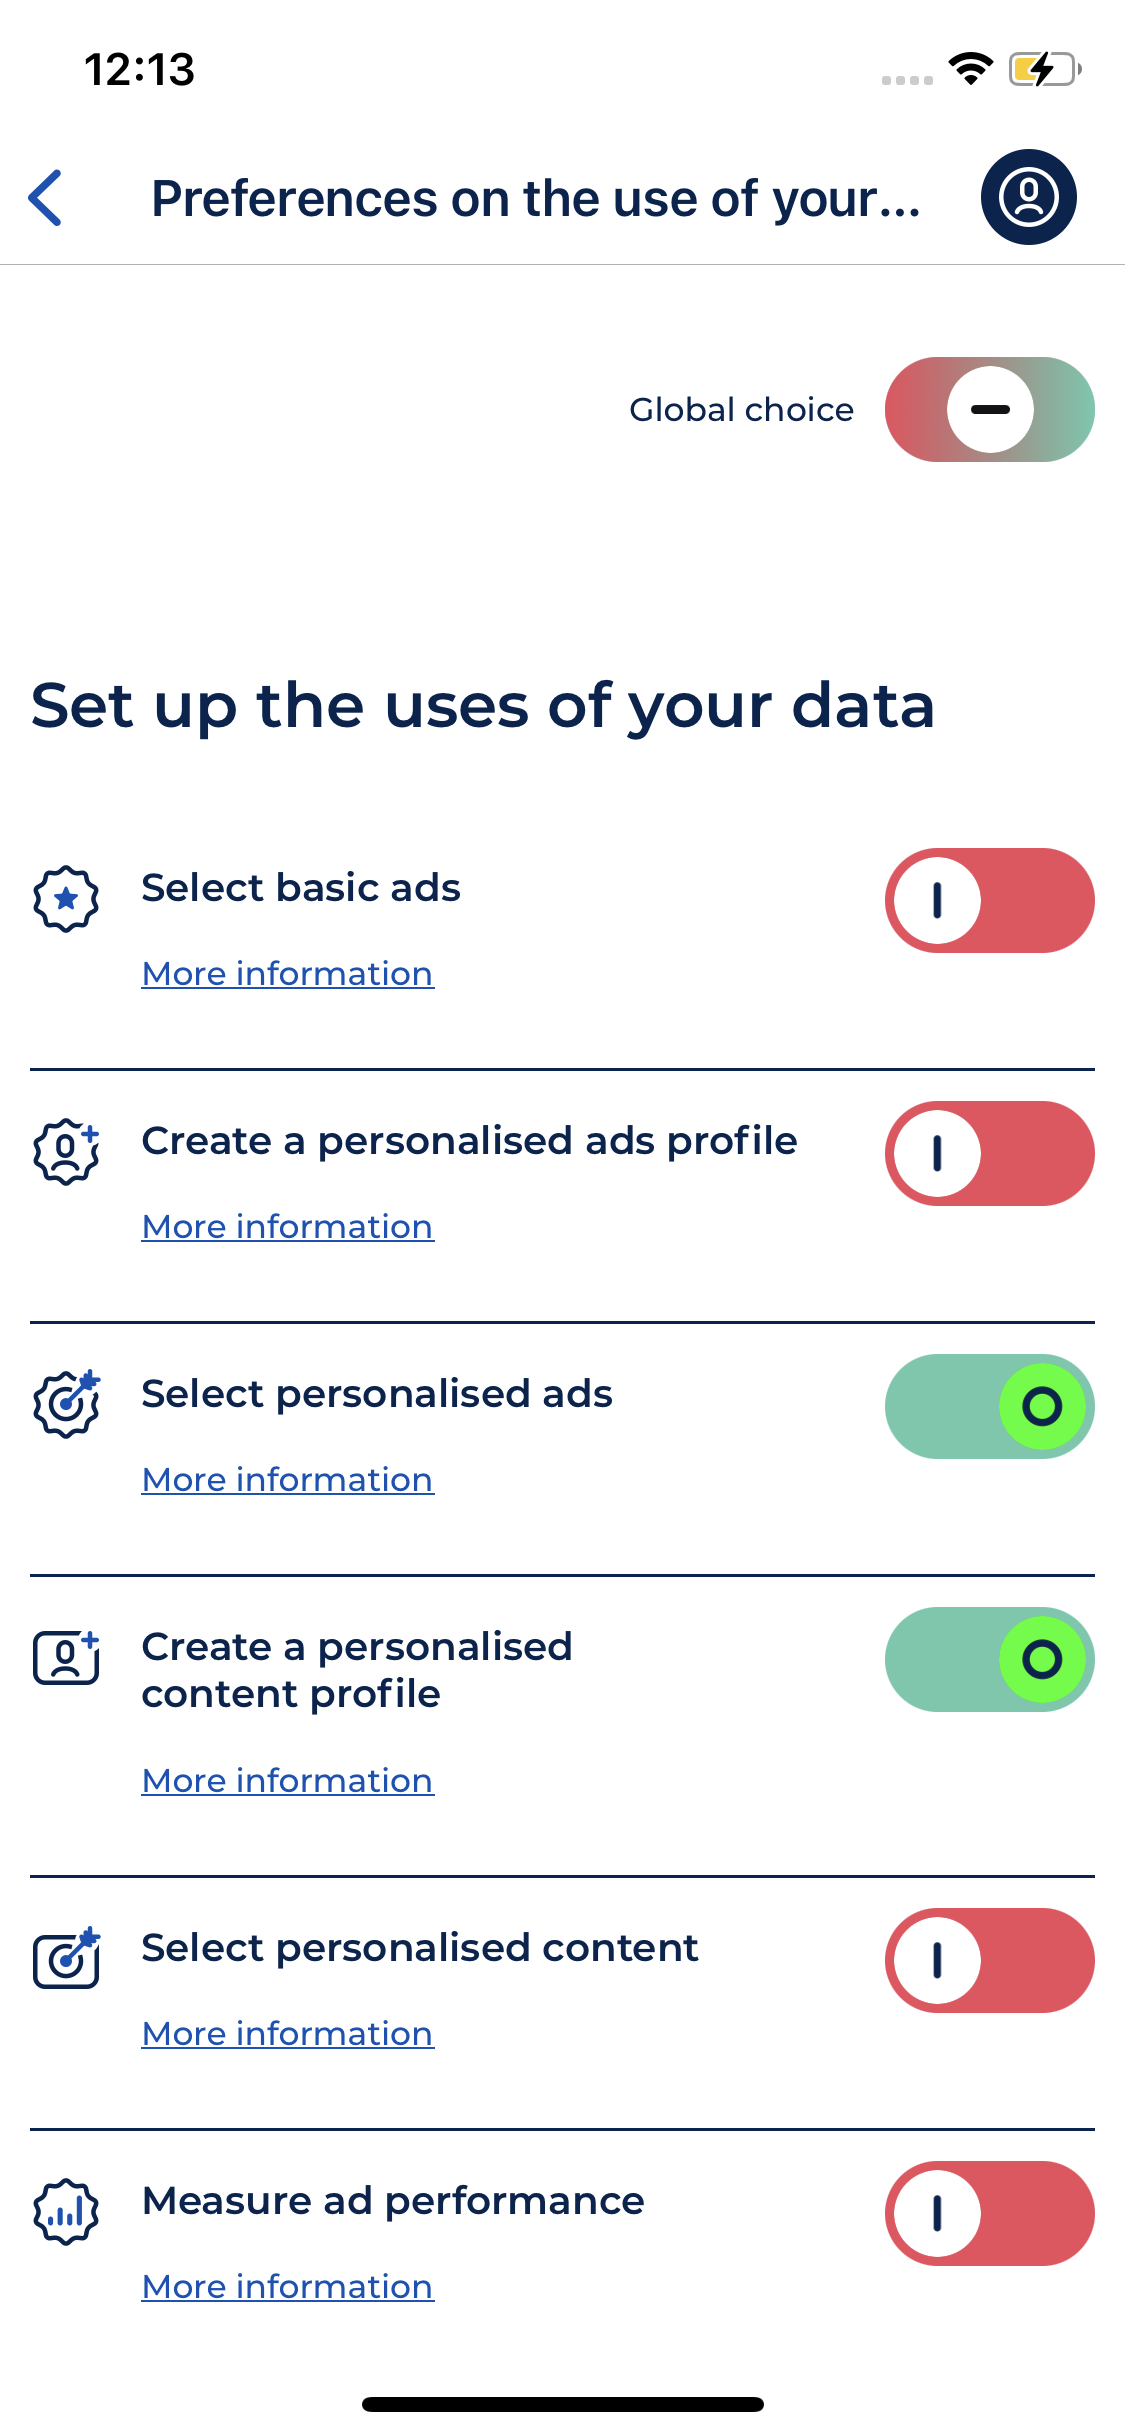
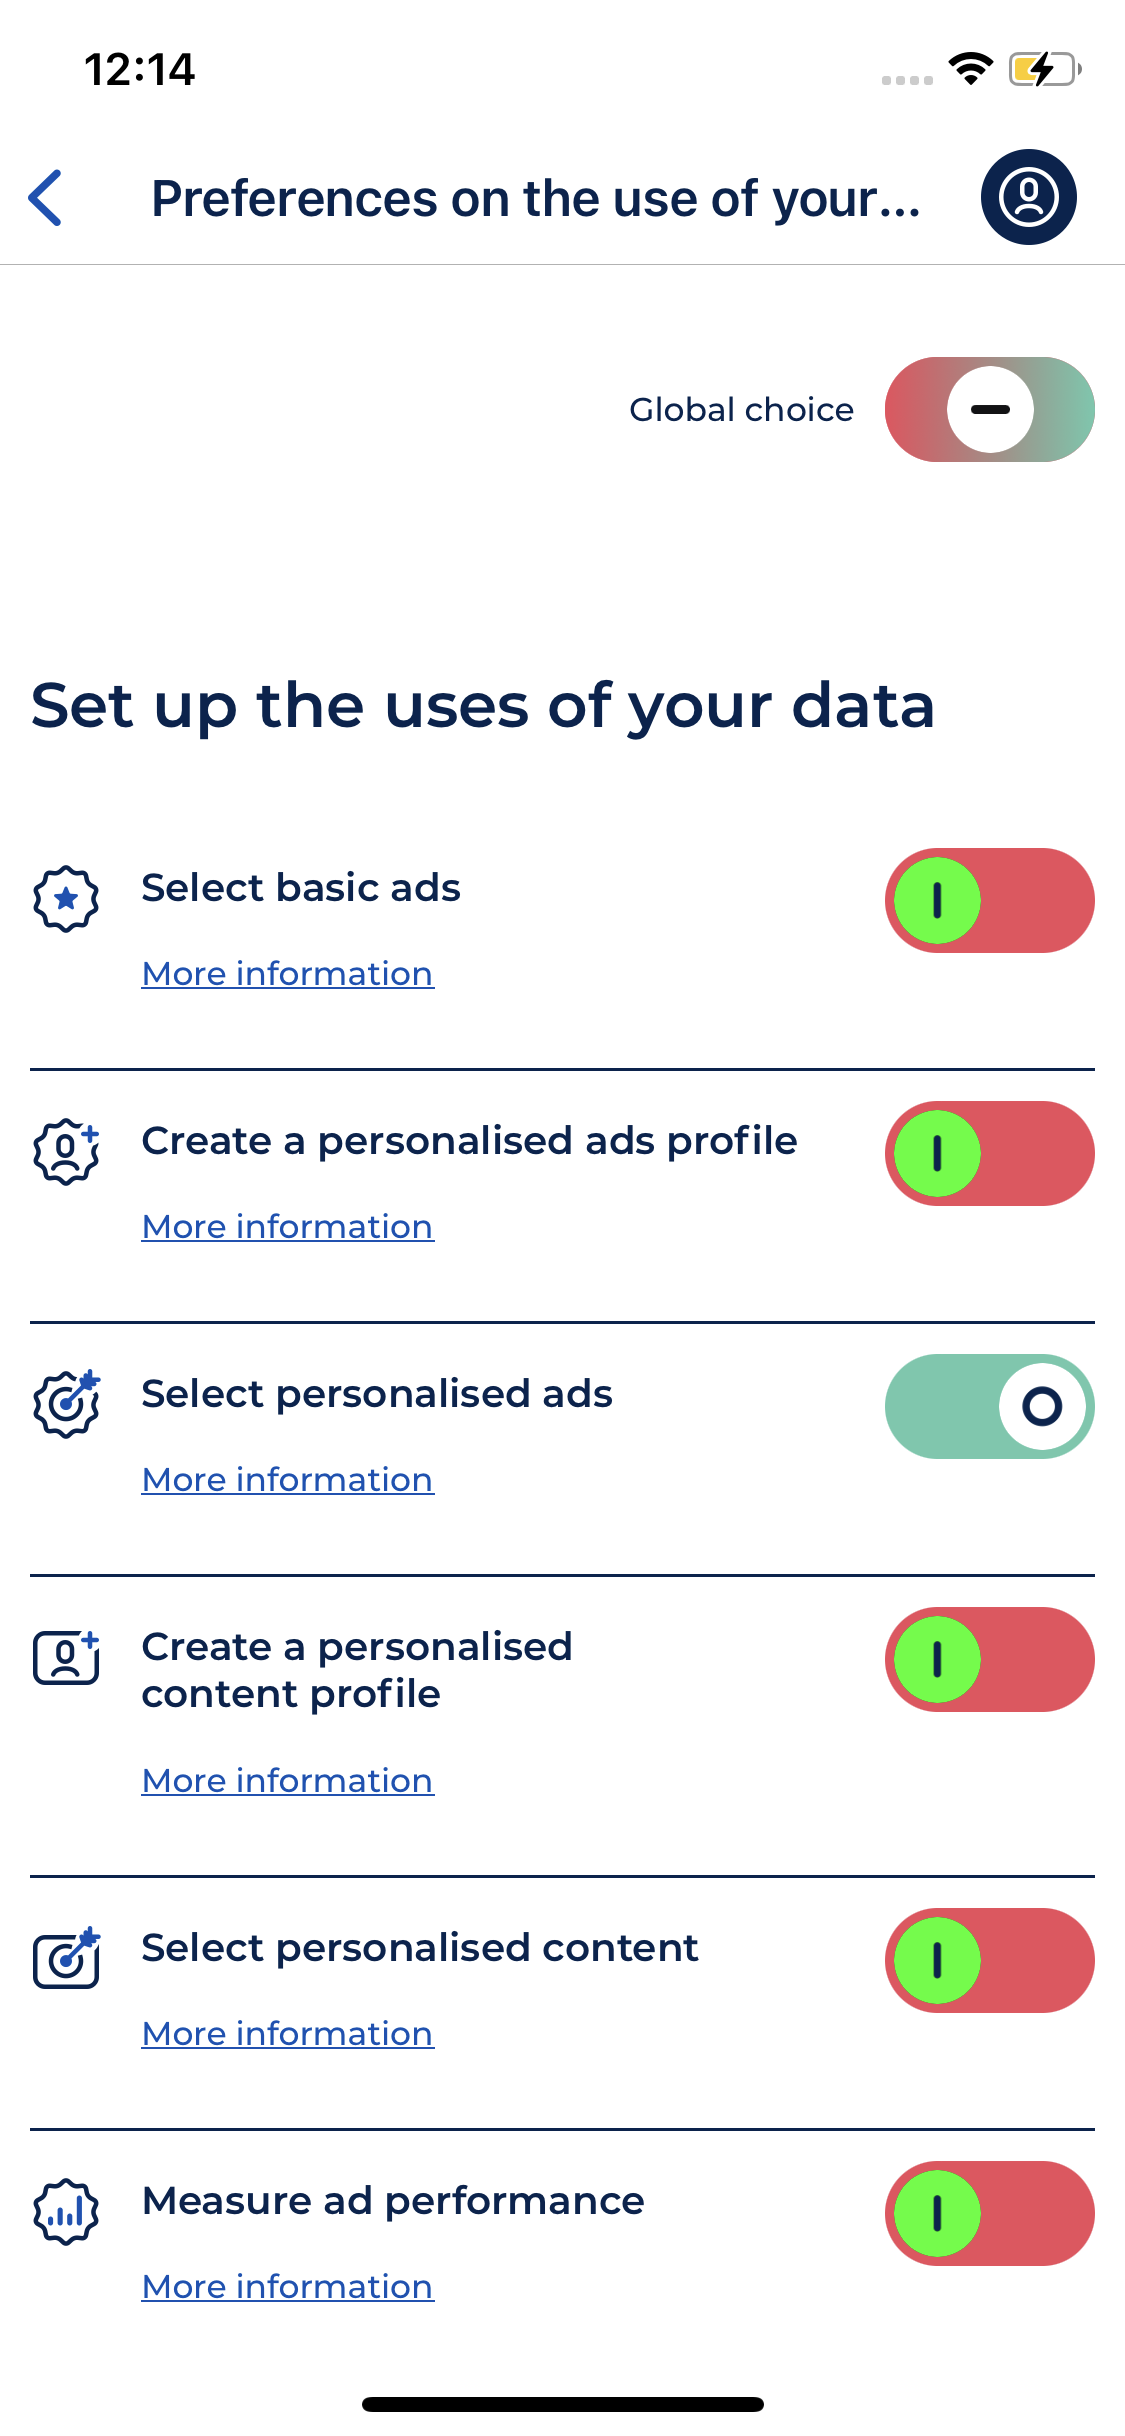
Enable Legitimate Interest purposes when Refuse All/Continue without accepting (skip)
If the user refuses or leaves, you can decide to collect any data (switch off) or collect only data for purposes under a legitimate interest legal base (switch on)
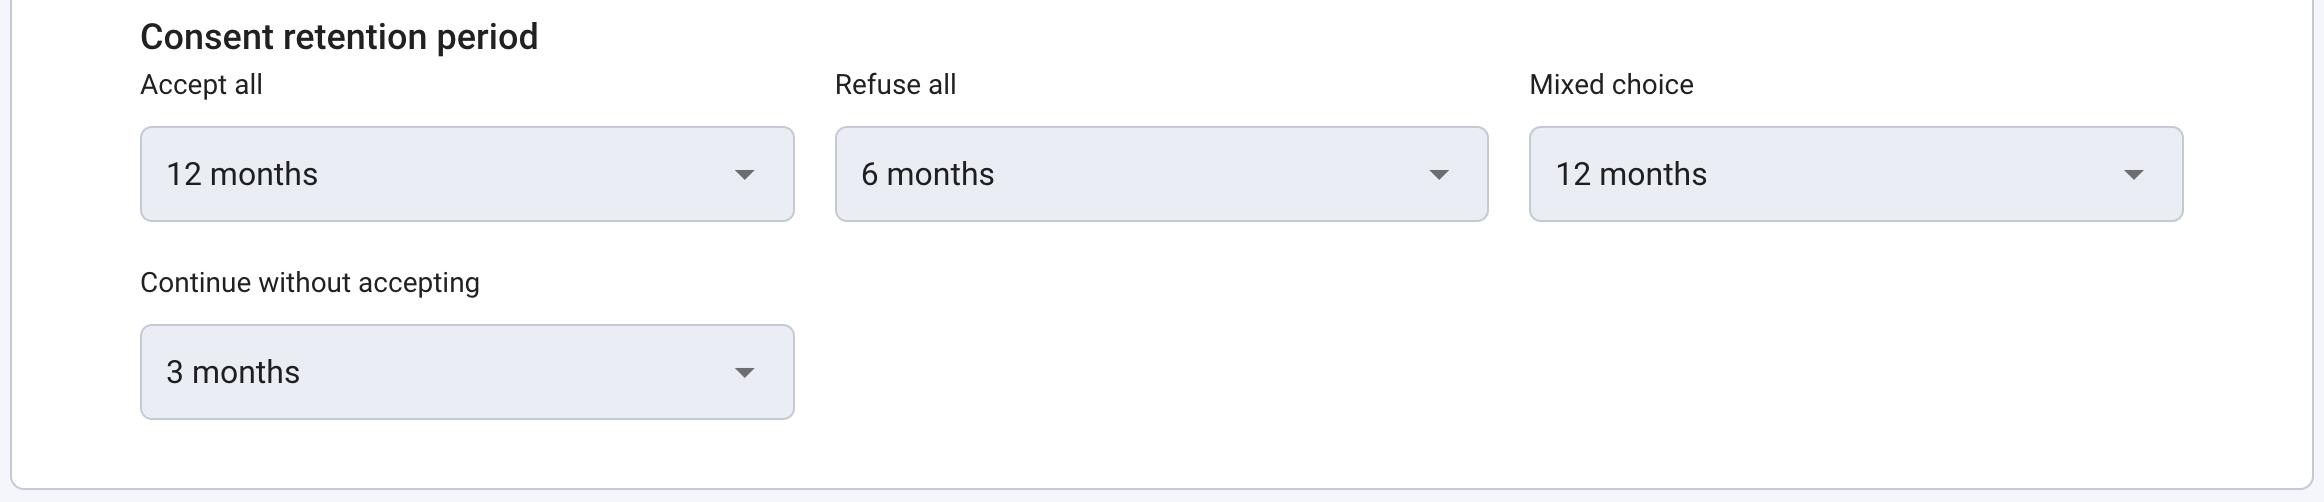
Consent retention period
These default values, which we recommend, allow you to be in compliance while maximizing your consent rates. Those durations represent the time lapse before the consent notice will be displayed again and consent will be sought once more.
Accept all: 12 months
Refuse all: 6 months
Mixed choice: 12 months
(if activated) Continue without accepting: 3 days
You can modify the durations at any time.
note
If you have created your consent notice before October 28th, 2021, the default settings for mobile consent notices are on 12 months for all choices. Feel free now to adjust them.
Click on Save.