Control your Extra vendors finely
Our CMP relies on the IAB standard to collect and distribute consent to IAB partners. For other partners, we have integrated a system in the configuration interface and in the CMP so that the user can give consent to these non-IAB partners, also known as extra vendors.
Configuration of an extra vendor in the configuration interface
We assume that you have already created your extra vendor in the configuration interface. On your source, add your extra vendor and associate it with IAB purposes or extra purposes.
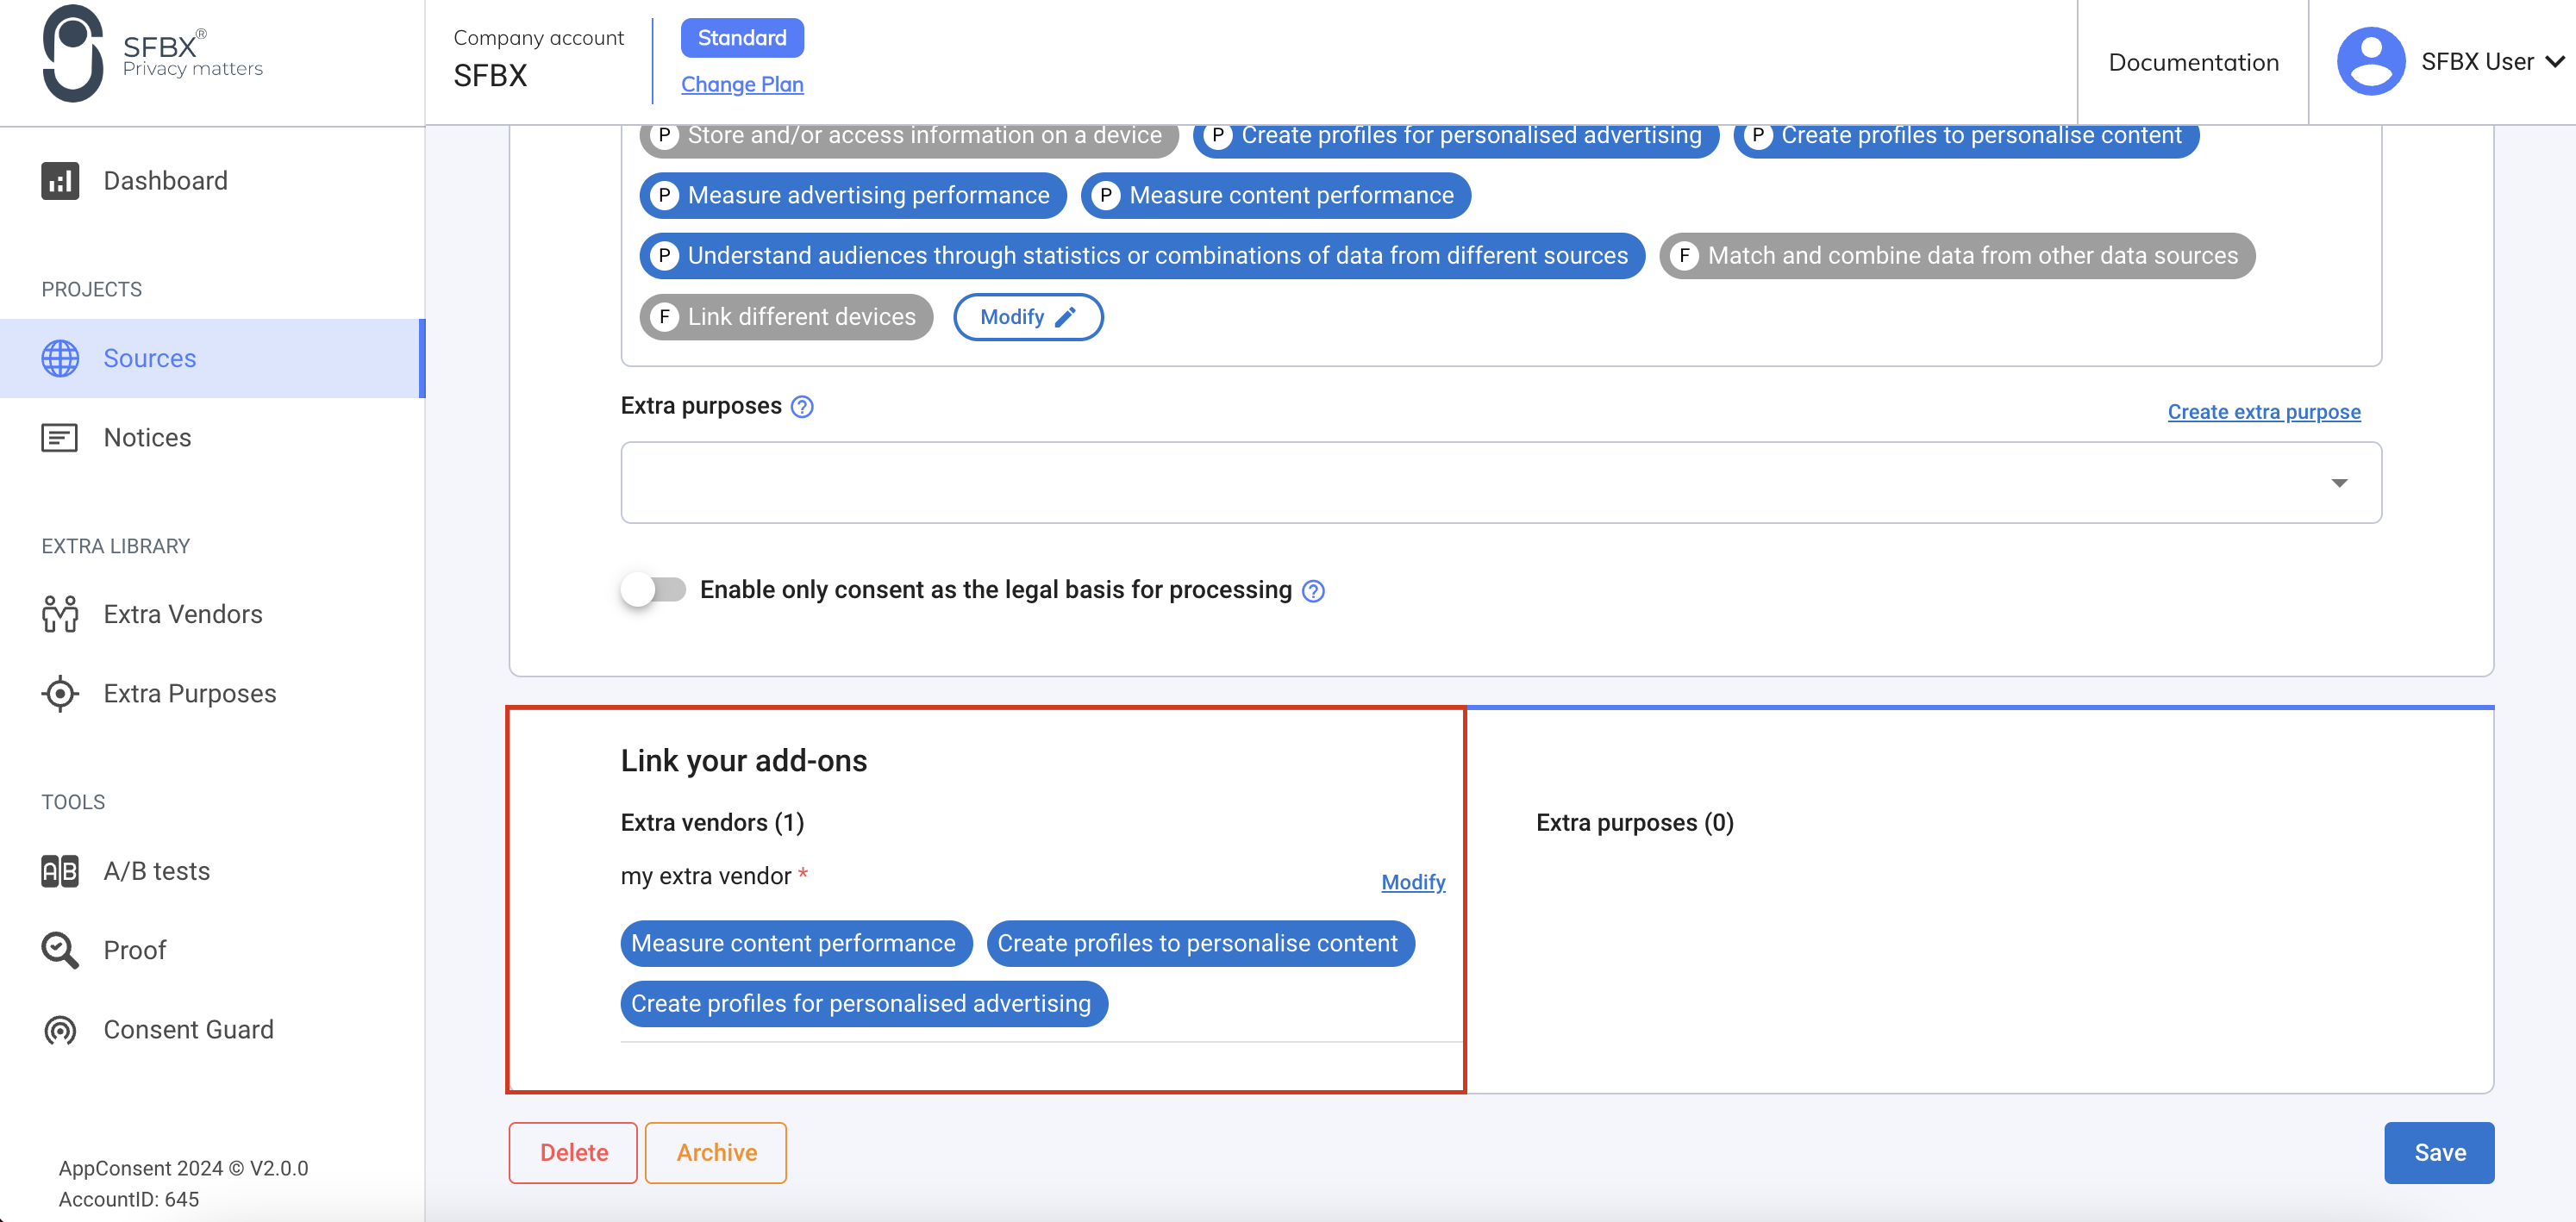
Once configured, save your source and associated notices.
Configuration in GTMs
Consent recovery for an extra vendor
The CMP sends an event to the dataLayer variable in the GCM (Google Consent Mode) protocol for each extra vendor
consented by the user.
This event takes the following form:

The name of these events is composed of :
acextravendor_granted_- and the extra vendor id
In GTM, to trigger the extra vendor code, we'll retrieve each event sent by the CMP and trigger the tag.
Create a trigger for an extra vendor
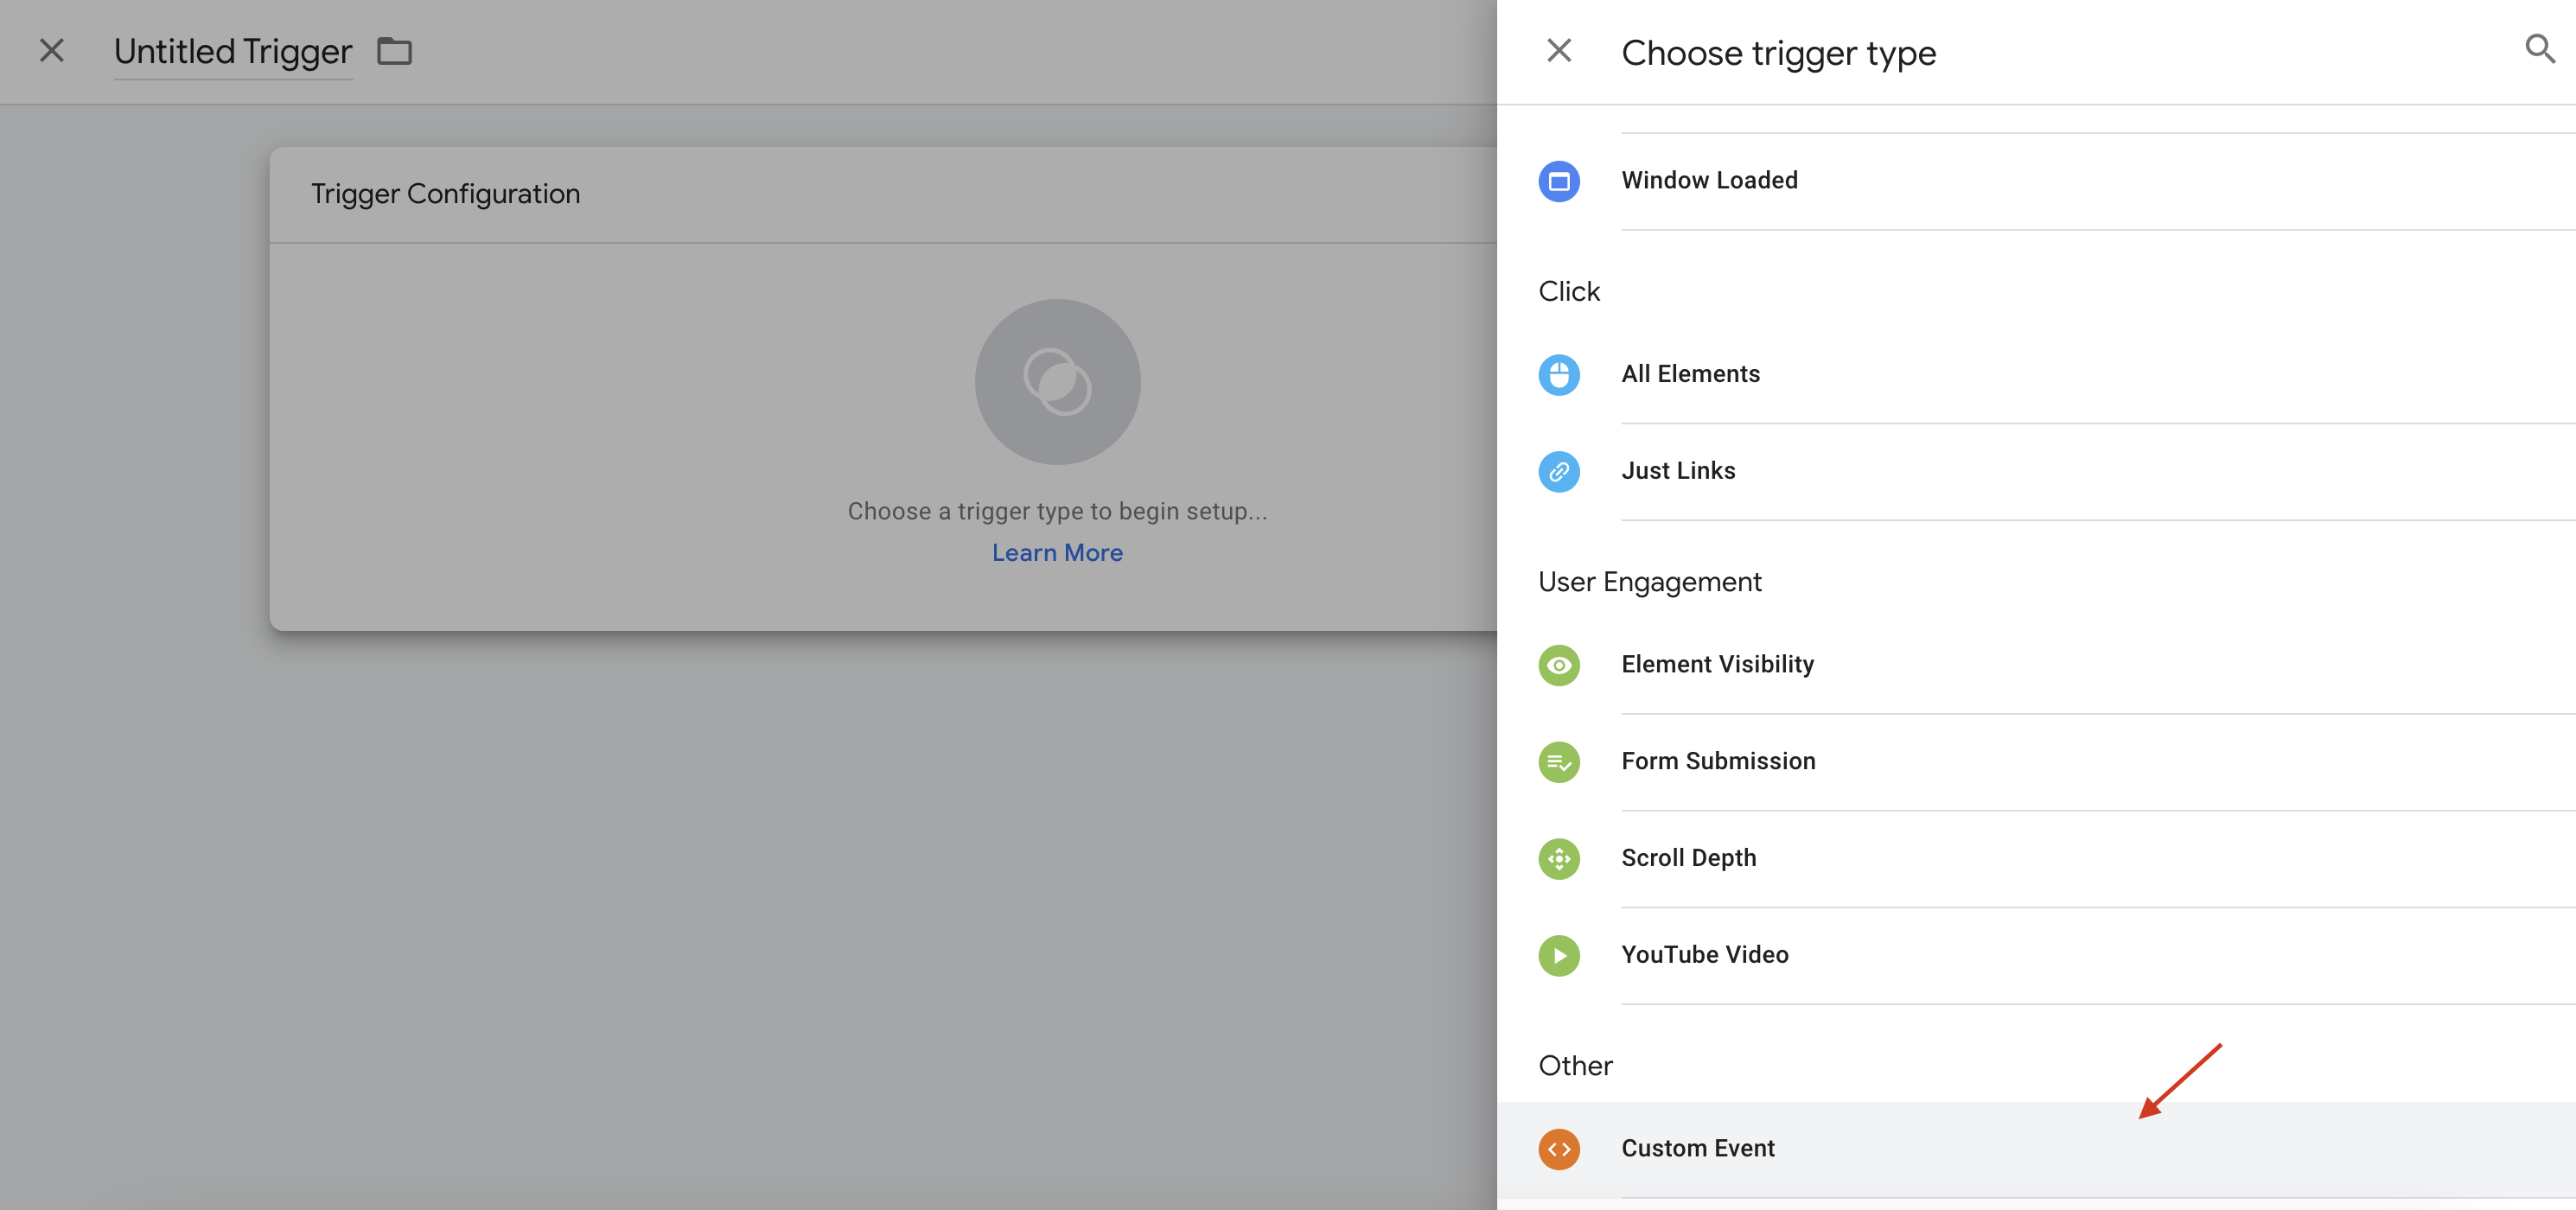
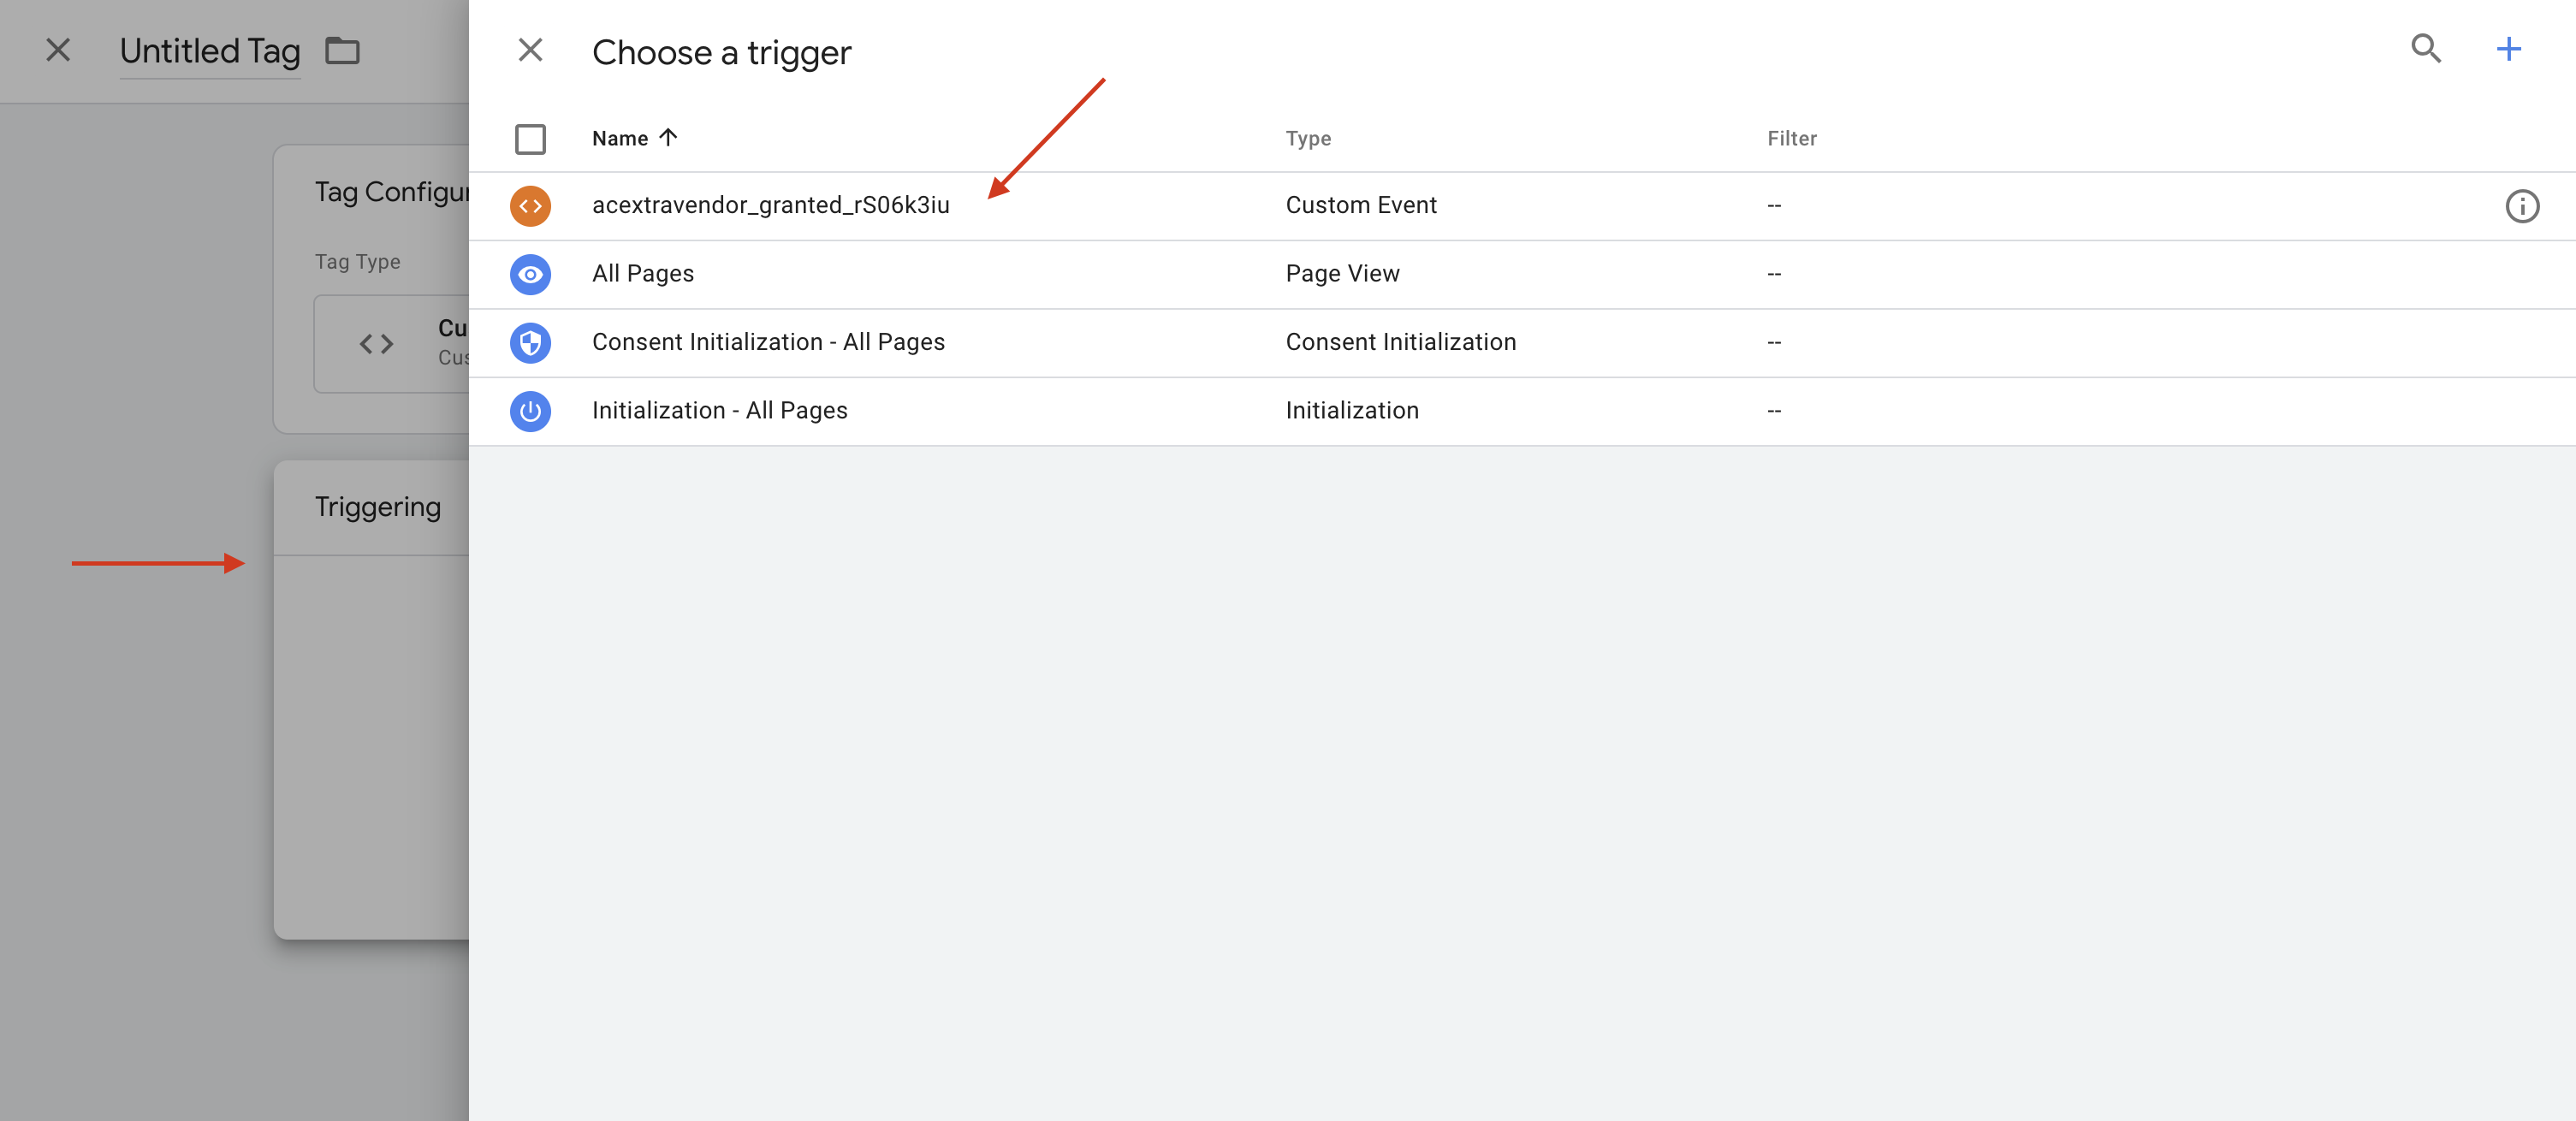
To retrieve the event sent by the CMP, you need to create a custom trigger. To do this, you must :
- Go to GTM and click on the Triggers menu in the left-hand side panel
- Click on the New button
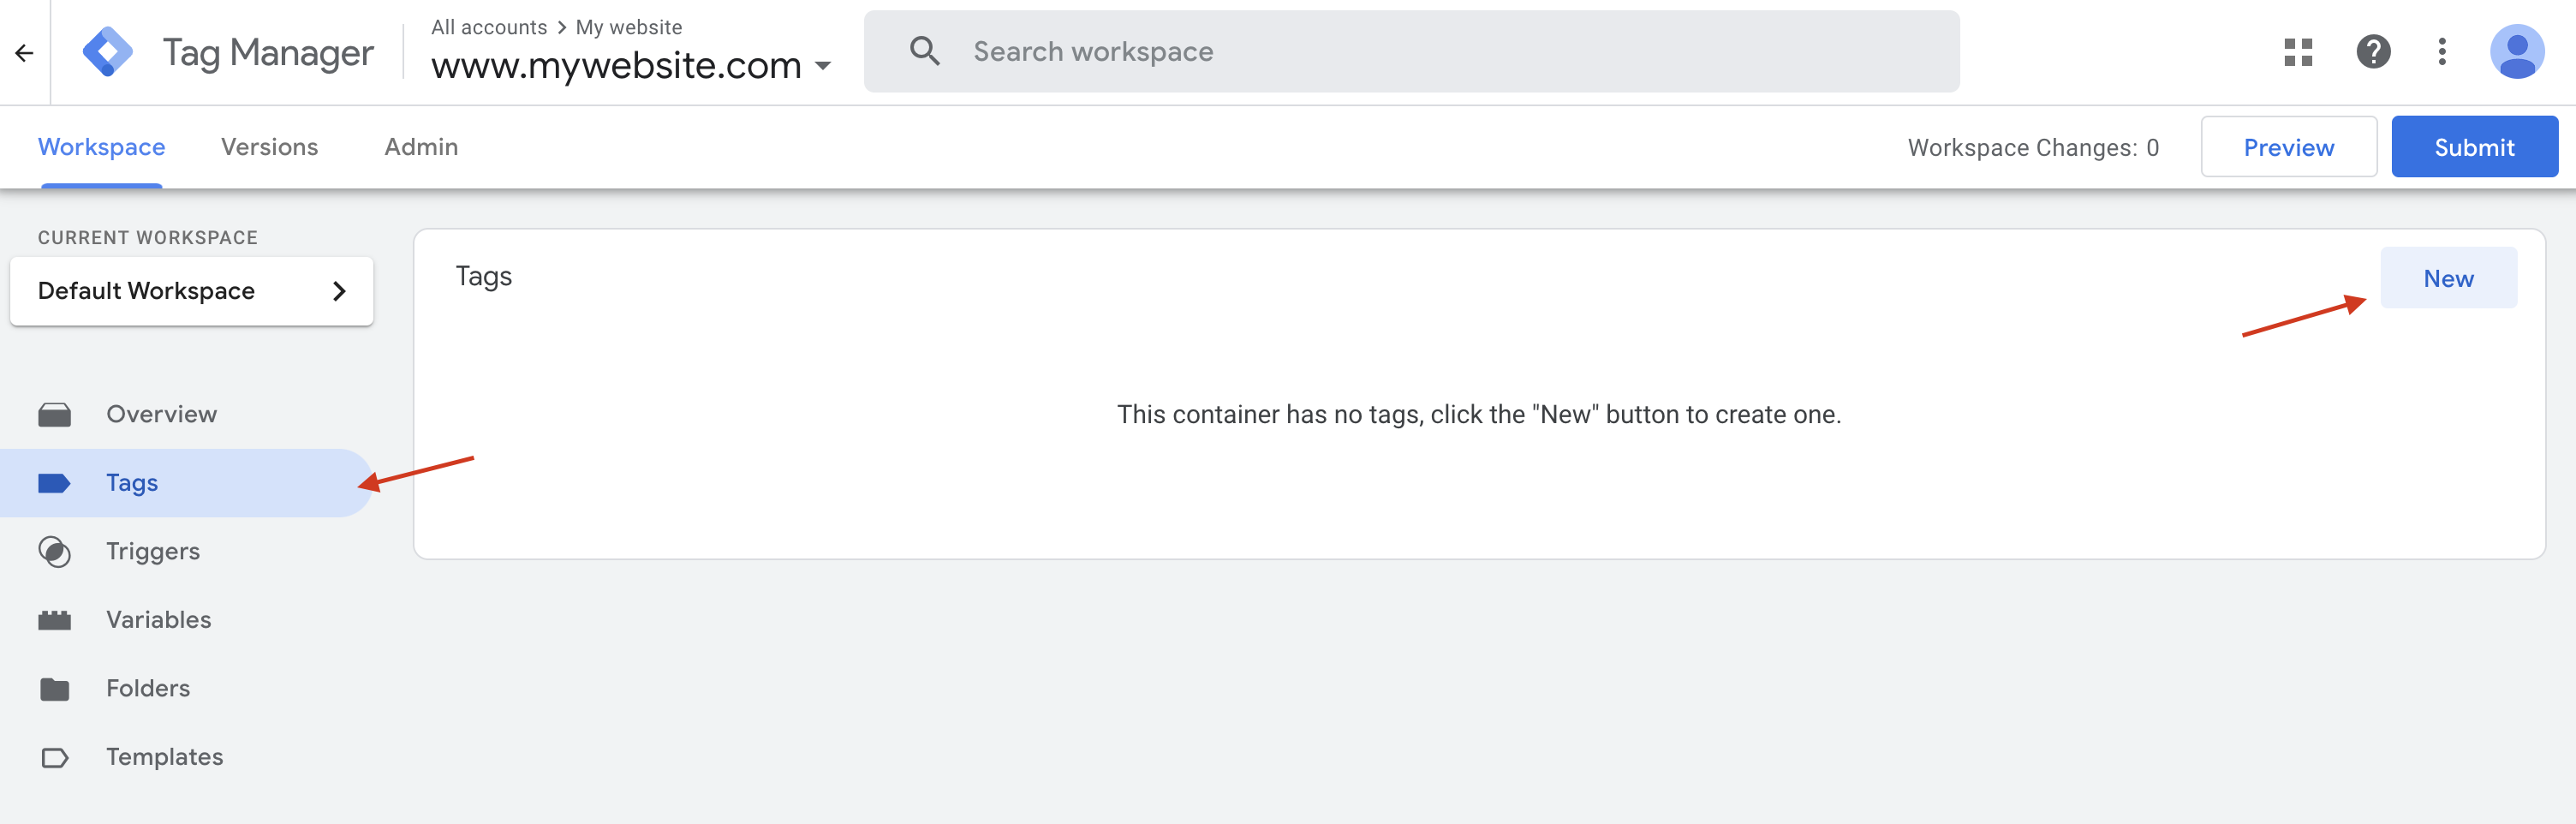
- Click on Trigger configuration
- From the list of events in the right-hand side panel, select Custom event
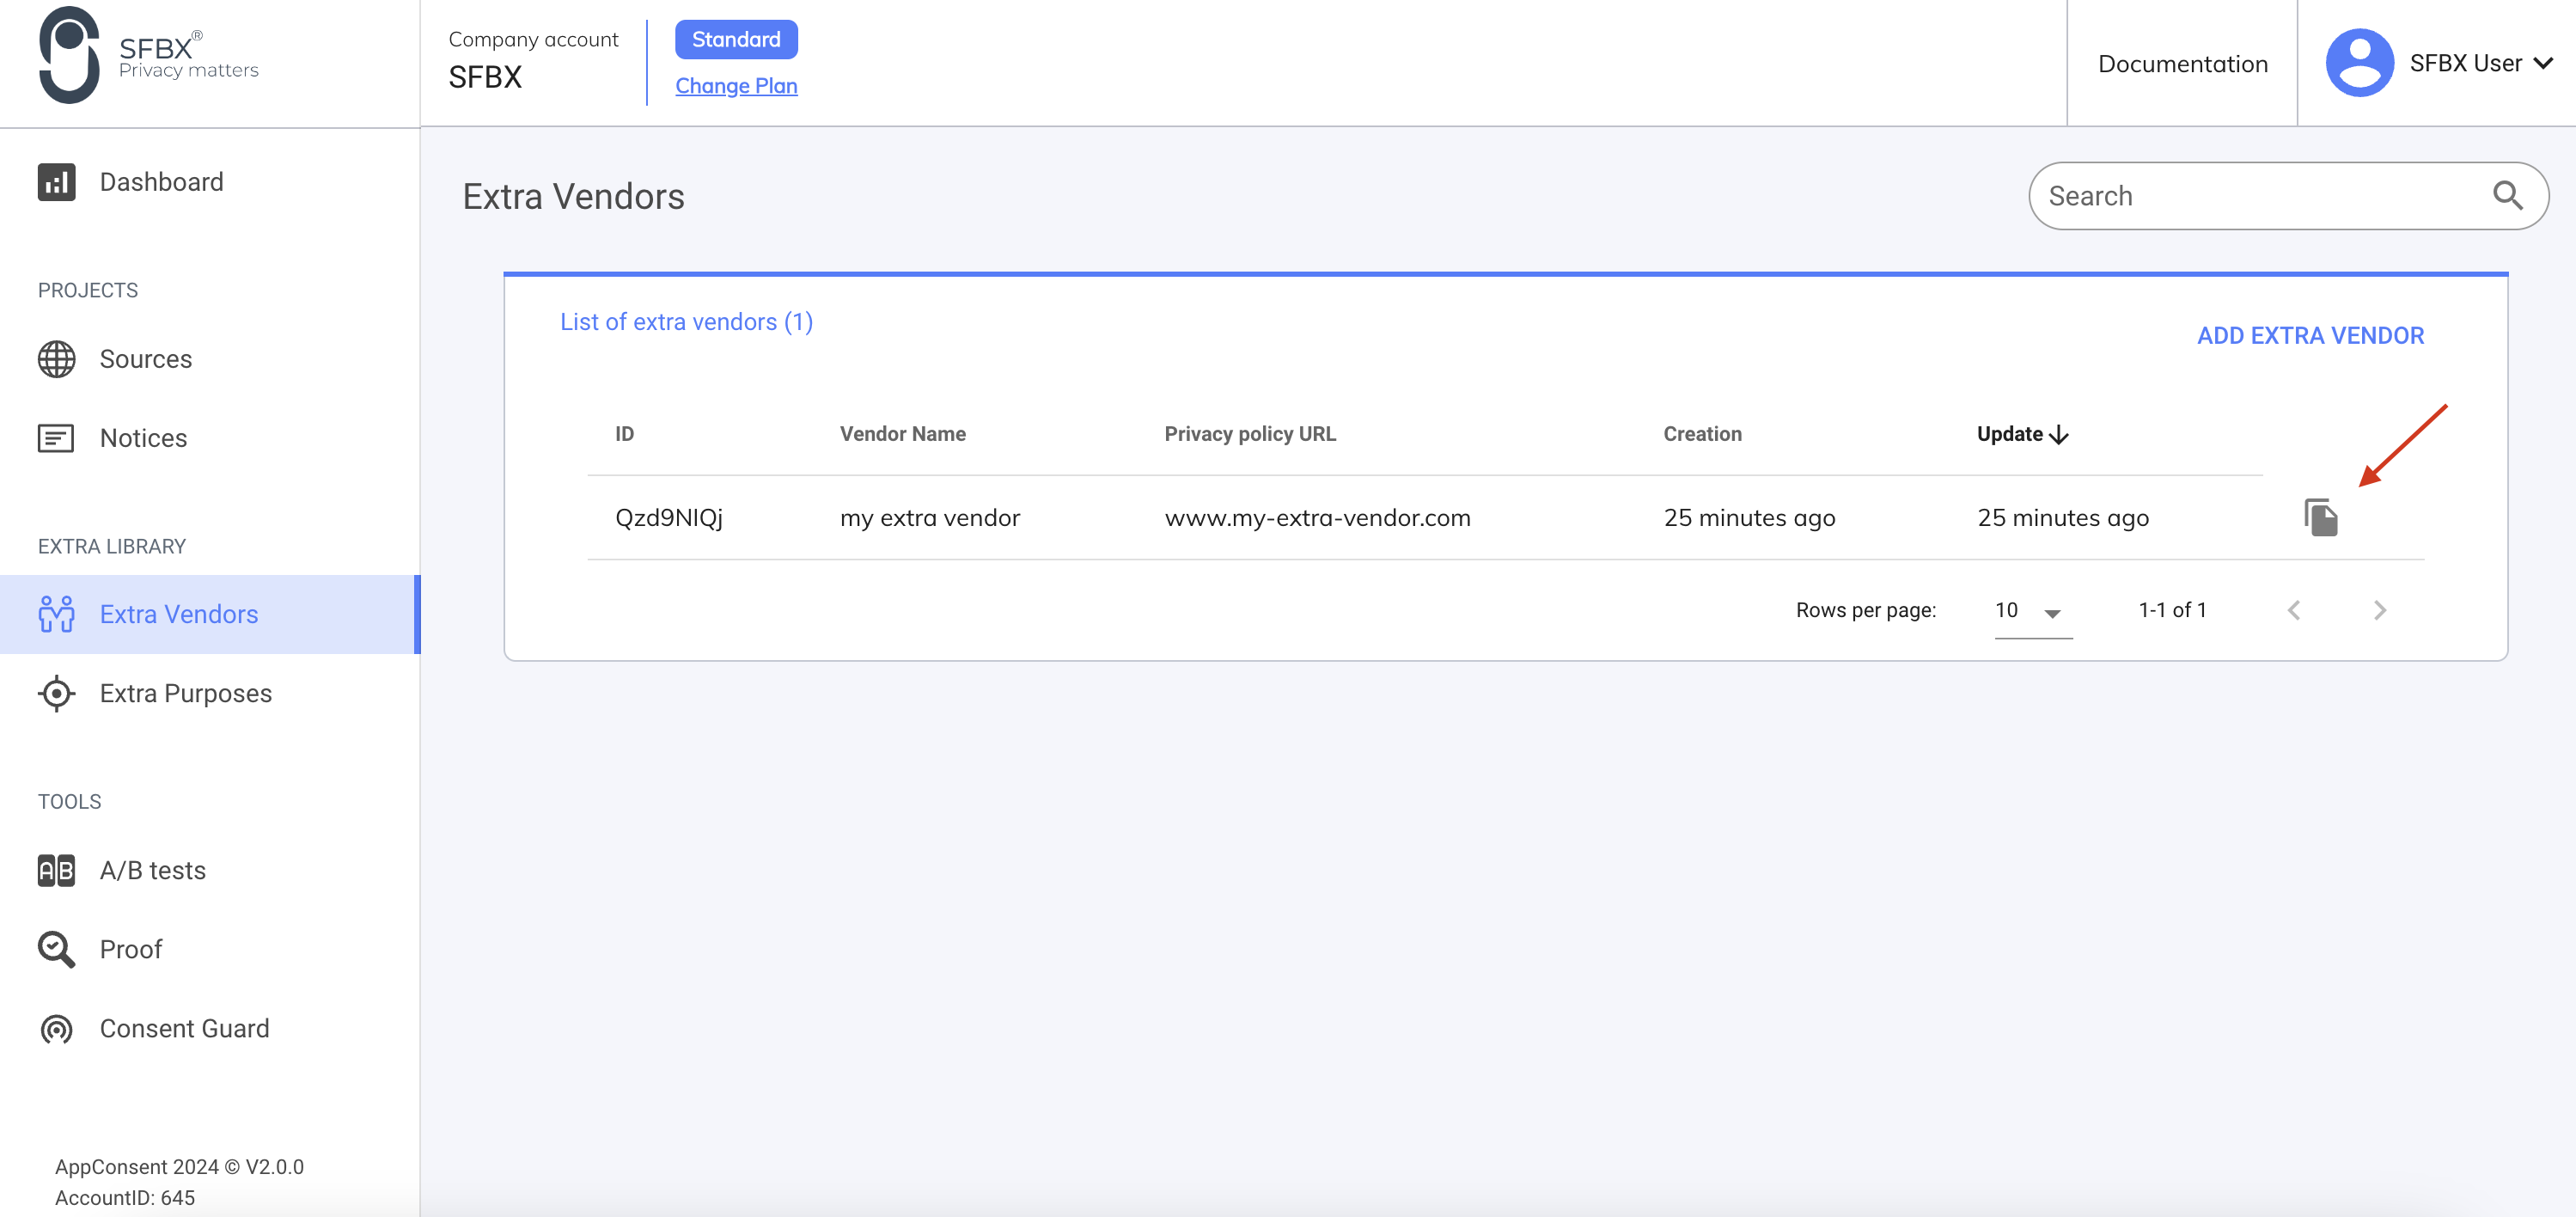
- In the AppConsent configuration interface, go to Extra Vendors
- Then click on the "copy" button on the line of the extra vendor you wish to integrate
- Once the partner id has been copied, return to the custom event in GTM
- In the Event name field, enter
acextravendor_granted_+ the partner id
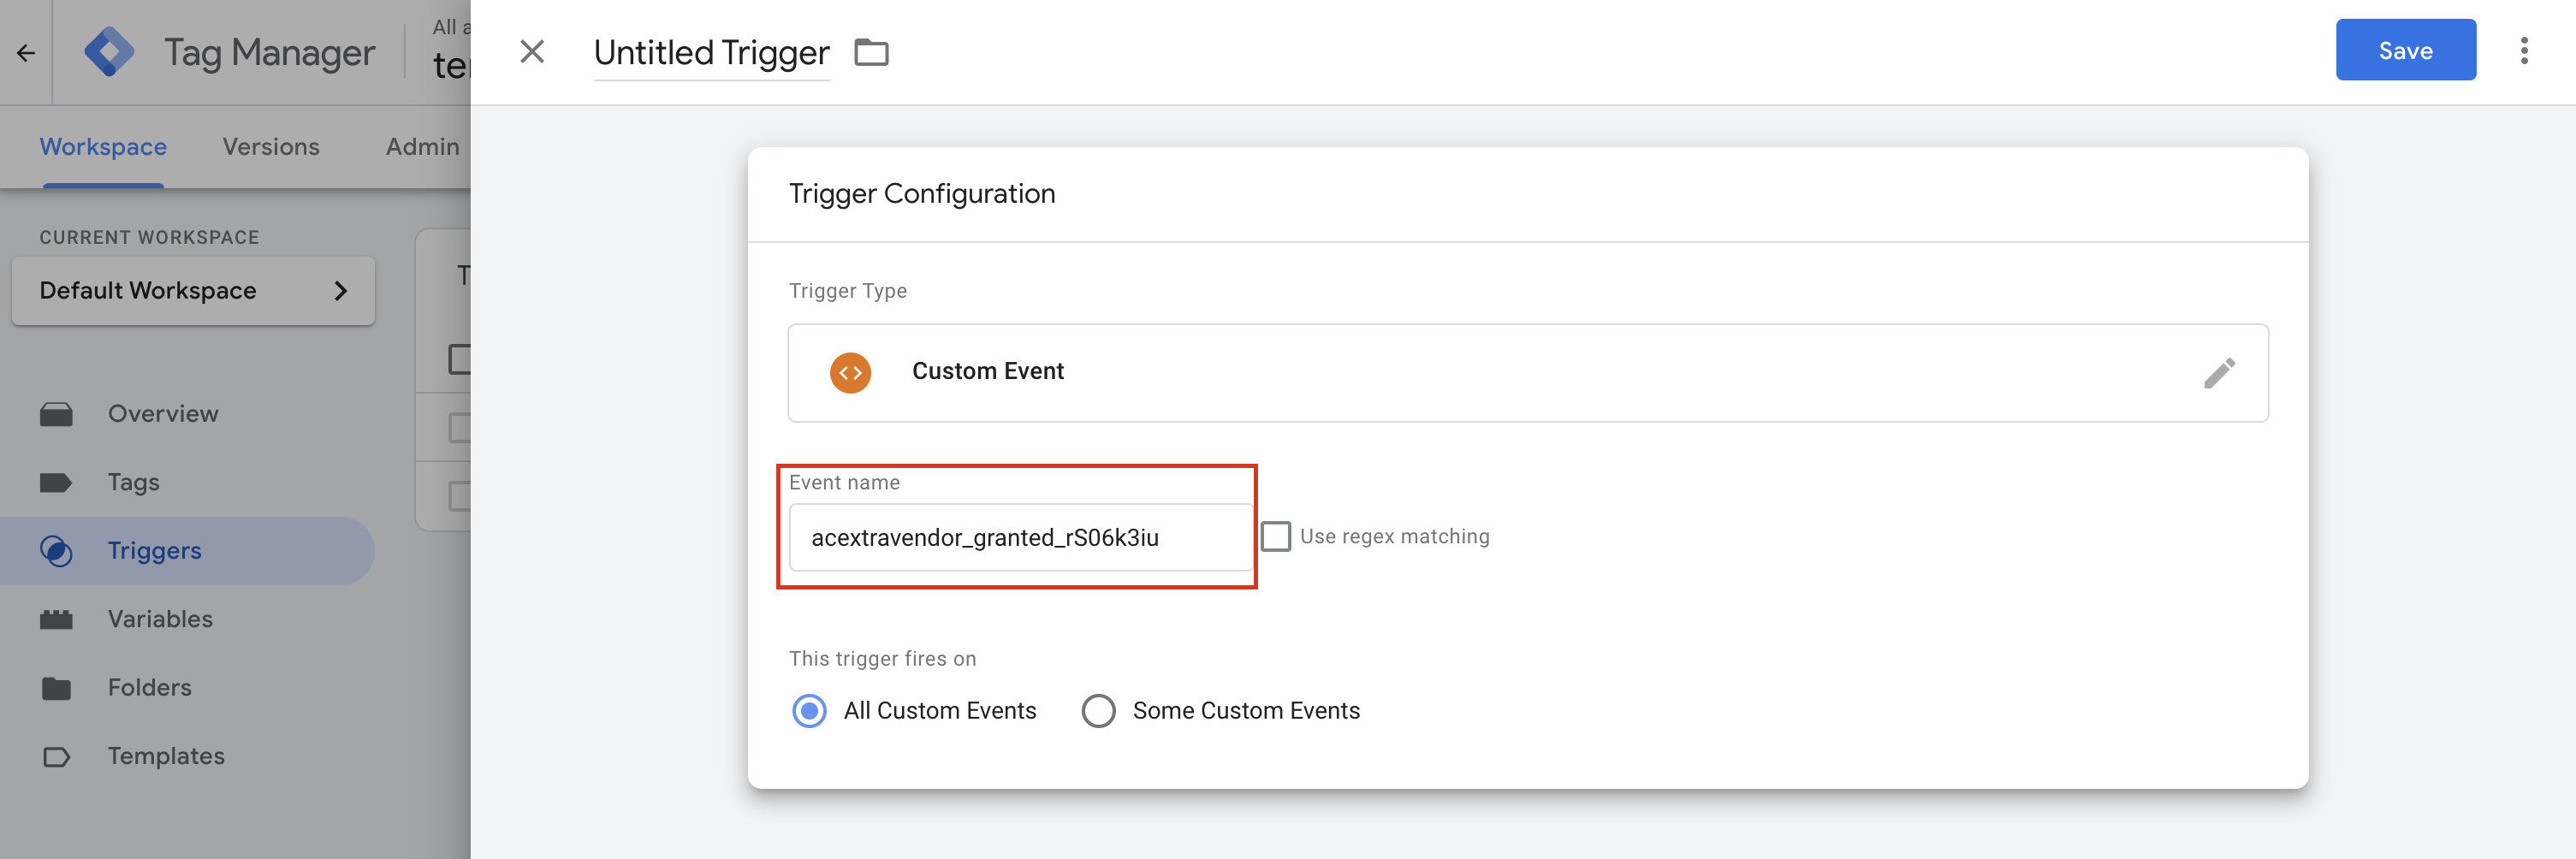
- Name your trigger, then save
Attention
The acextravendors_granted_id (in our example acextravendor_granted_rS06k3iu) must be filled in exactly as shown. You can rename the title (in the top left-hand corner), but never the value in the Event name field. Otherwise, you'll lose the link with the tag.
Extra vendor tag creation
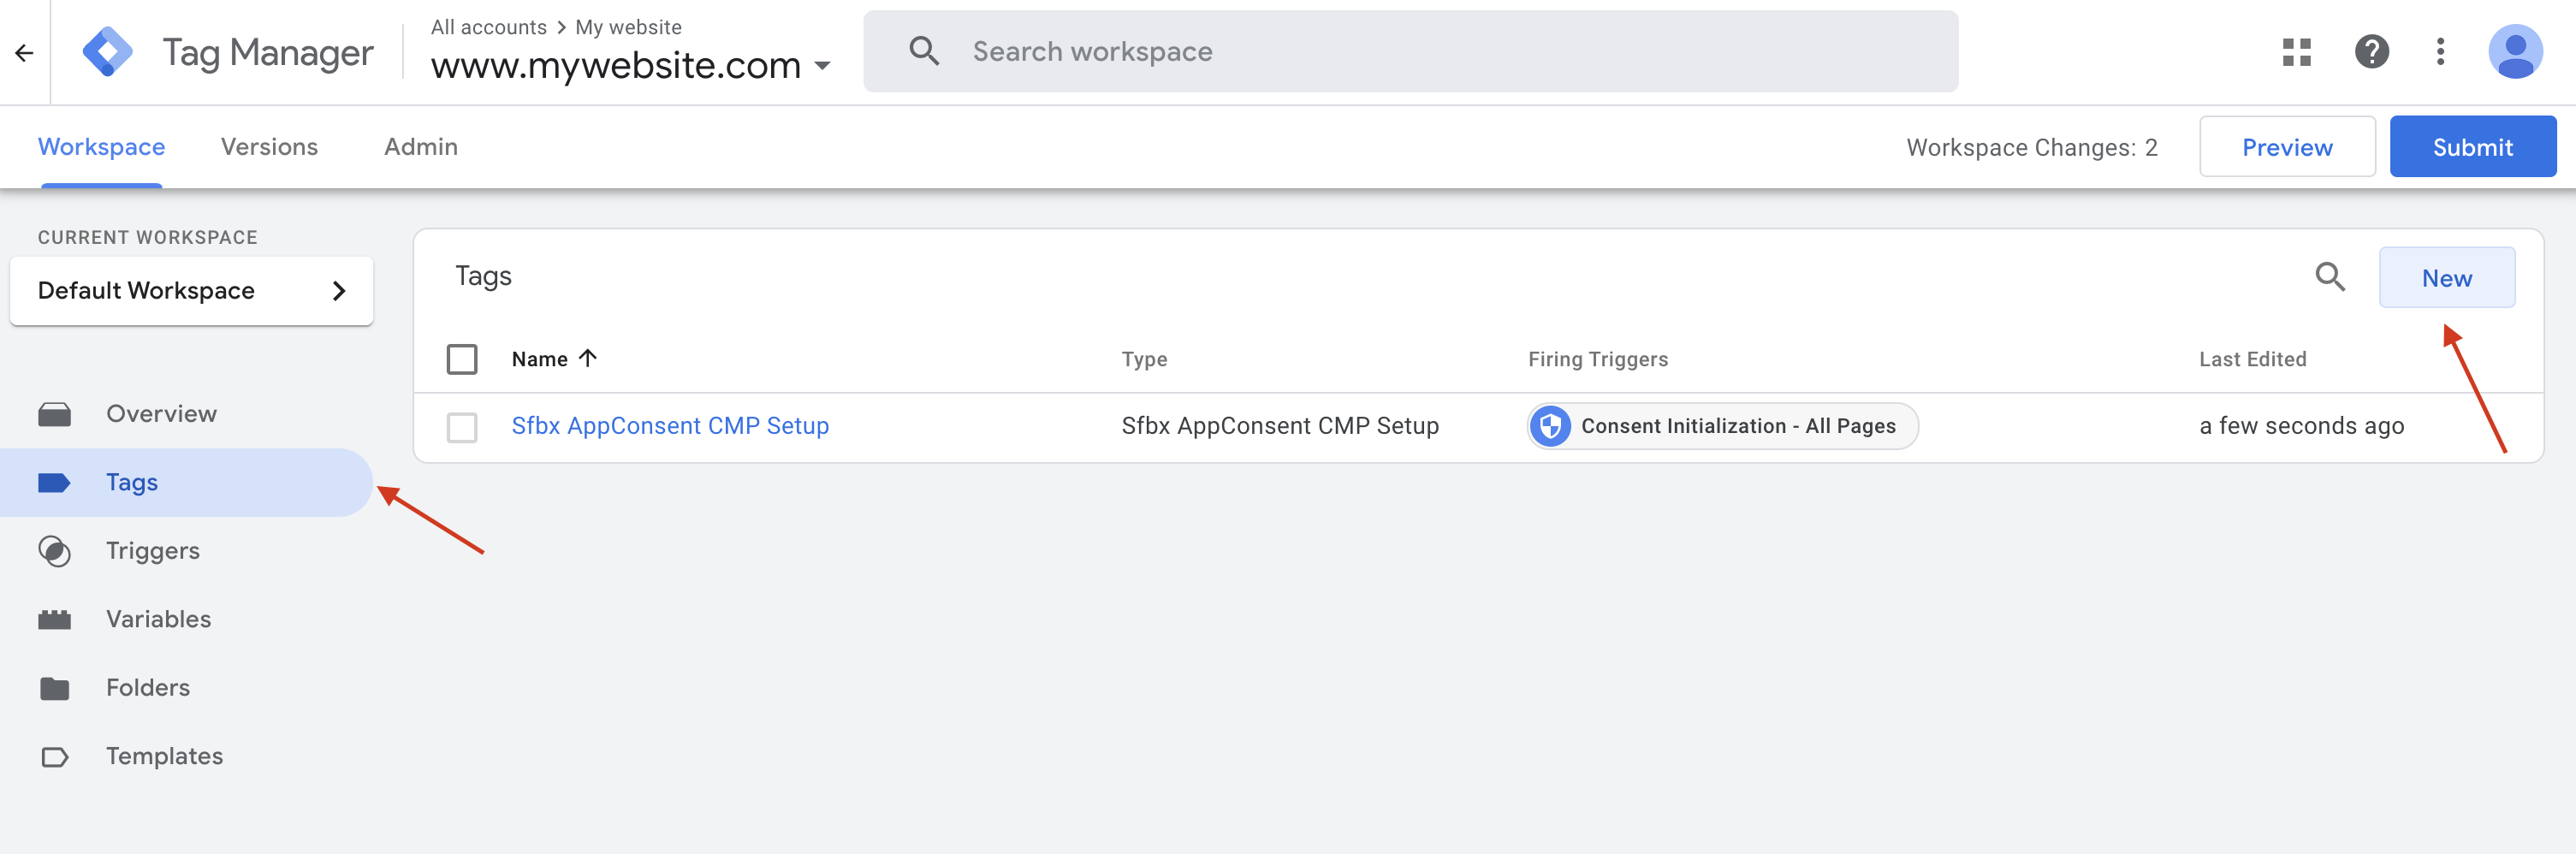
- Click on the Tags menu in the left-hand side panel
- Then click on the New button
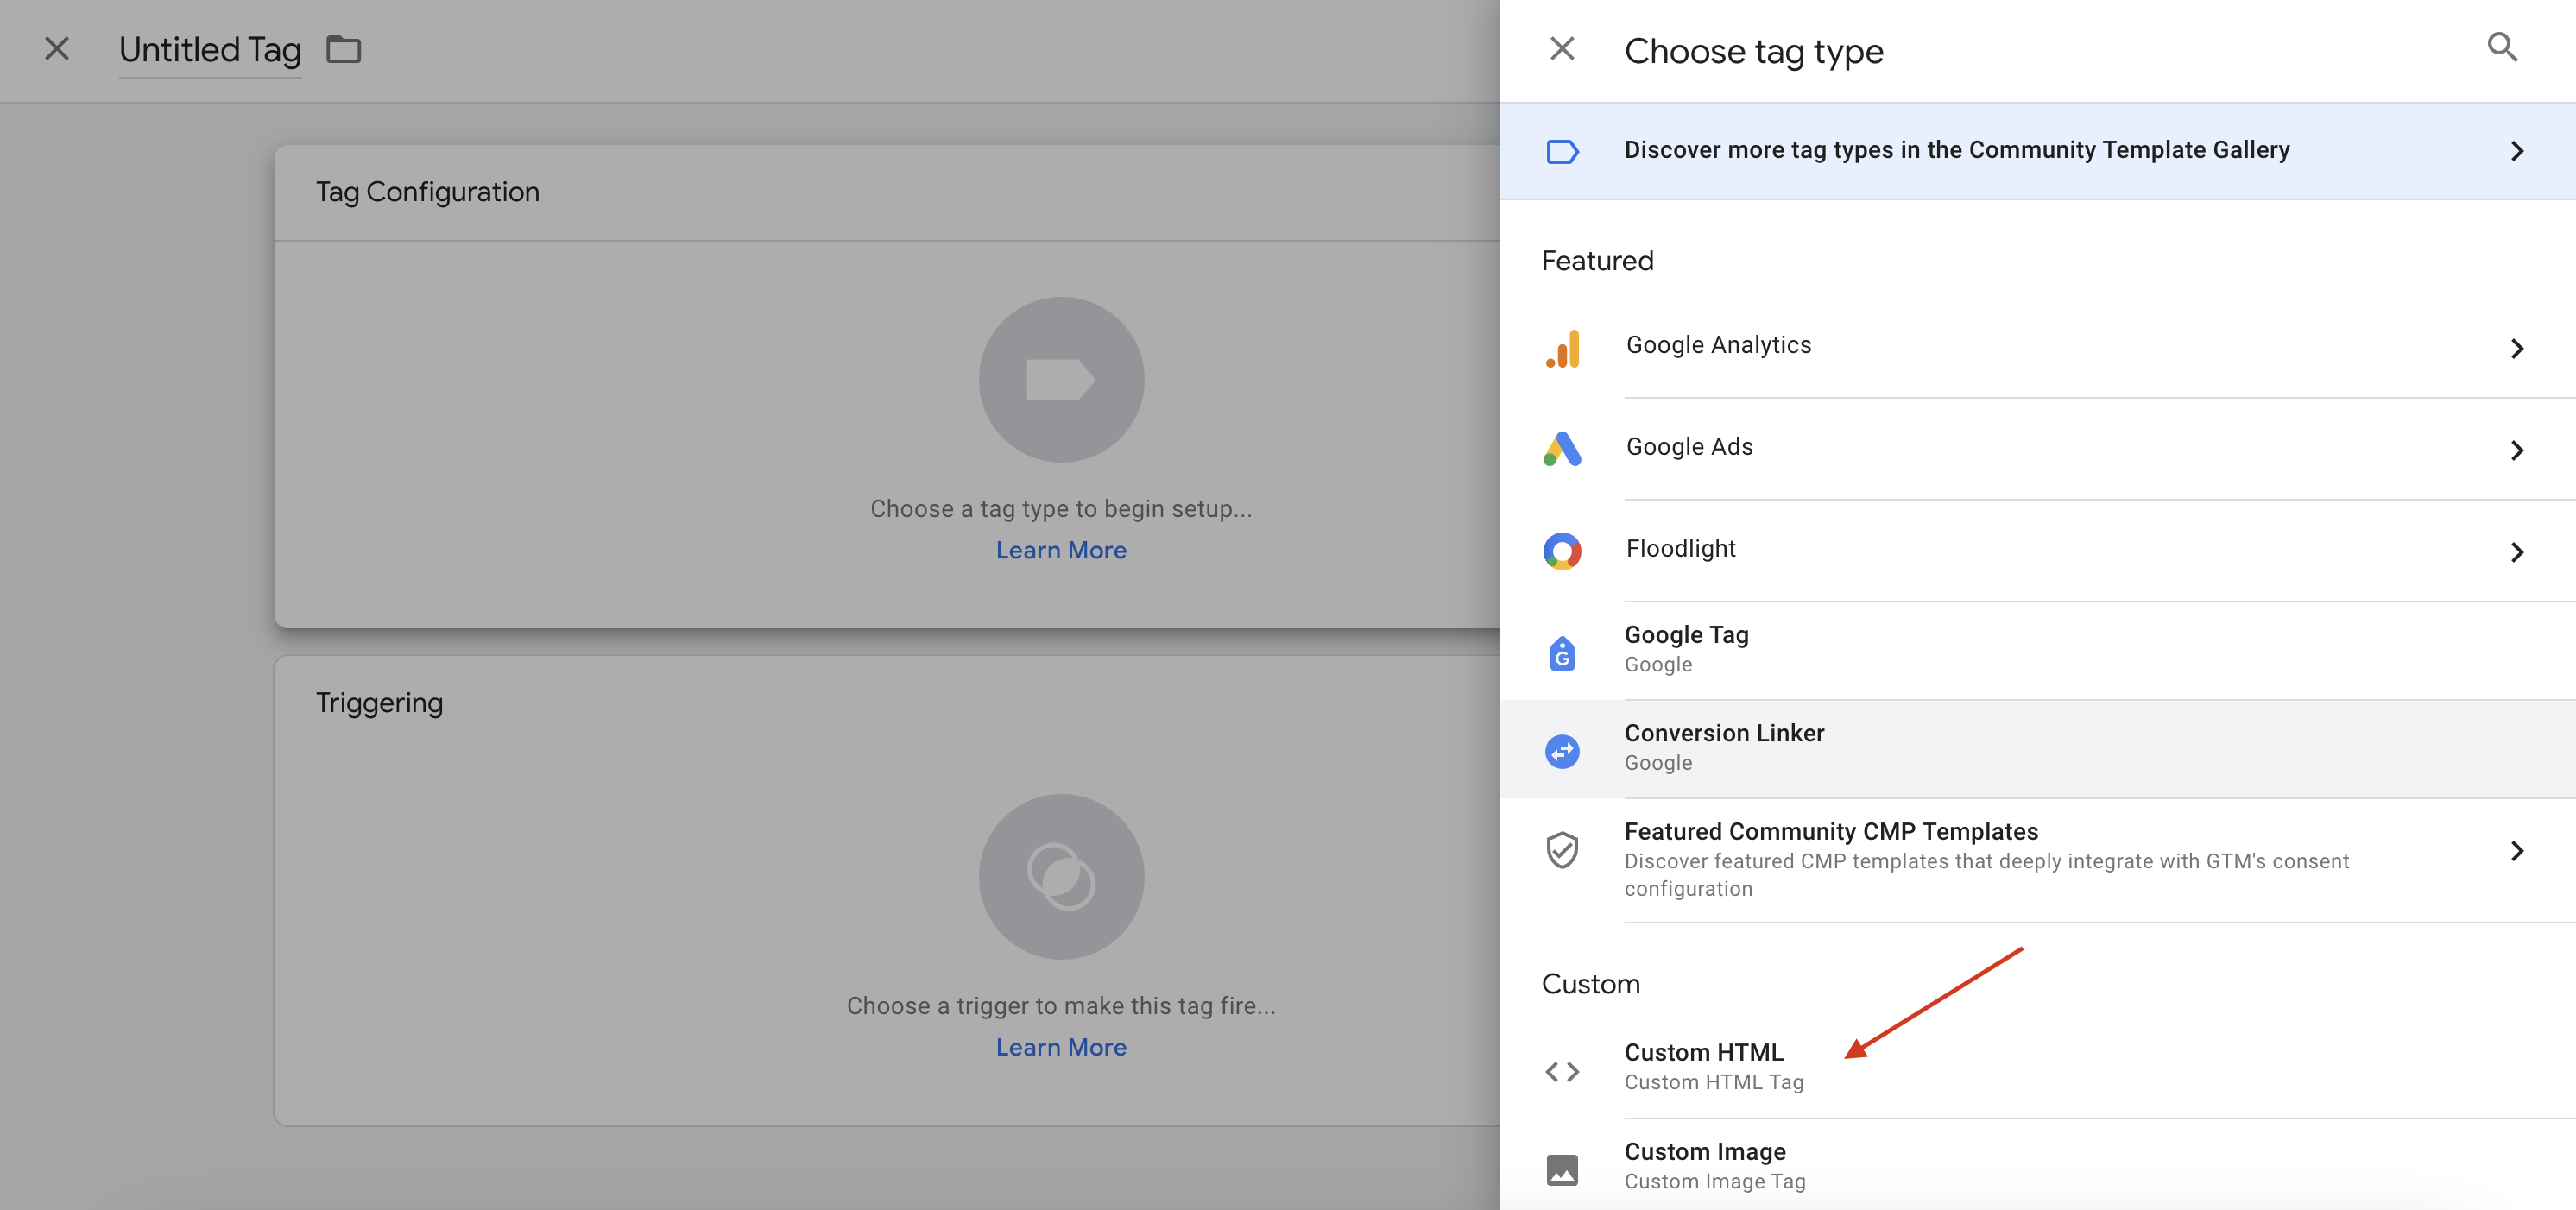
- Click on tag configuration
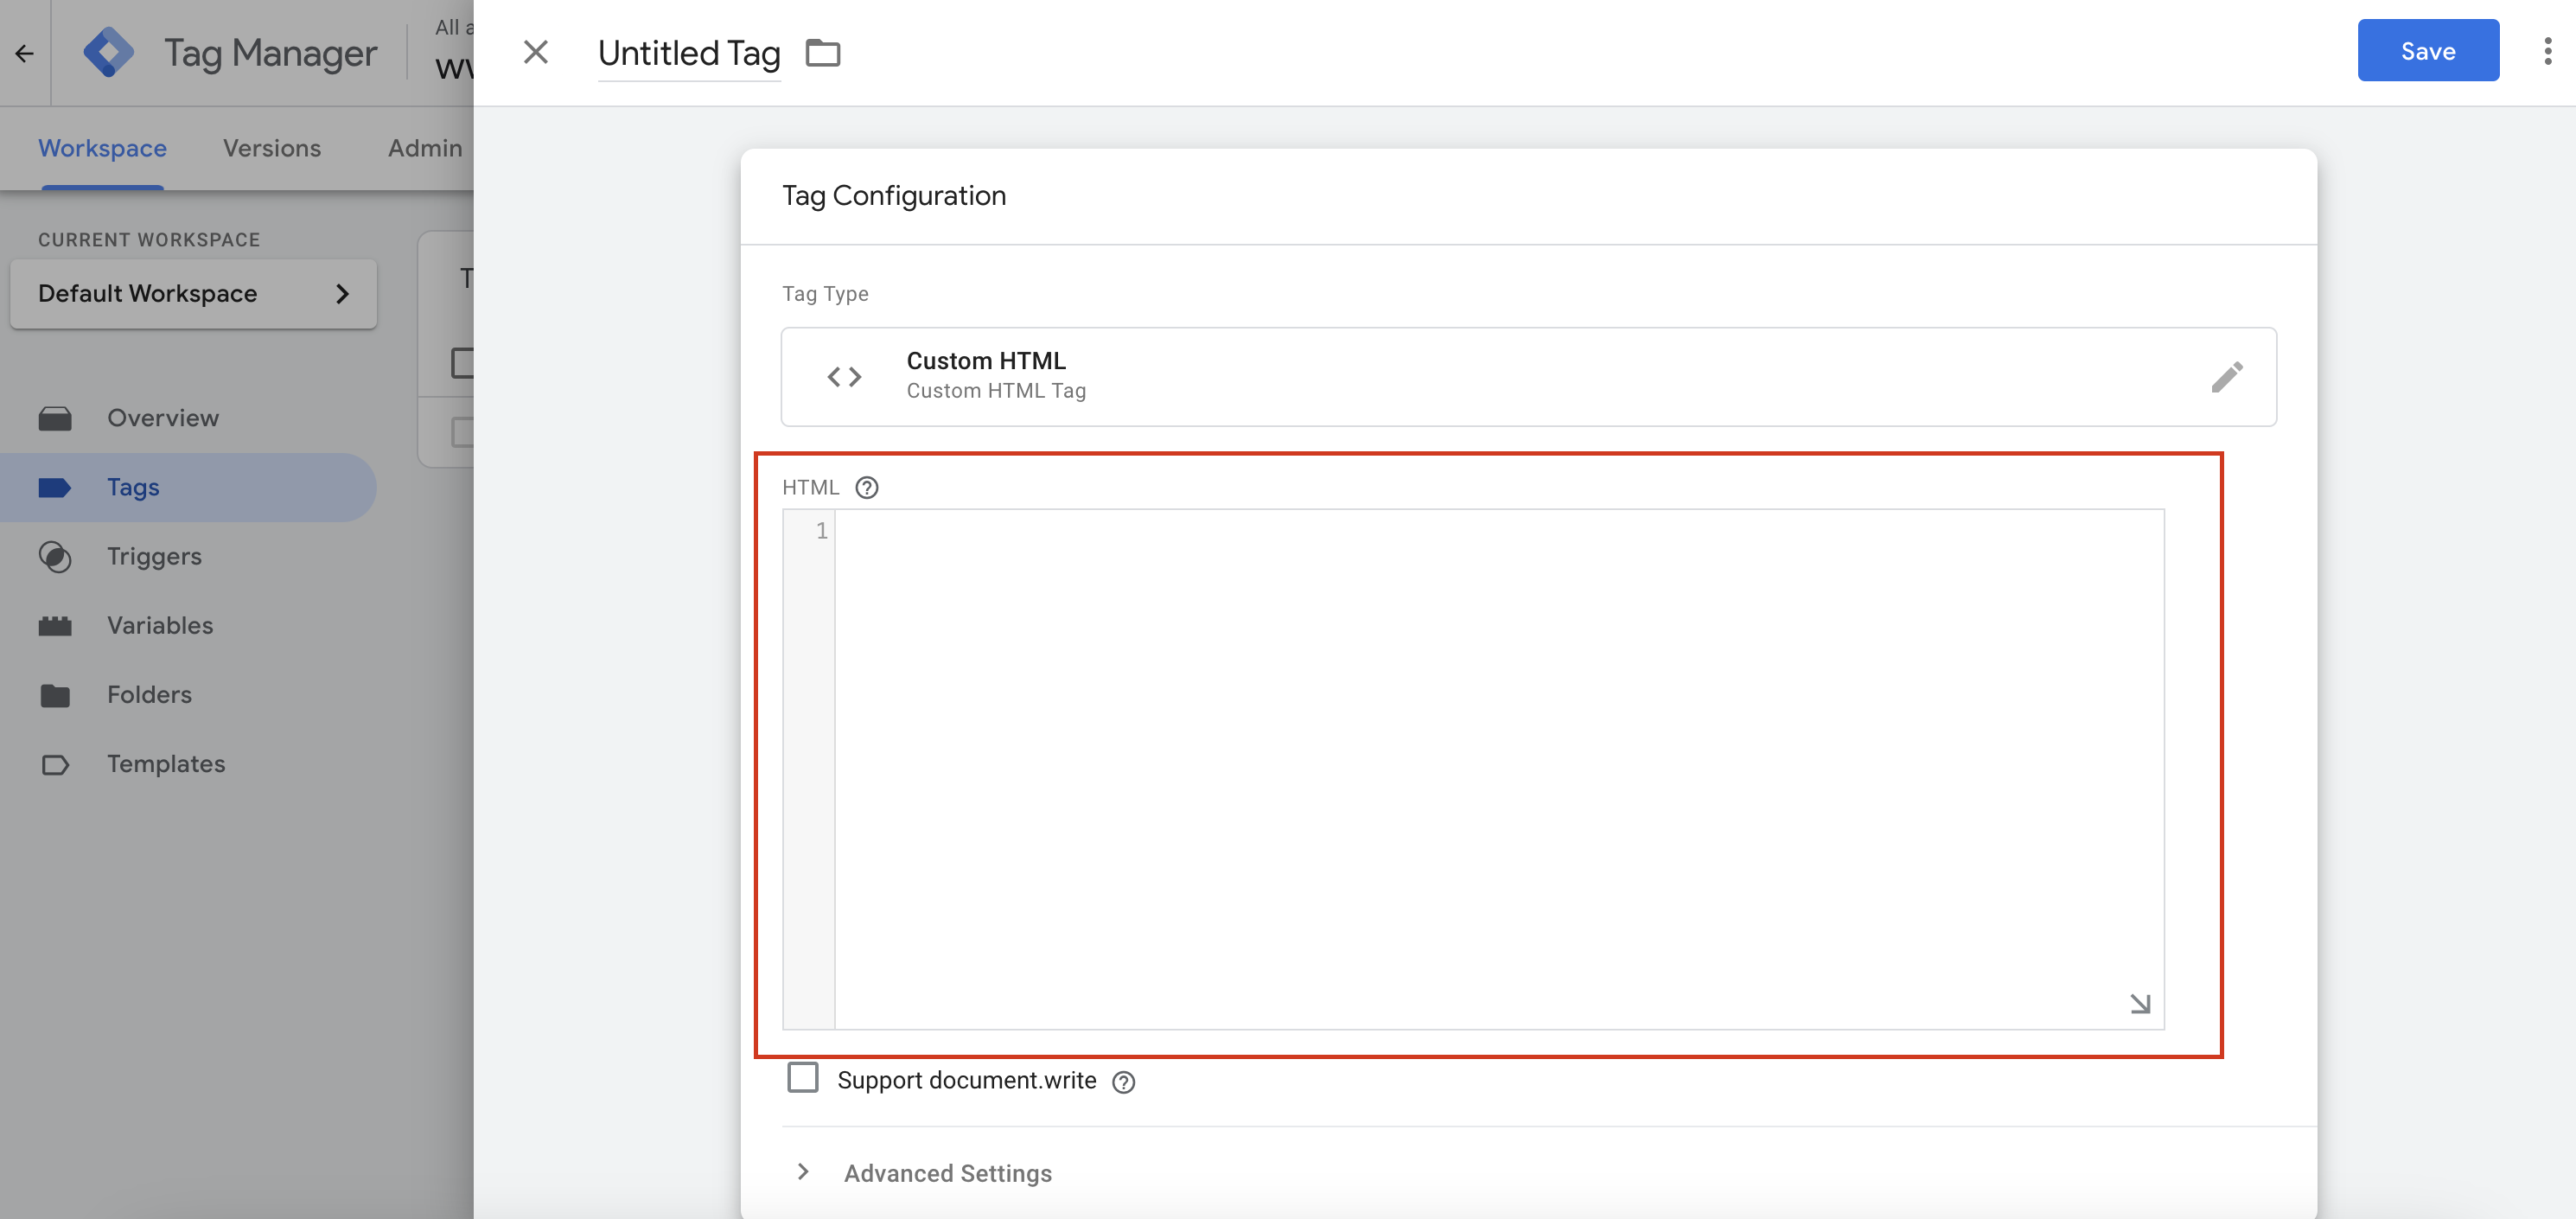
- Then select the Custom HTML template
- Put the extra vendor's script in the HTML field
- Then click on the Trigger section
- Then select the custom trigger created earlier
- Name and save your tag
Attention
In this example, we're using the Custom HTML template, but it works with other template types.
That's it. Now your tag will be fired only if :
- your extra vendor has been consented to by the user
- AND if at least one of the purposes associated with your partner has been consented
Have a suggestion ? Just drop an email to support@sfbx.io